
1. NOTE: I completed this route for Salame One in reverse, from the Amesbury meeting point to the Salisbury meeting point. The listed total distance of the route as 14.3km is accurate according to my Garmin GPS. This first photo illustrates the paved urban route onto Church Street after leaving the Amesbury meeting point. 0.4 km from start — 02 May 2024
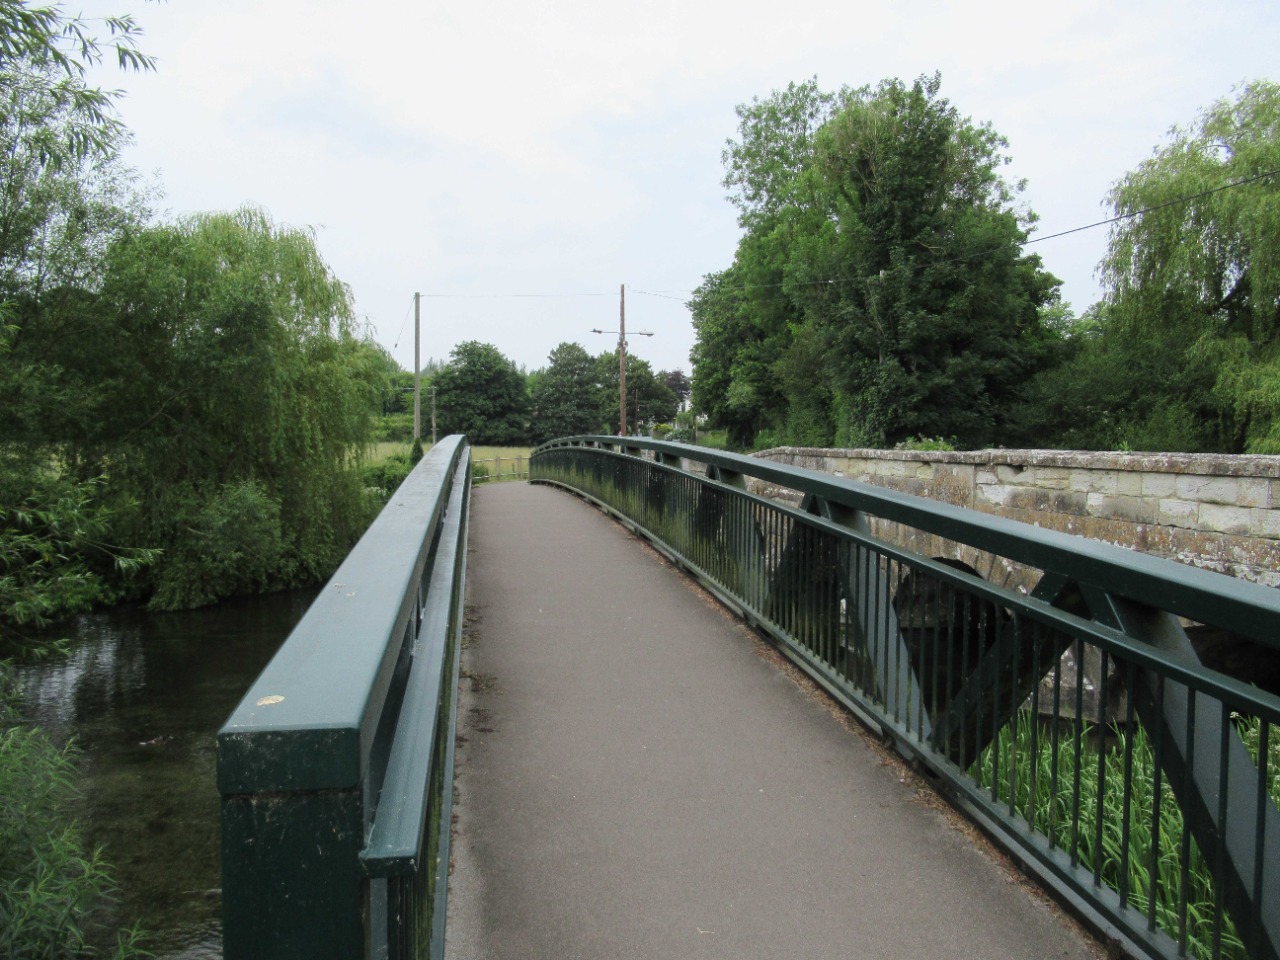
2. Modern traffic- and step-free footbridge on Church Street crossing the River Avon. 0.5 km from start — 02 May 2024

3. Turning left off Church Street onto the unpaved Recreation Road. 0.7 km from start — 02 May 2024

4. Rounding the corner on Recreation Road. 0.7 km from start — 02 May 2024
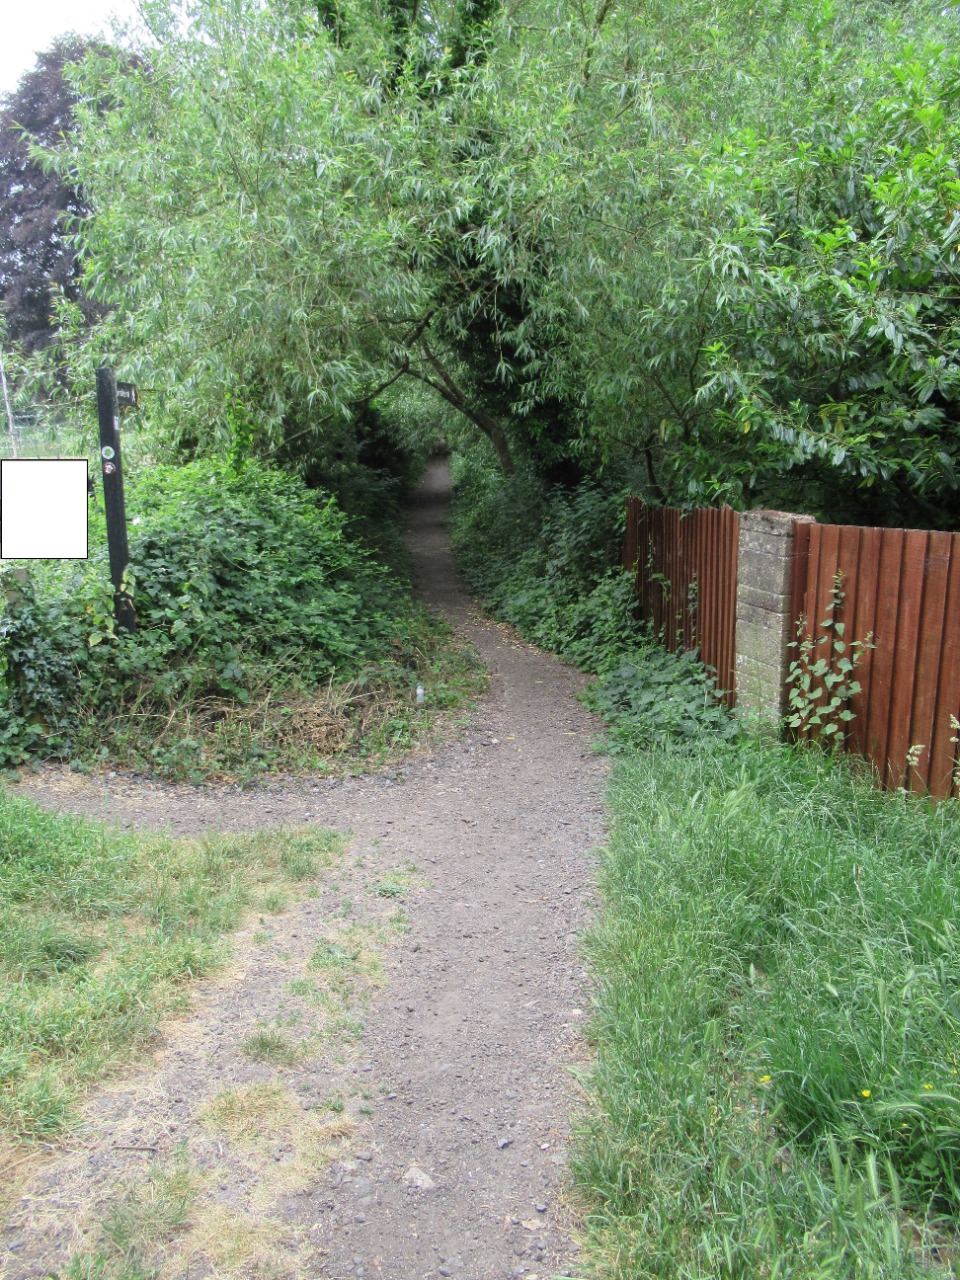
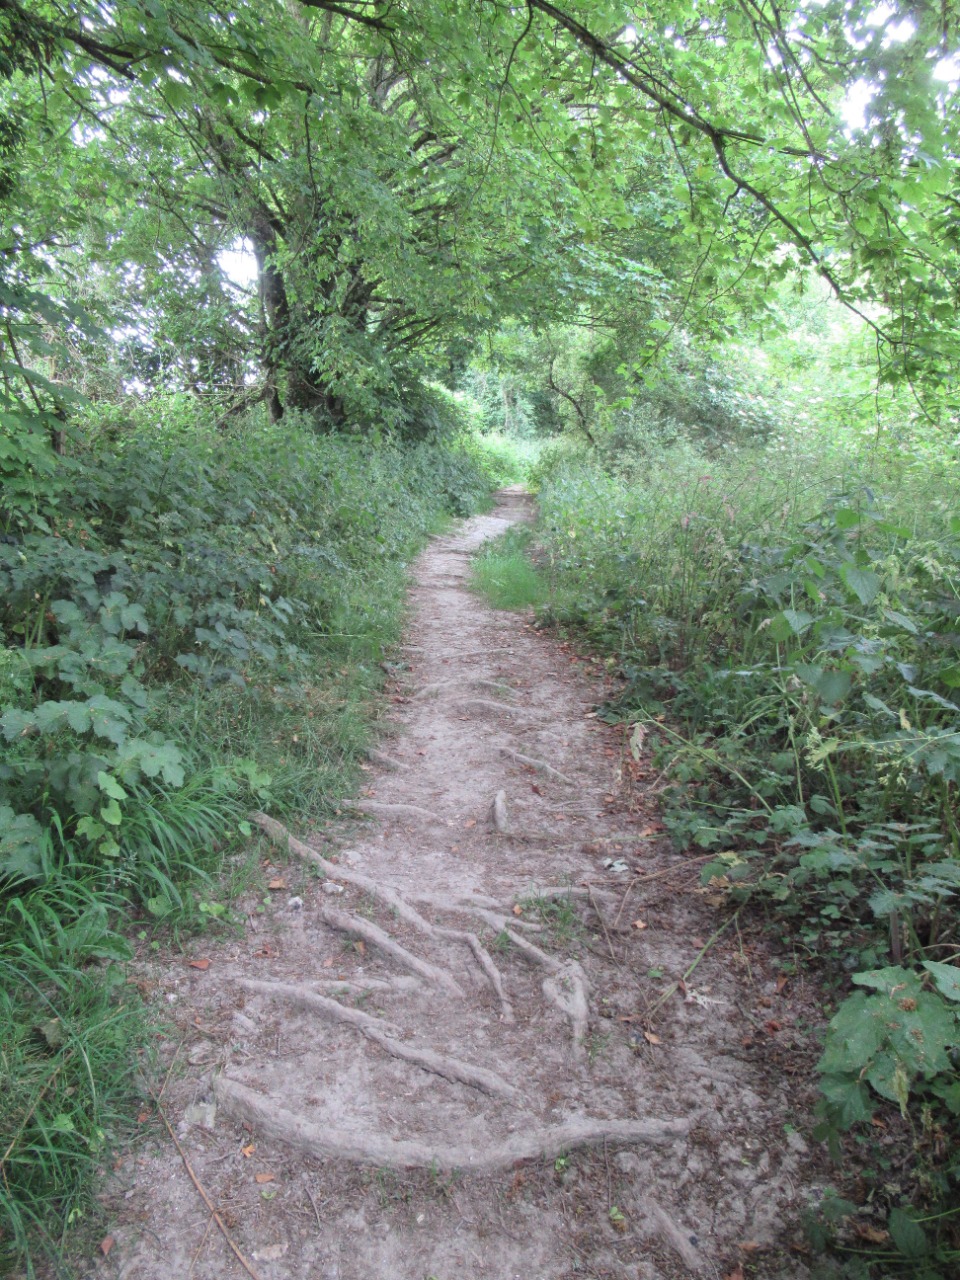
5. Leaving Recreation Road and joining well-used footpath under tree cover. Section has some loose stones, uneven ground and tree roots. 0.8 km from start — 02 May 2024

6. Short wooden footbridge crossing one of the Avon tributaries. Includes minor step on and off. 0.9 km from start — 02 May 2024
7. Exit of the first footbridge. 0.9 km from start — 02 May 2024

8. Another footbridge (concrete) crossing another of the Avon tributaries. 0.9 km from start — 02 May 2024
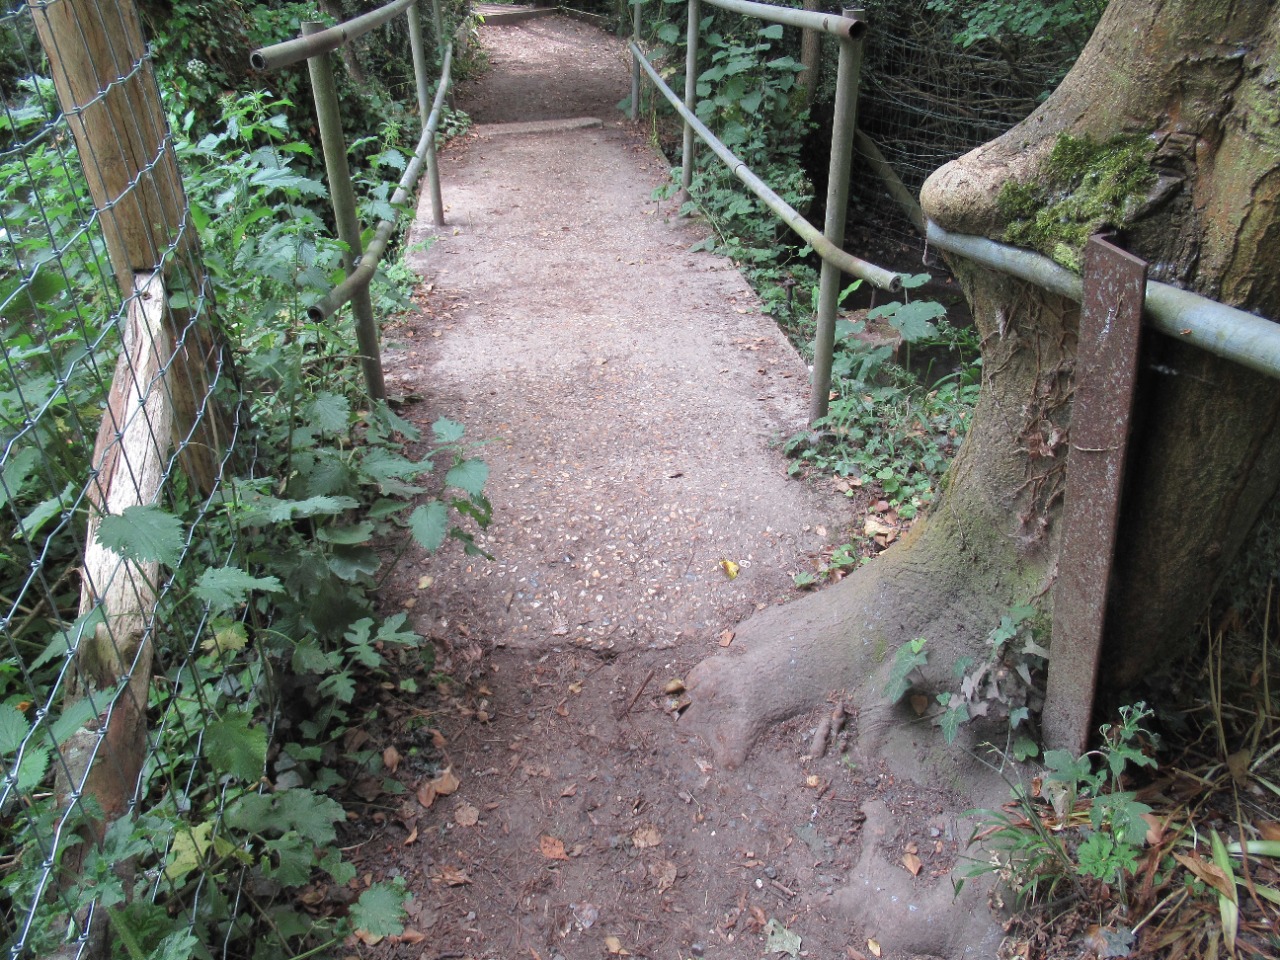
9. Exit of the concrete footbridge. 0.9 km from start — 02 May 2024

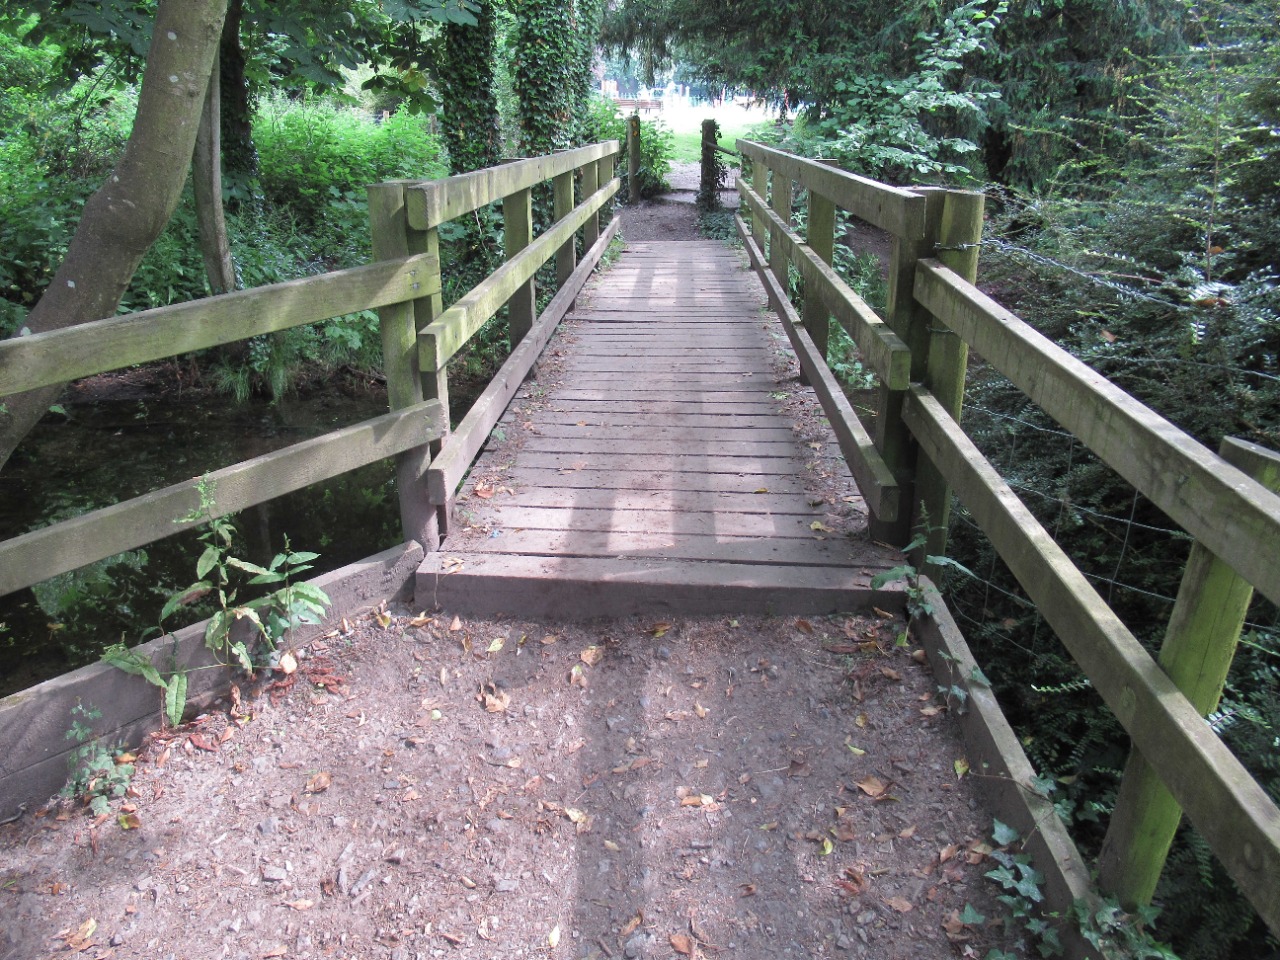
10. Longer wooden footbridge crossing the River Avon. 0.9 km from start — 02 May 2024

11. Exit of longer wooden footbridge. 0.9 km from start — 02 May 2024

12. Final footbridge (stone). No step but uneven. 0.9 km from start — 02 May 2024

13. Footpath once leaving the tree cover. Slight incline. 1.1 km from start — 02 May 2024

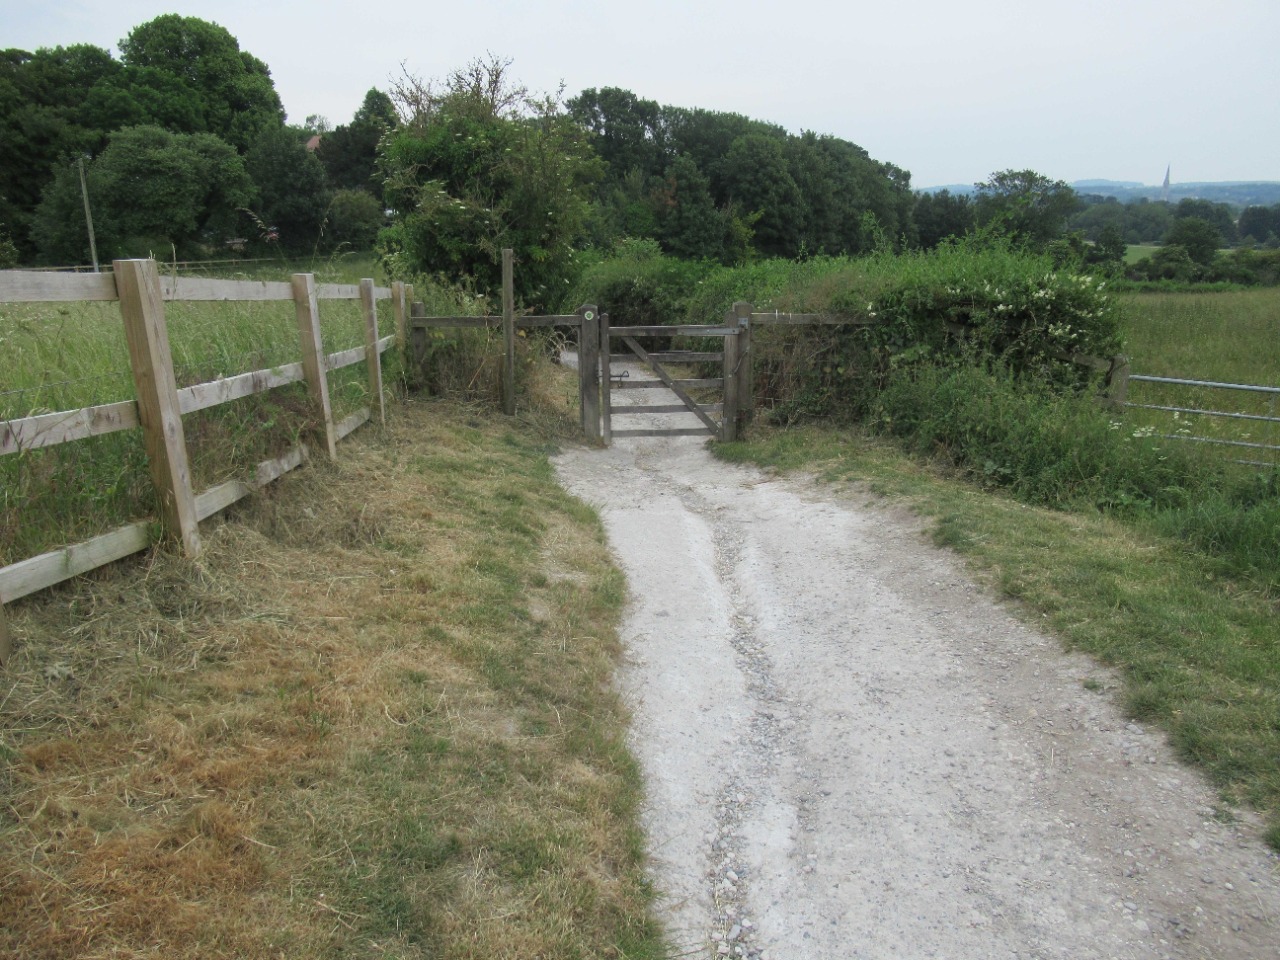
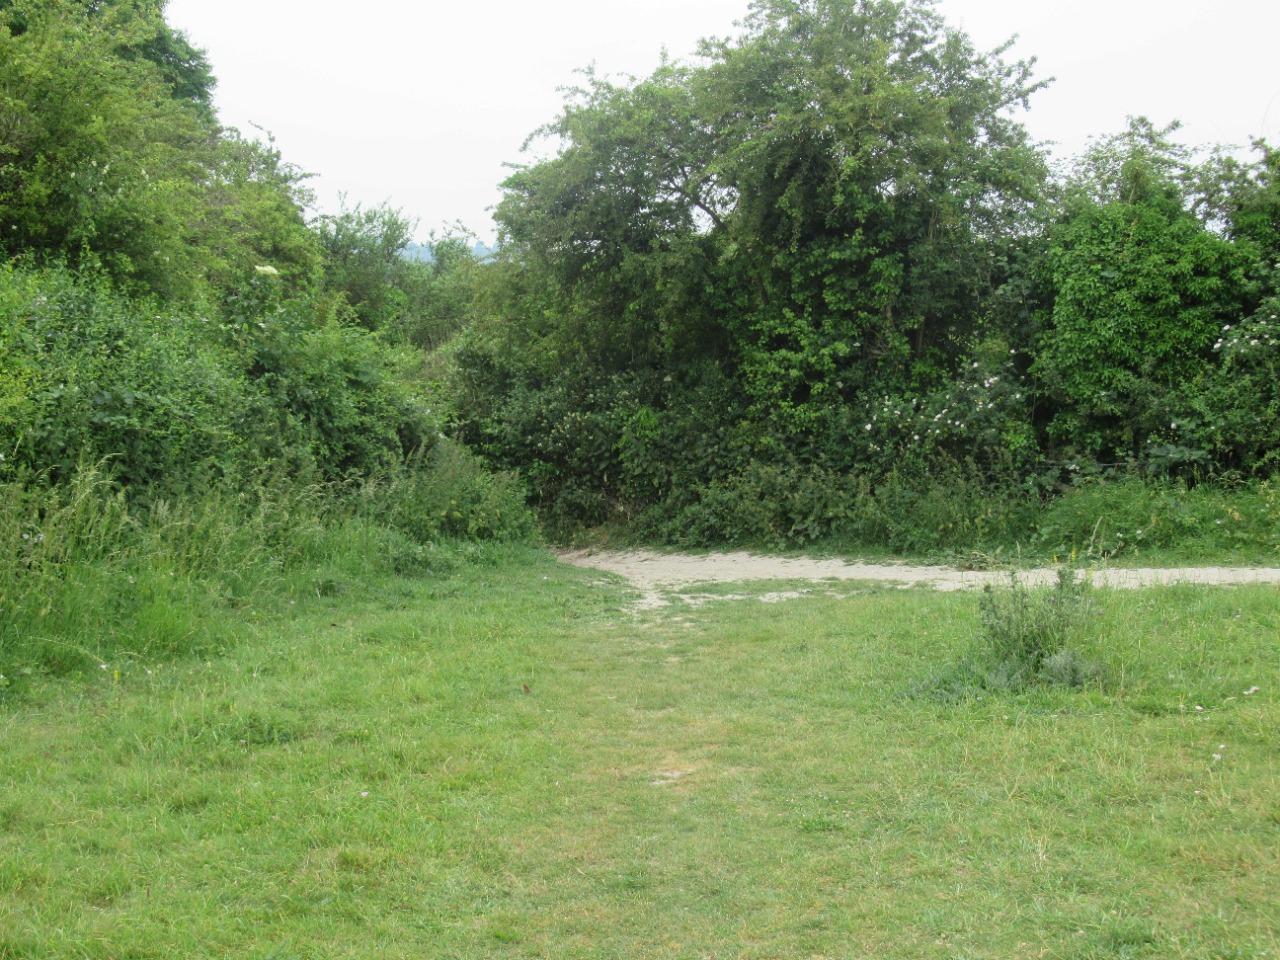
14. Gravel track junction at the end of the footpath. Follow the signage to Durnford. 1.4 km from start — 02 May 2024
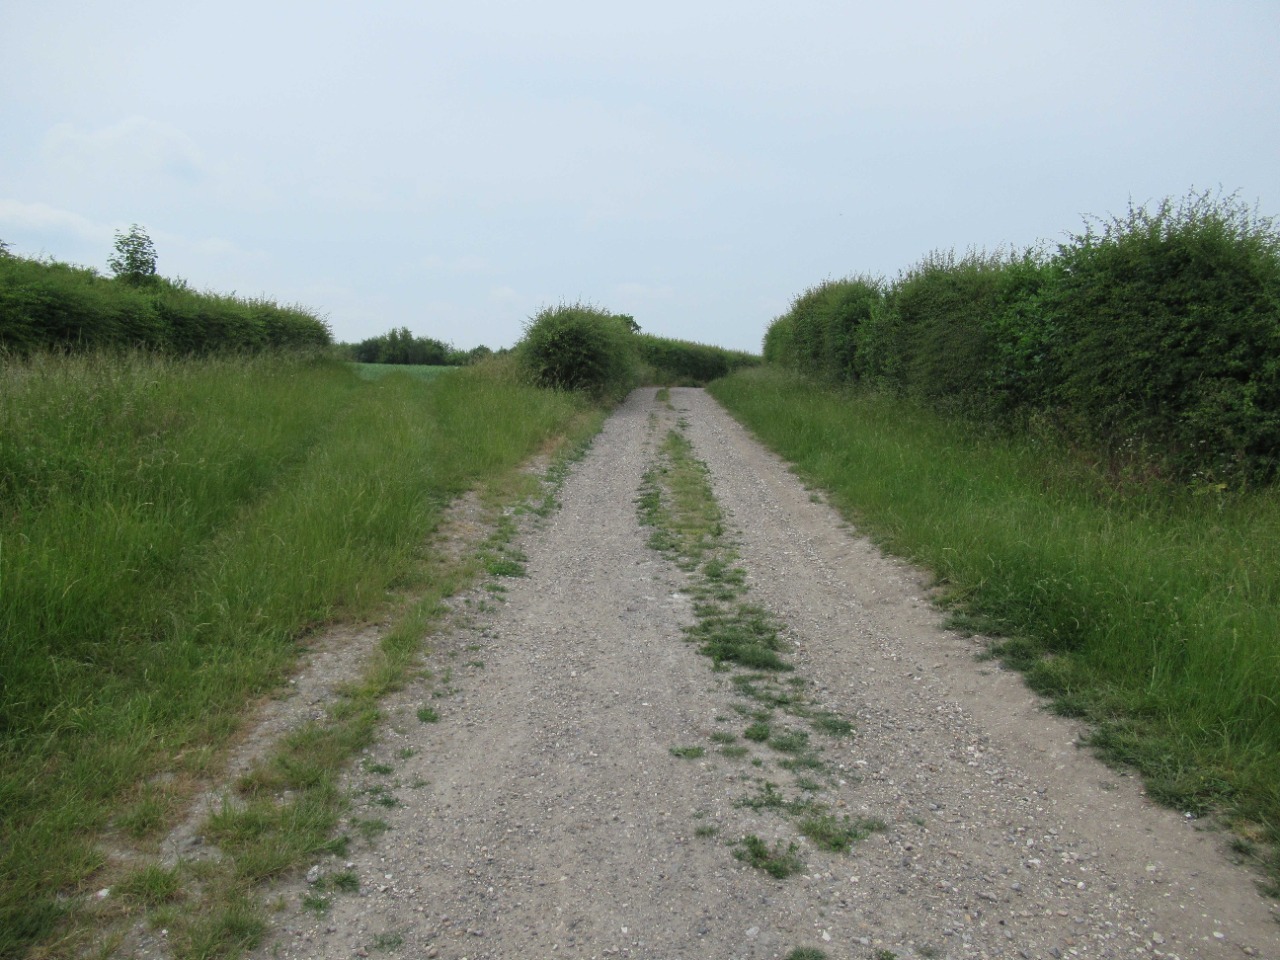
15. Gravel track, slight incline. 1.5 km from start — 02 May 2024
16. Beginning a steeper incline as the track moves up the valley of the river. 1.8 km from start — 02 May 2024
17. Gravel path gives way to grass at the final ascent. 2 km from start — 02 May 2024

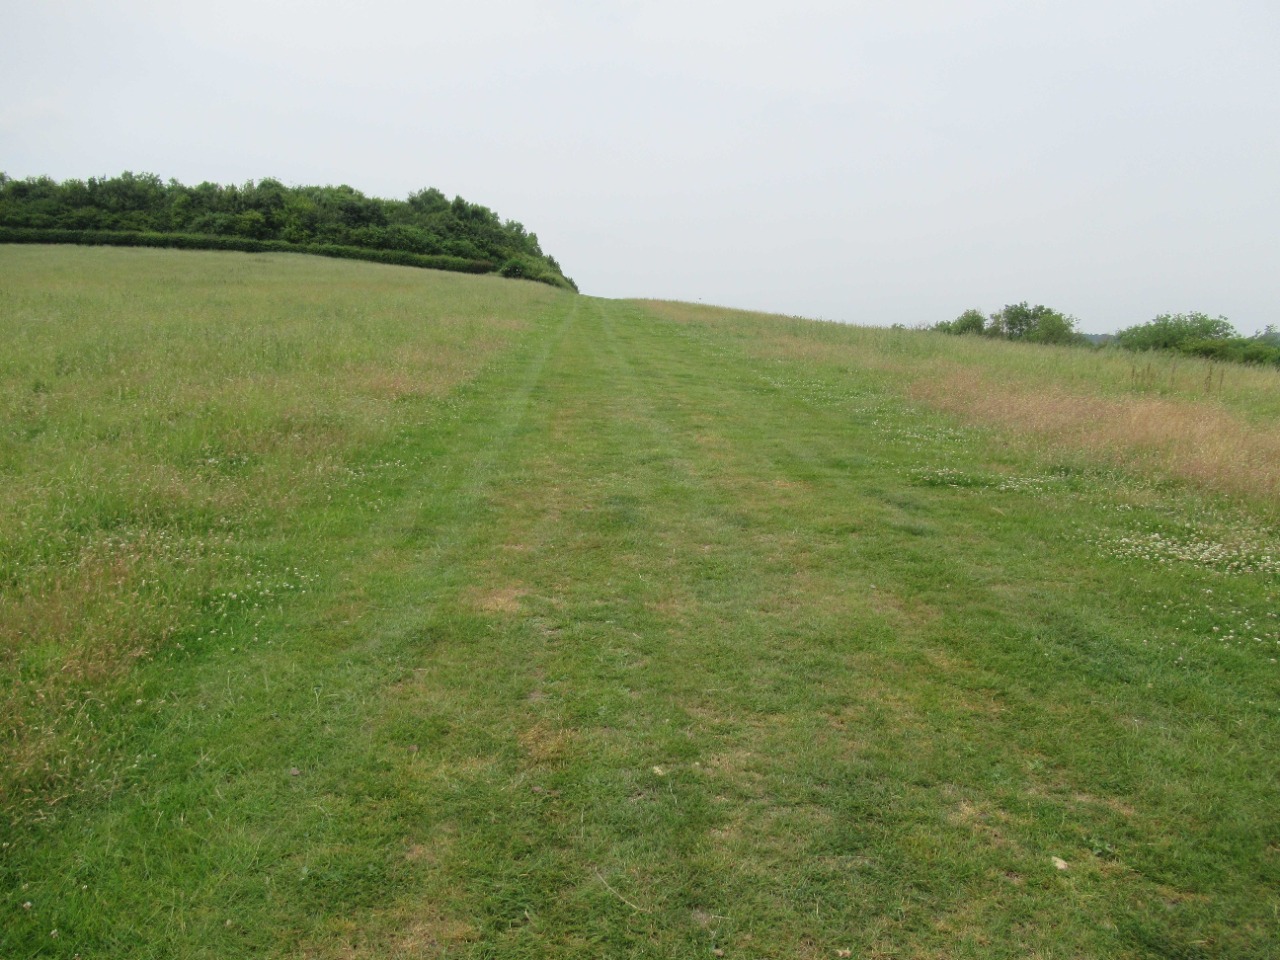
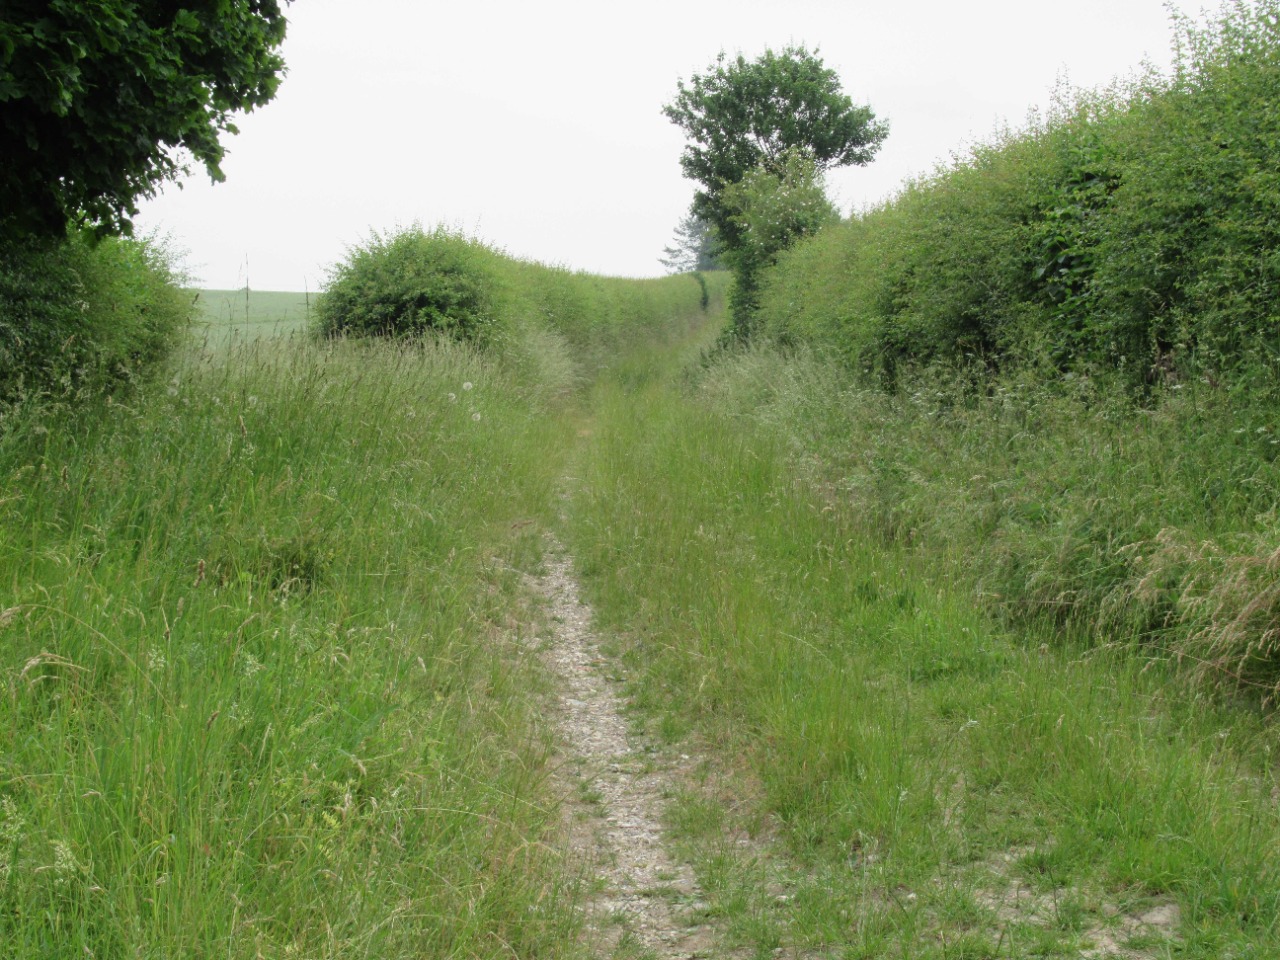
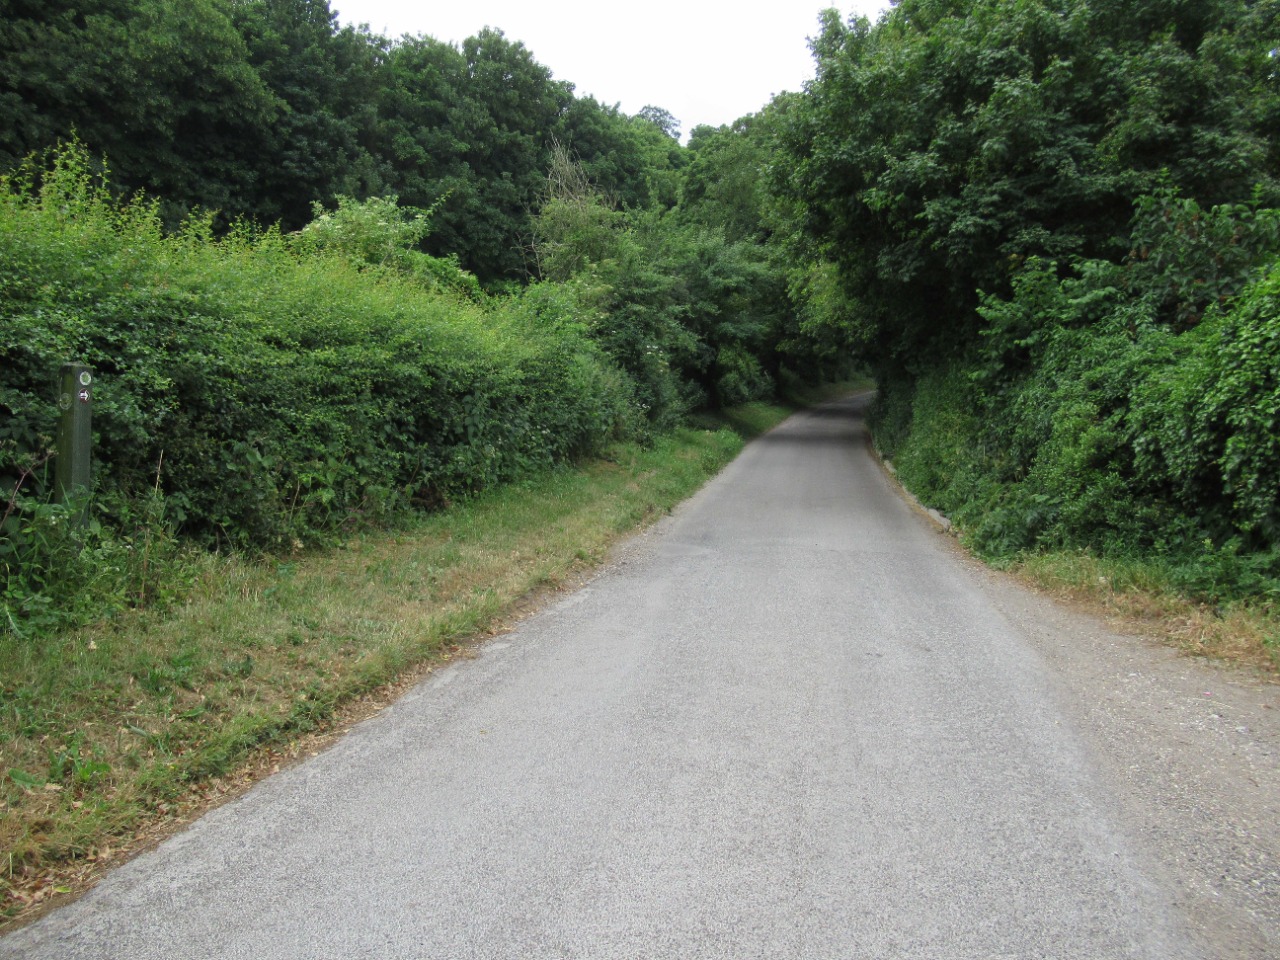
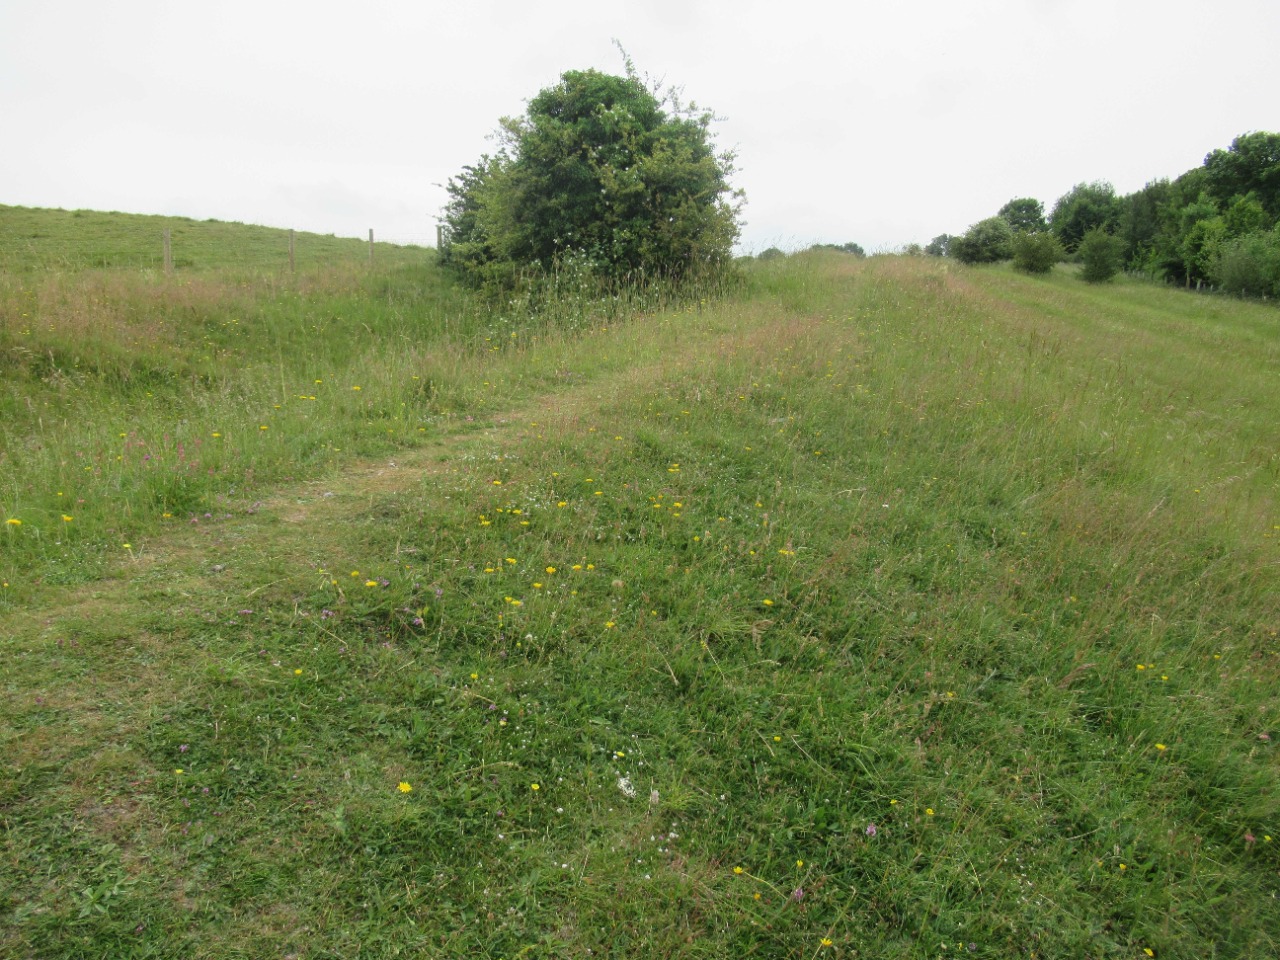
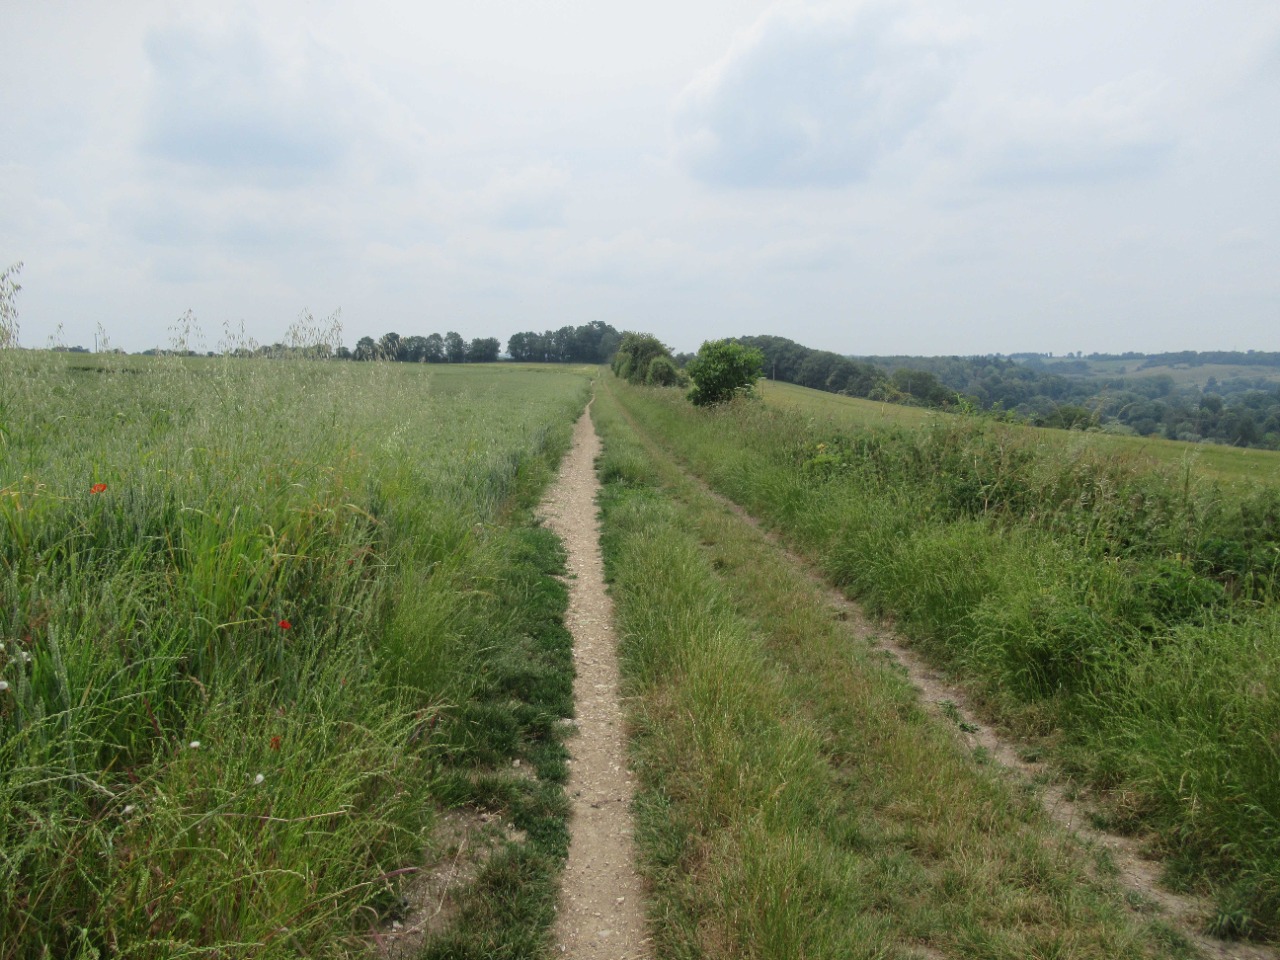
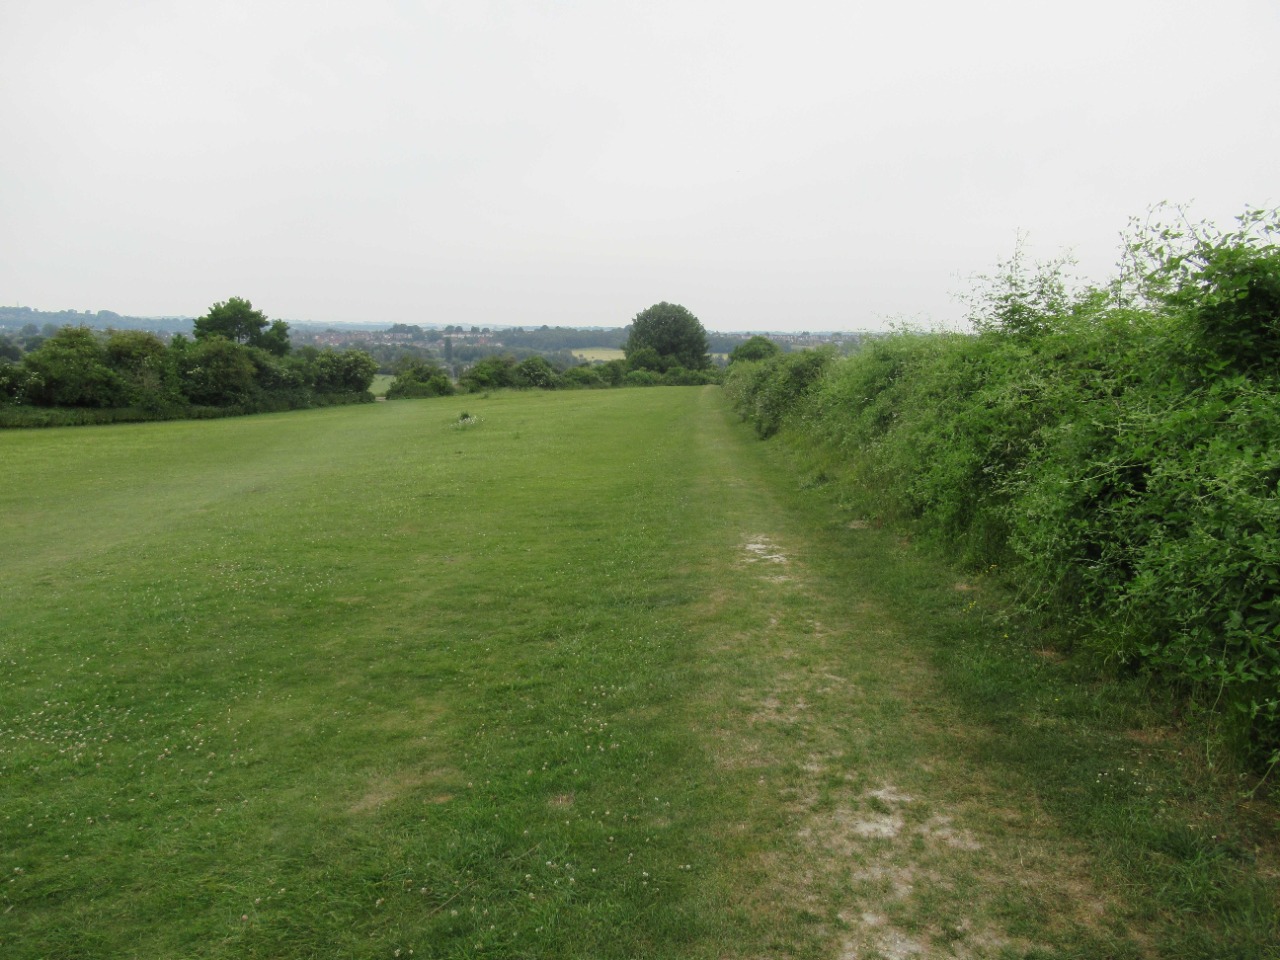
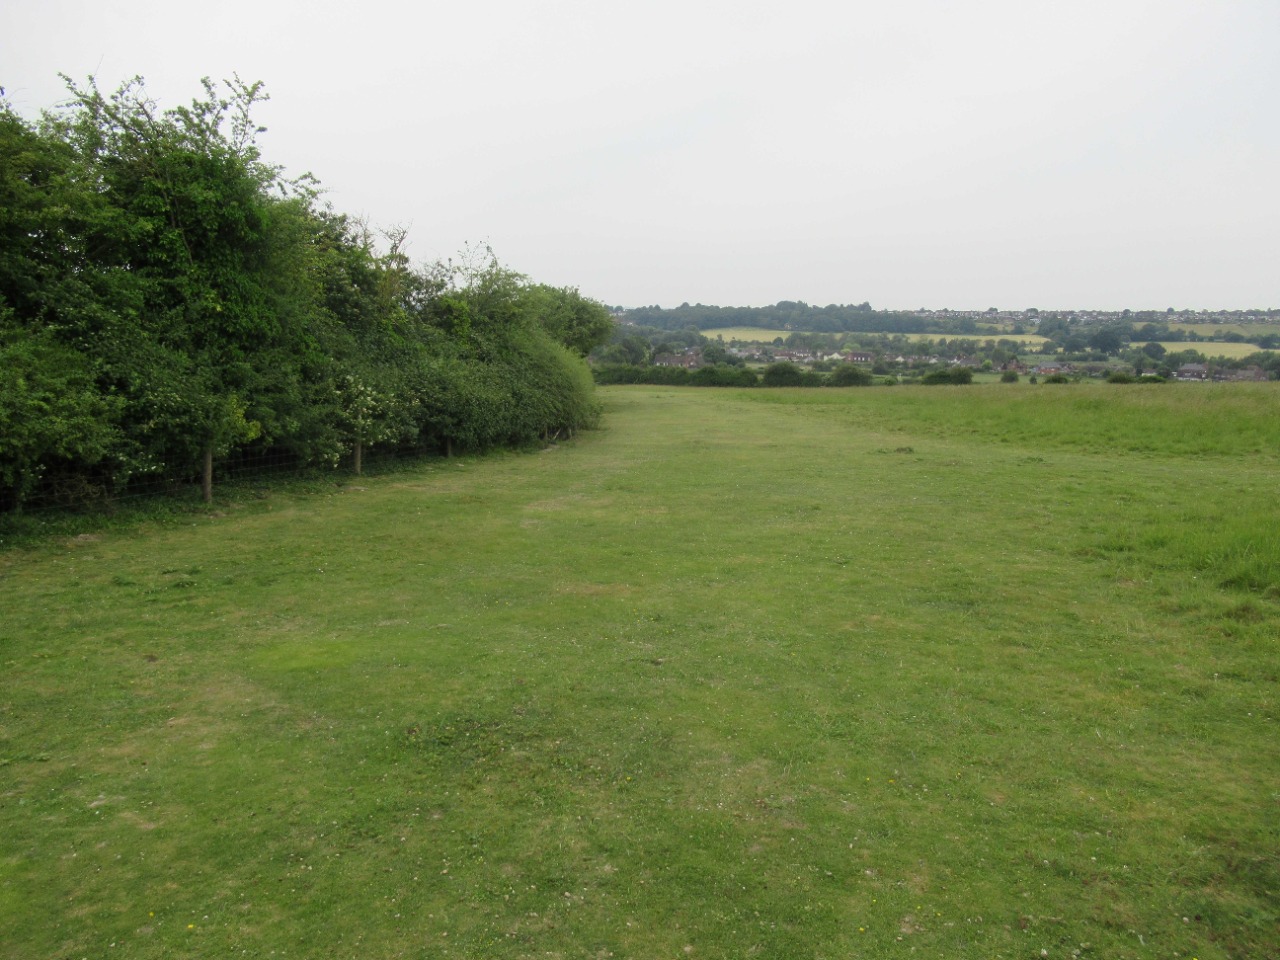
18. Slight undulating grass track at the summit. Nominal footpath approx. 20cm wide. 2.2 km from start — 02 May 2024
19. Reaching a junction of tracks continue onto footpath. 2.8 km from start — 02 May 2024
20. First section of footpath. 2.9 km from start — 02 May 2024
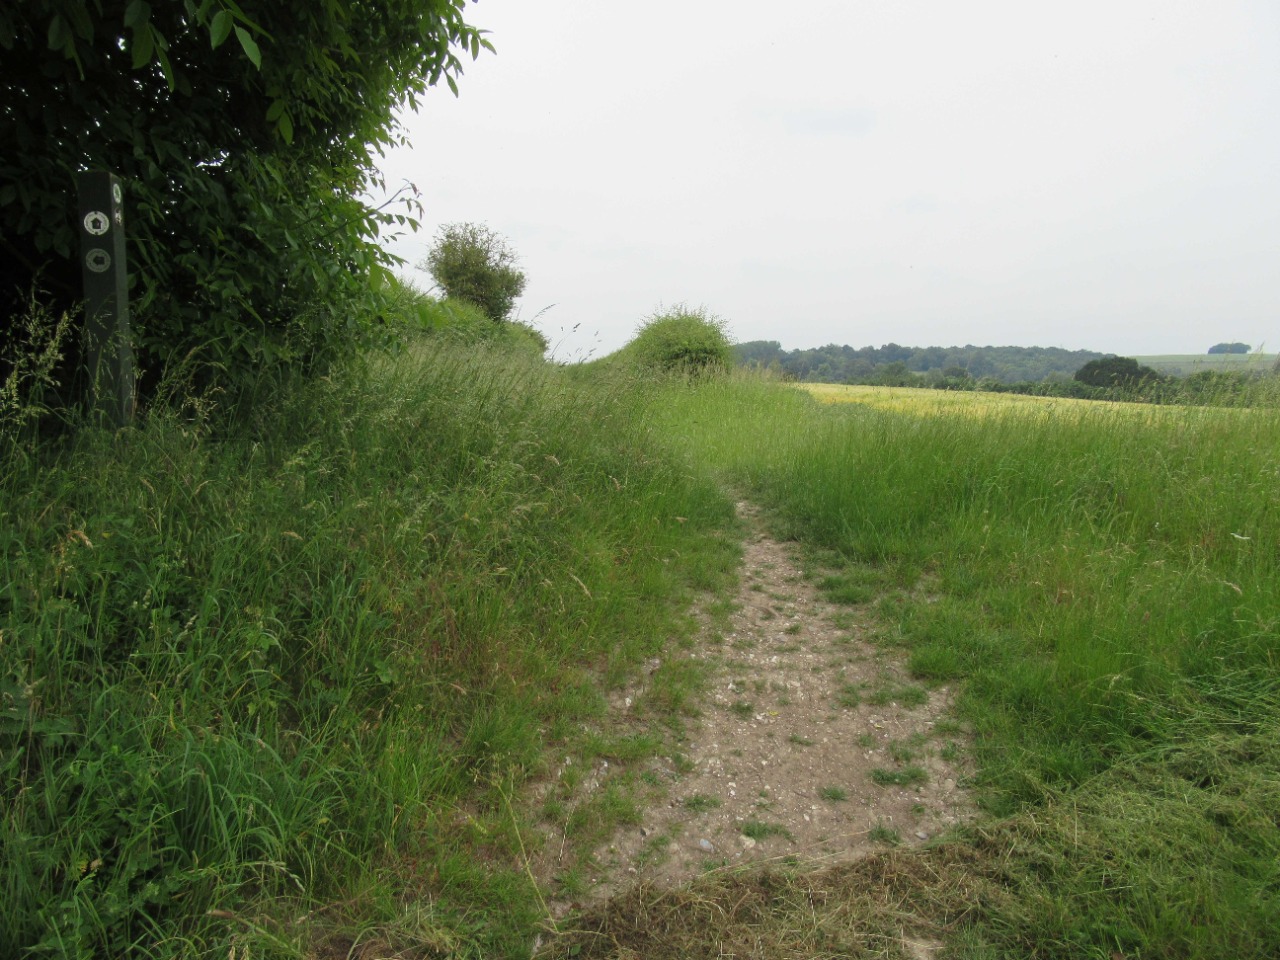
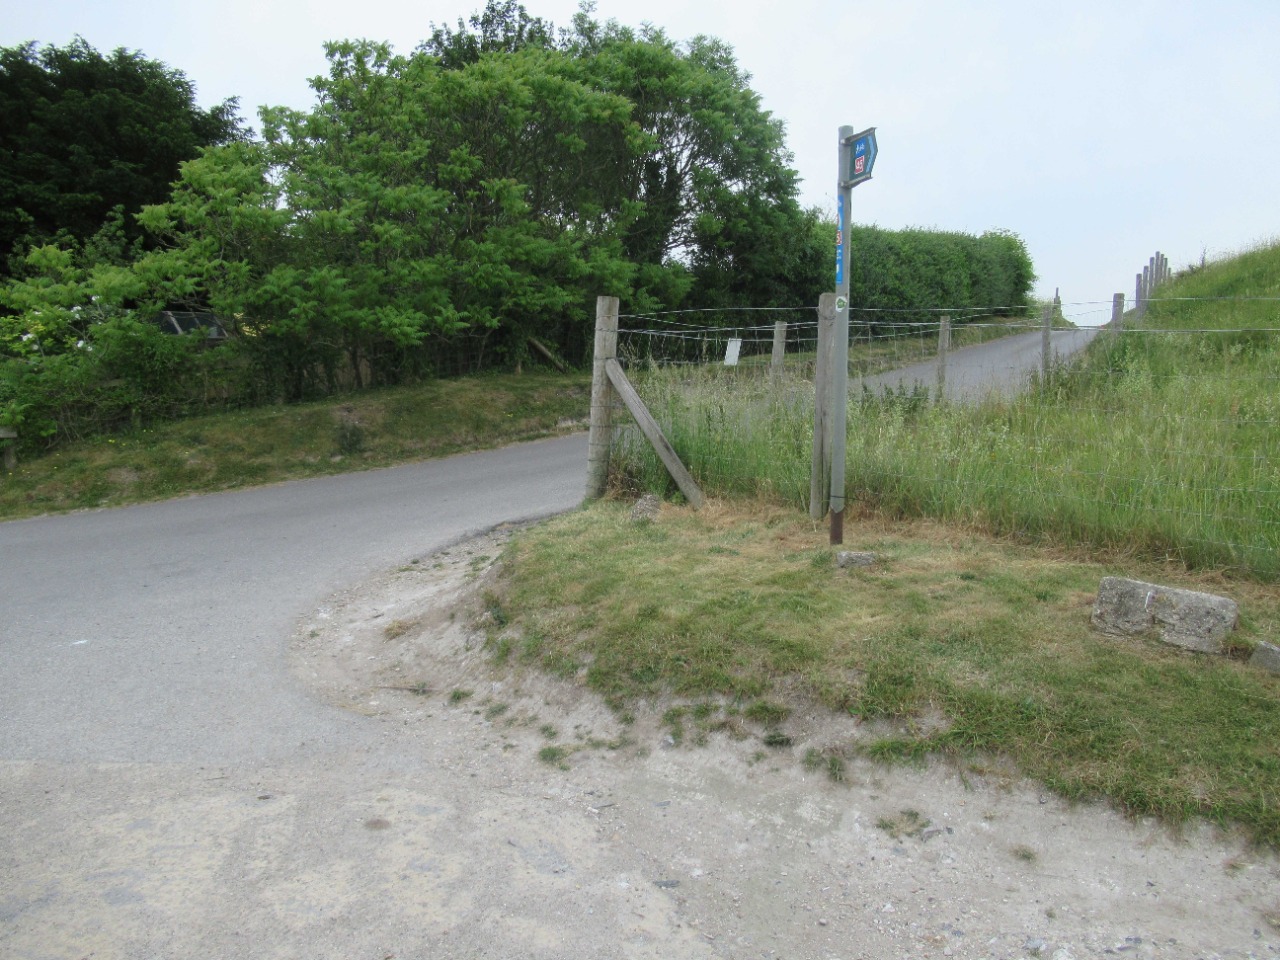
21. Bear left following the signage. 3 km from start — 02 May 2024

22. Next section begins level. 3 km from start — 02 May 2024
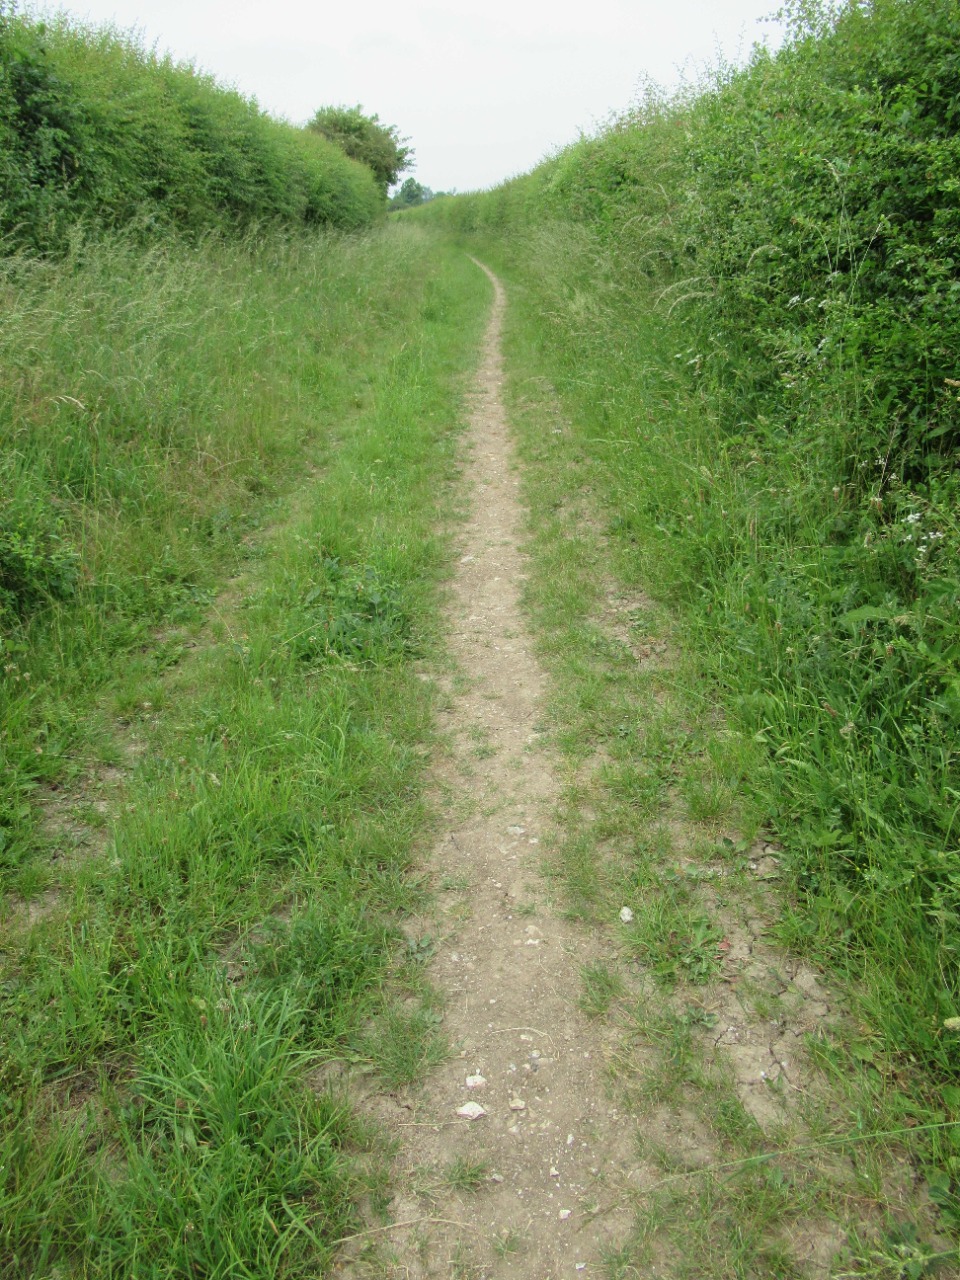
23. Then begins to incline. 3.1 km from start — 02 May 2024

24. Footpath incline increases and narrows. 3.2 km from start — 02 May 2024
25. Steeper incline, exposed tree roots. 3.2 km from start — 02 May 2024
26. Undulating with tree roots. 3.2 km from start — 02 May 2024
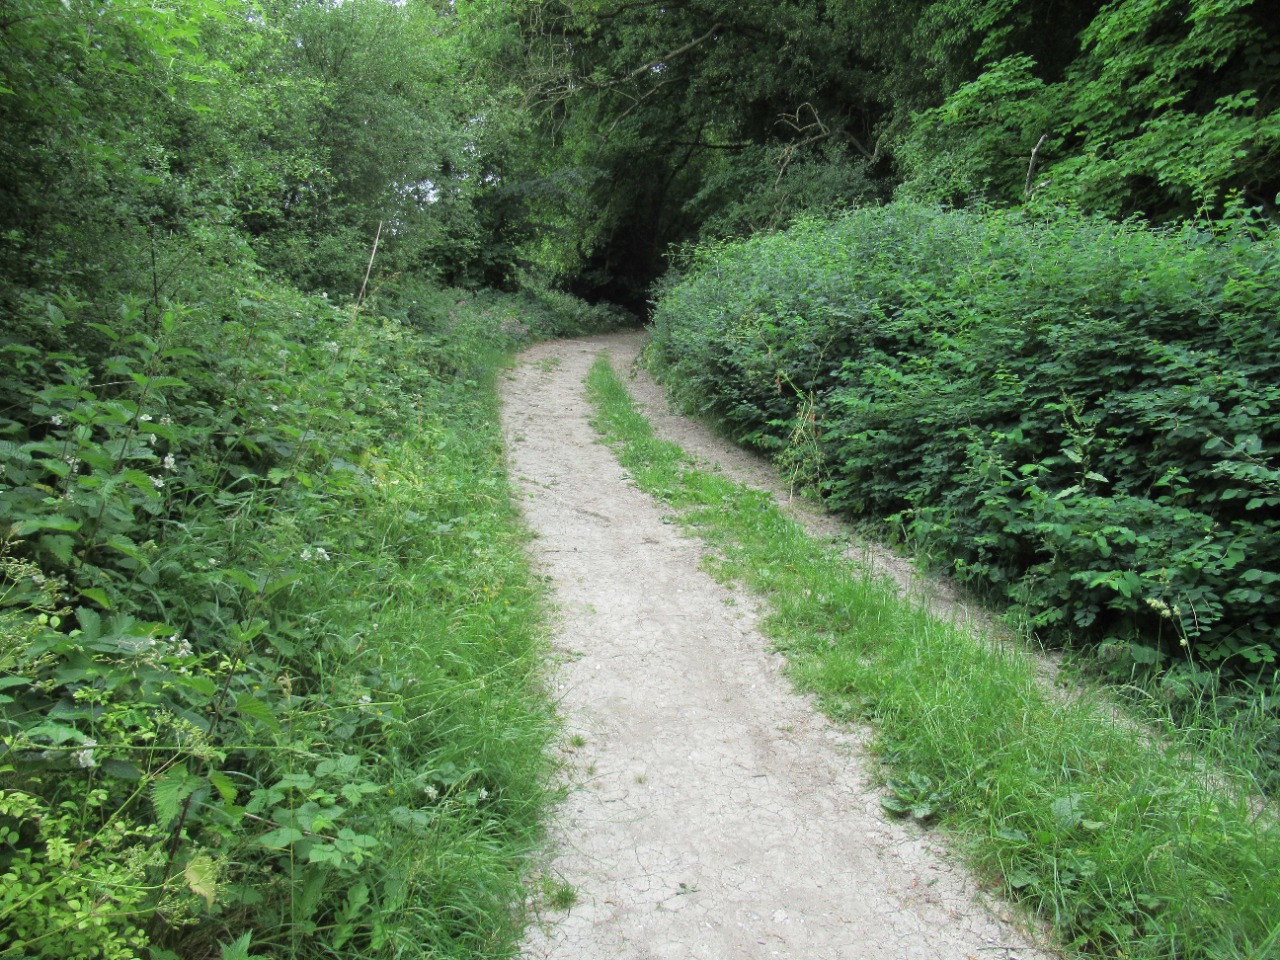
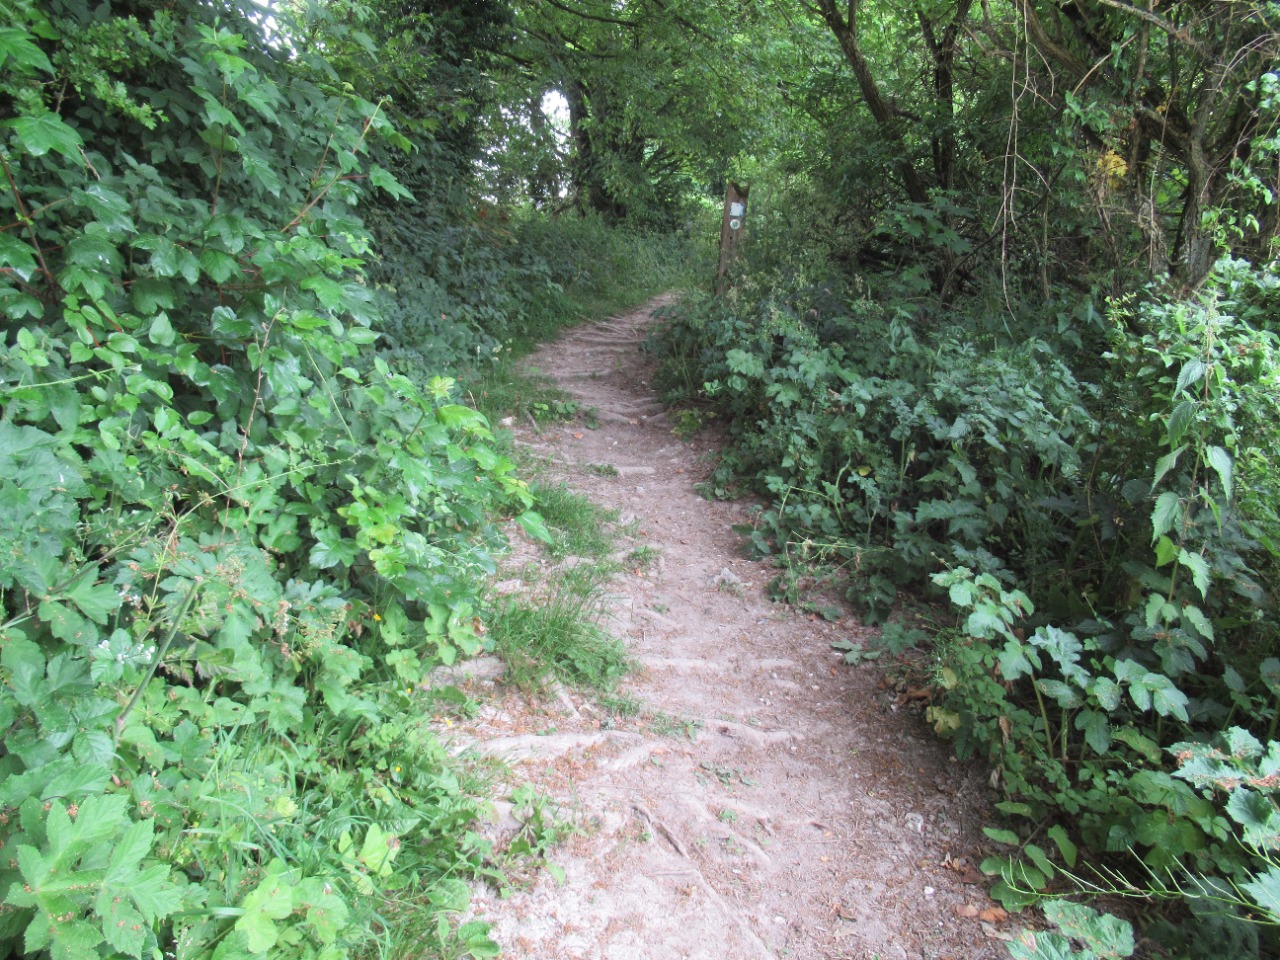
27. Footpath turns to a gravel track. 3.3 km from start — 02 May 2024
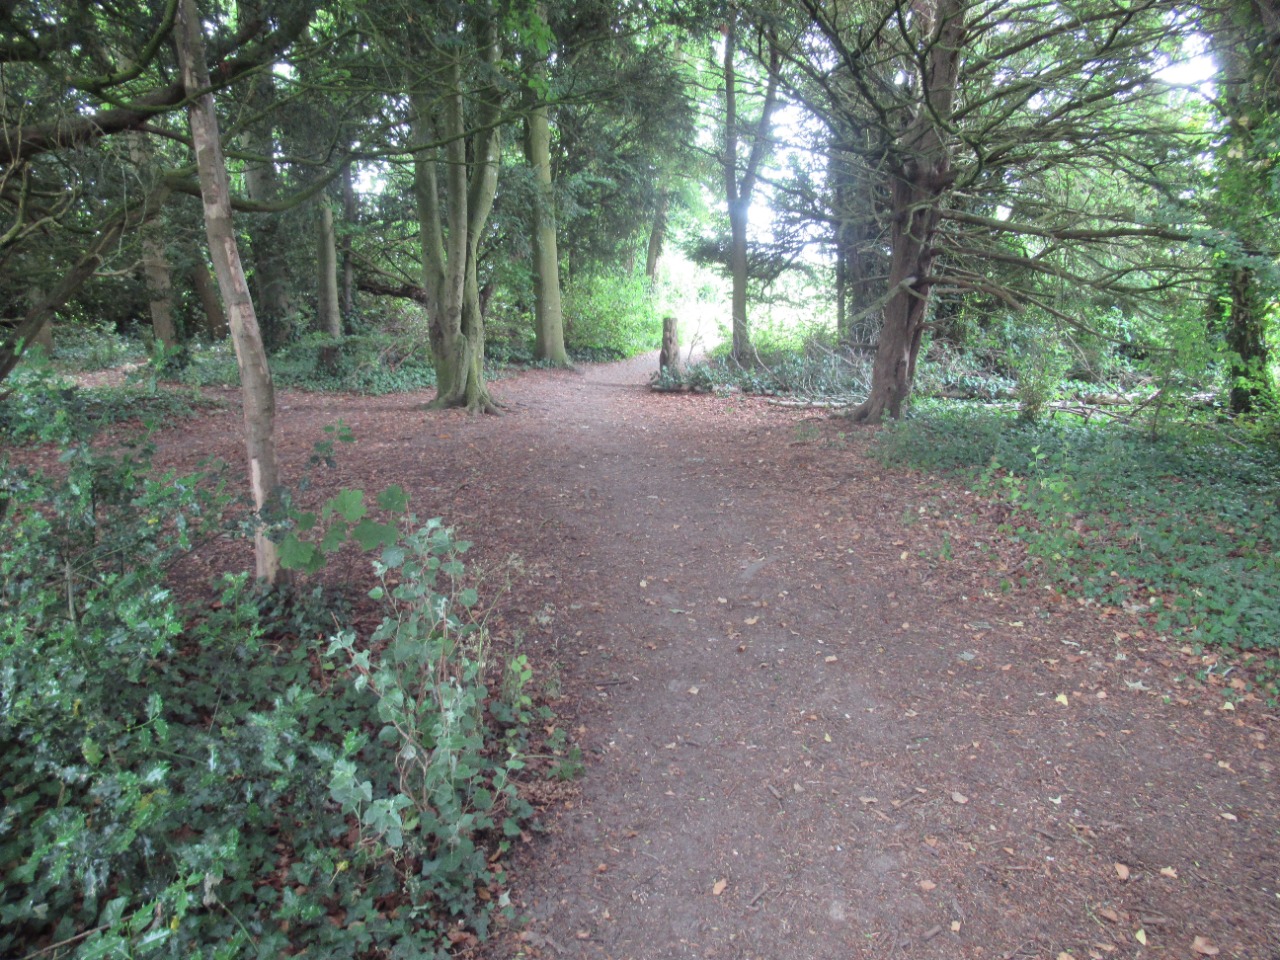
28. Onto wide, well-maintained off-track under tree cover. 3.3 km from start — 02 May 2024
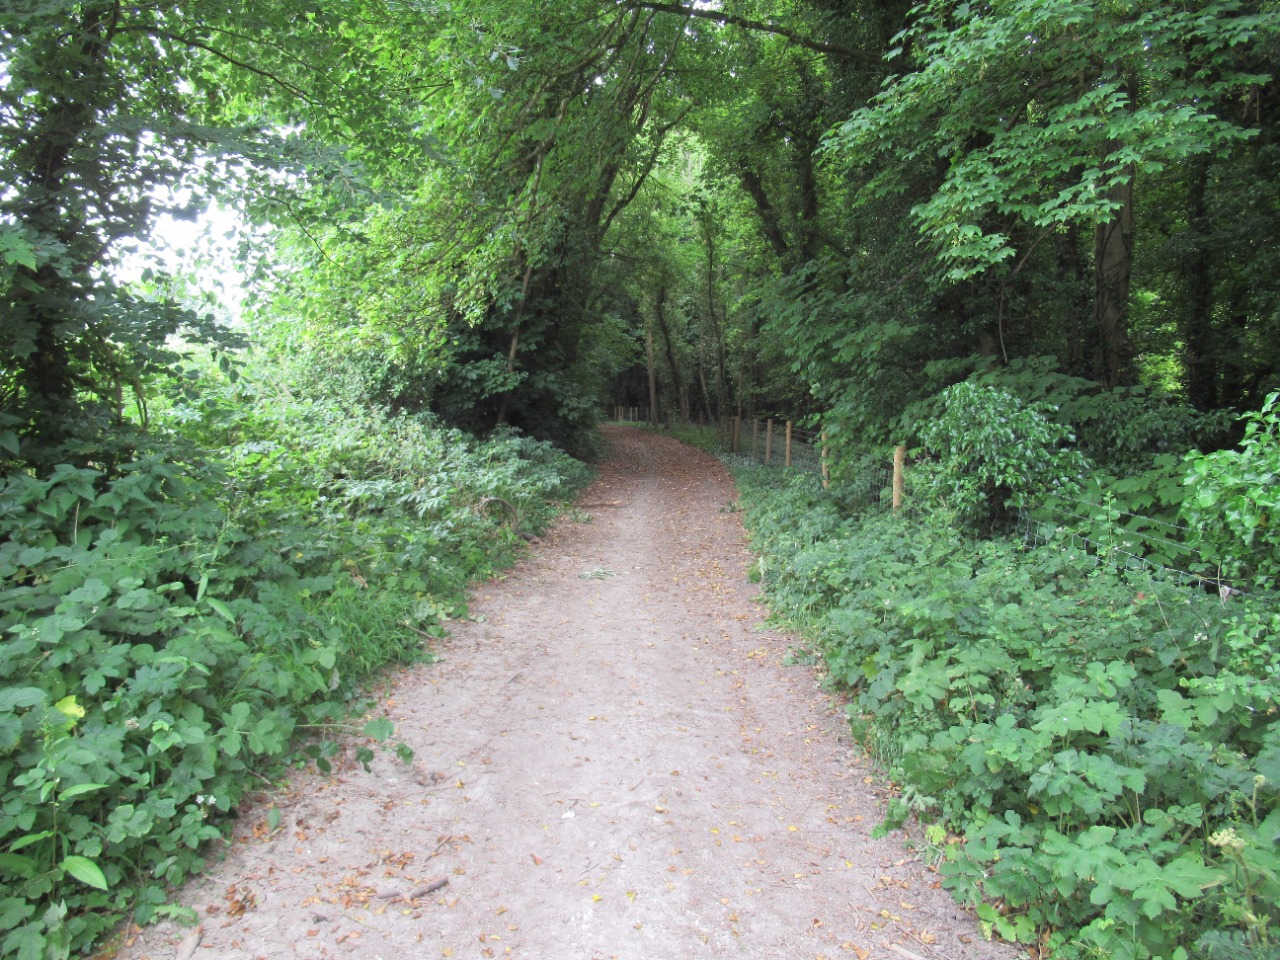
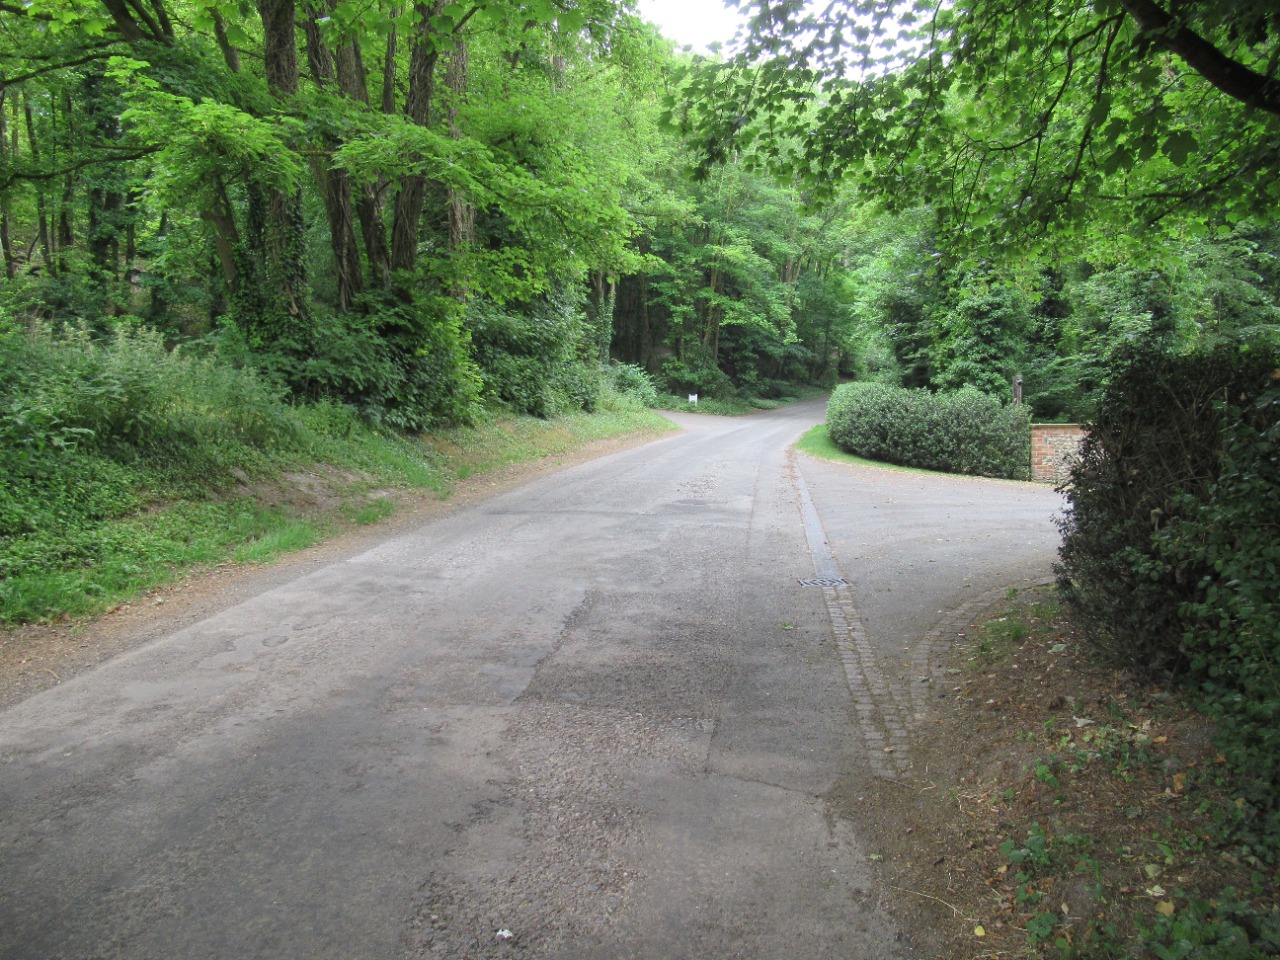
29. Path straightens and descends and ends at the traffic road toward Great Durnford. 3.5 km from start — 02 May 2024

30. Reaching the quiet traffic road that leads to Great Durnford. 3.8 km from start — 02 May 2024

31. View of the road opposite to the direction the route takes. 3.8 km from start — 02 May 2024
32. Road down to Great Durnford. 3.8 km from start — 02 May 2024
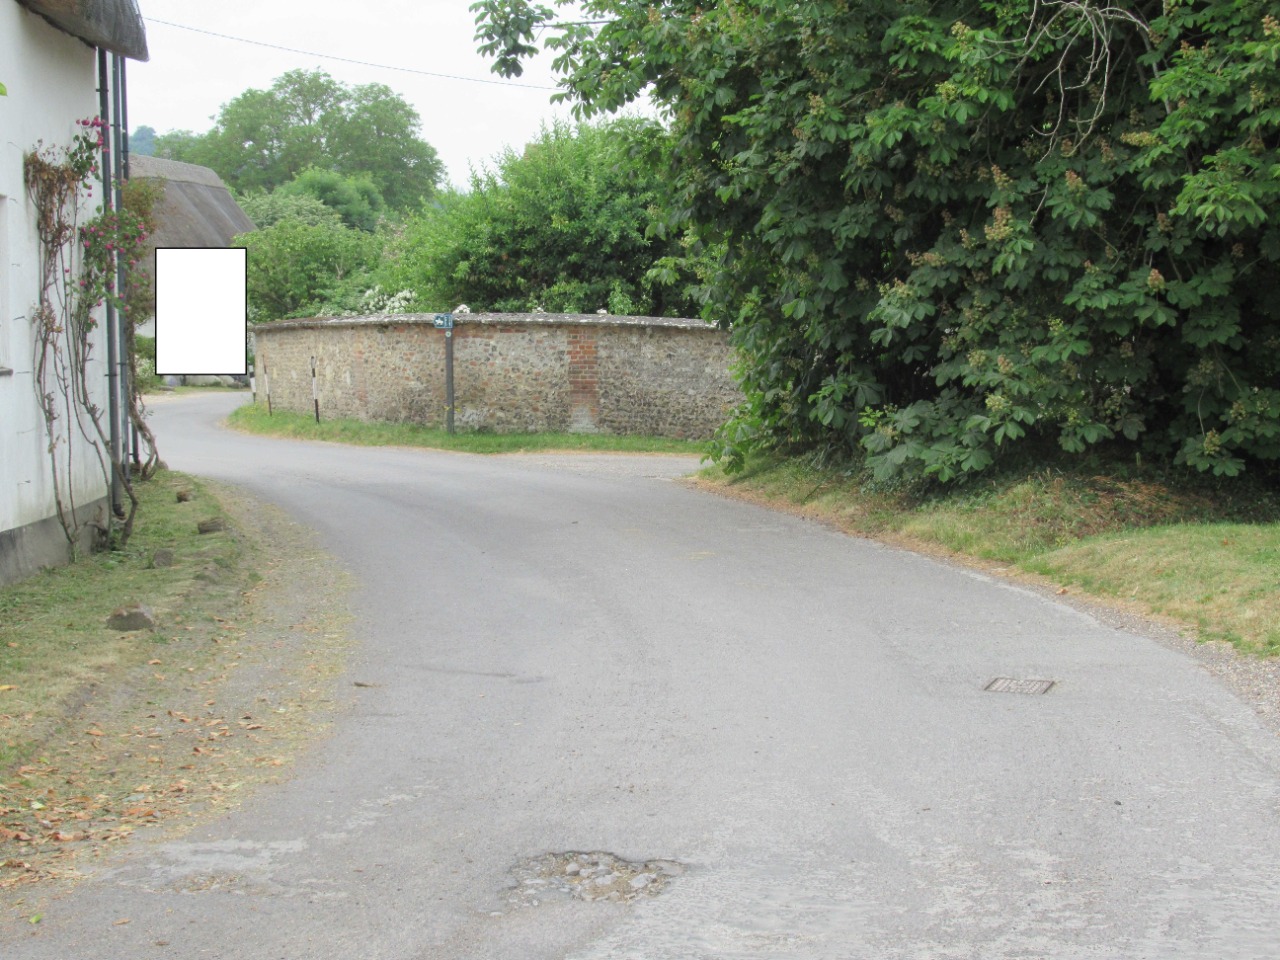
33. Rounding the corner. The turning to the now-blocked manor estate section of the Slow Ways route is on the right. 3.9 km from start — 02 May 2024

34. Manor house estate blocked. Instead follow the road down into Great Durnford. 3.9 km from start — 02 May 2024

35. [REQUIRED DIVERSION] Beginning the road detour into Great Durnford. 3.9 km from start — 02 May 2024
36. [REQUIRED DIVERSION] First corner. 3.9 km from start — 02 May 2024

37. [REQUIRED DIVERSION] After rounding the second corner, now arriving into Great Durnford. 4.1 km from start — 02 May 2024
38. Exit of the now-blocked Slow Ways route through the manor house estate. 4.2 km from start — 02 May 2024
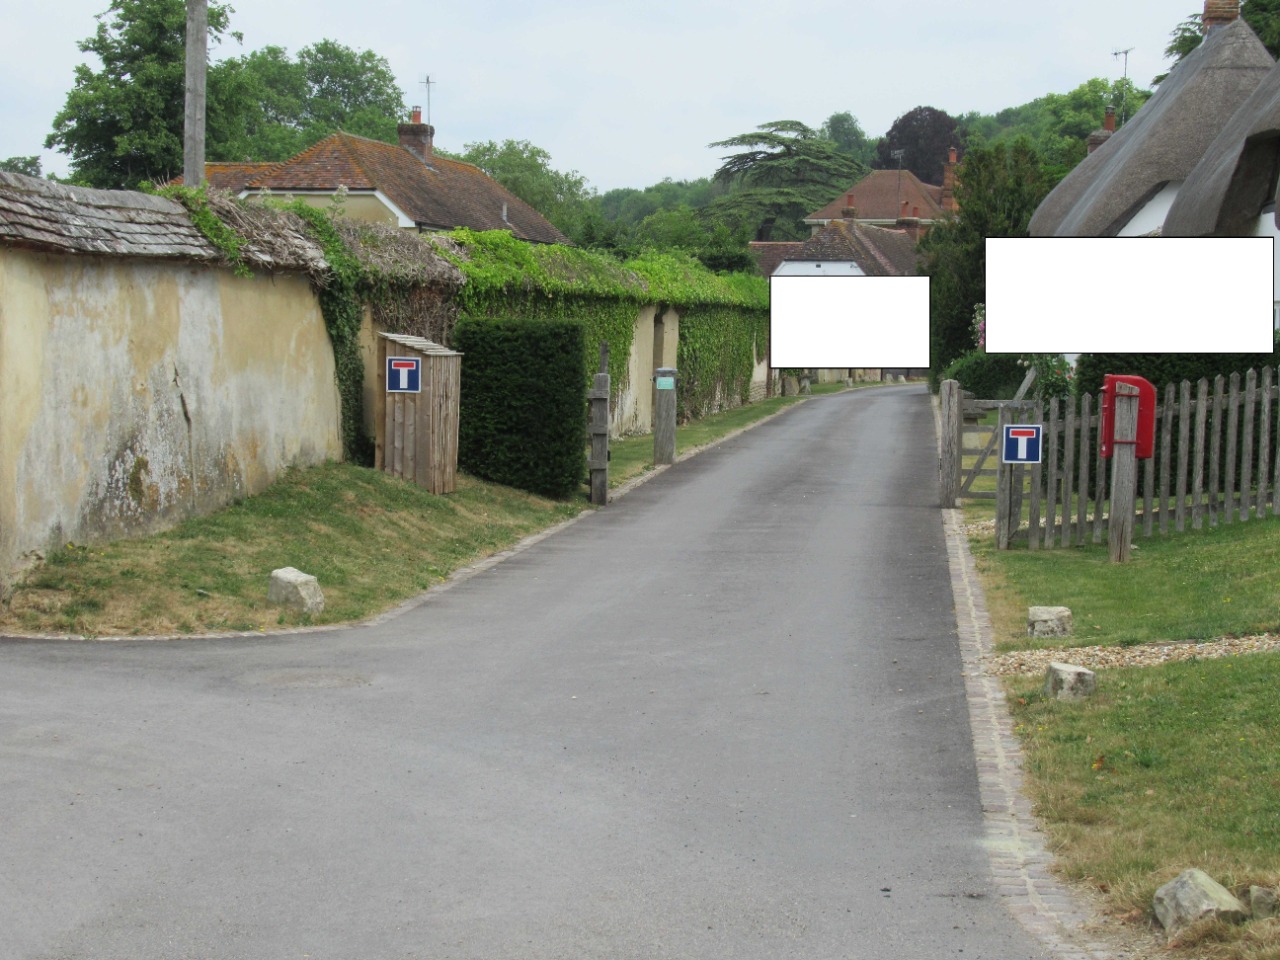
39. Road through Great Durnford. 4.3 km from start — 02 May 2024

40. Road continuing through Great Durnford. 4.3 km from start — 02 May 2024
41. Road continuing through Great Durnford. 4.4 km from start — 02 May 2024

42. Left turn onto Jubilee Hill road which has a upward moderate gradient, no pavement to speak of but is wide, quiet and visibility is good. 4.6 km from start — 02 May 2024
43. Beginning of ascent up Jubilee Hill road. 4.7 km from start — 02 May 2024
44. Halfway up the Slow Ways route suggests leaving Jubillee Hill passing through a couple of pedestrian gates to travel along a parallel footpath along an earthwork for 200m before joining the road again. 5 km from start — 02 May 2024
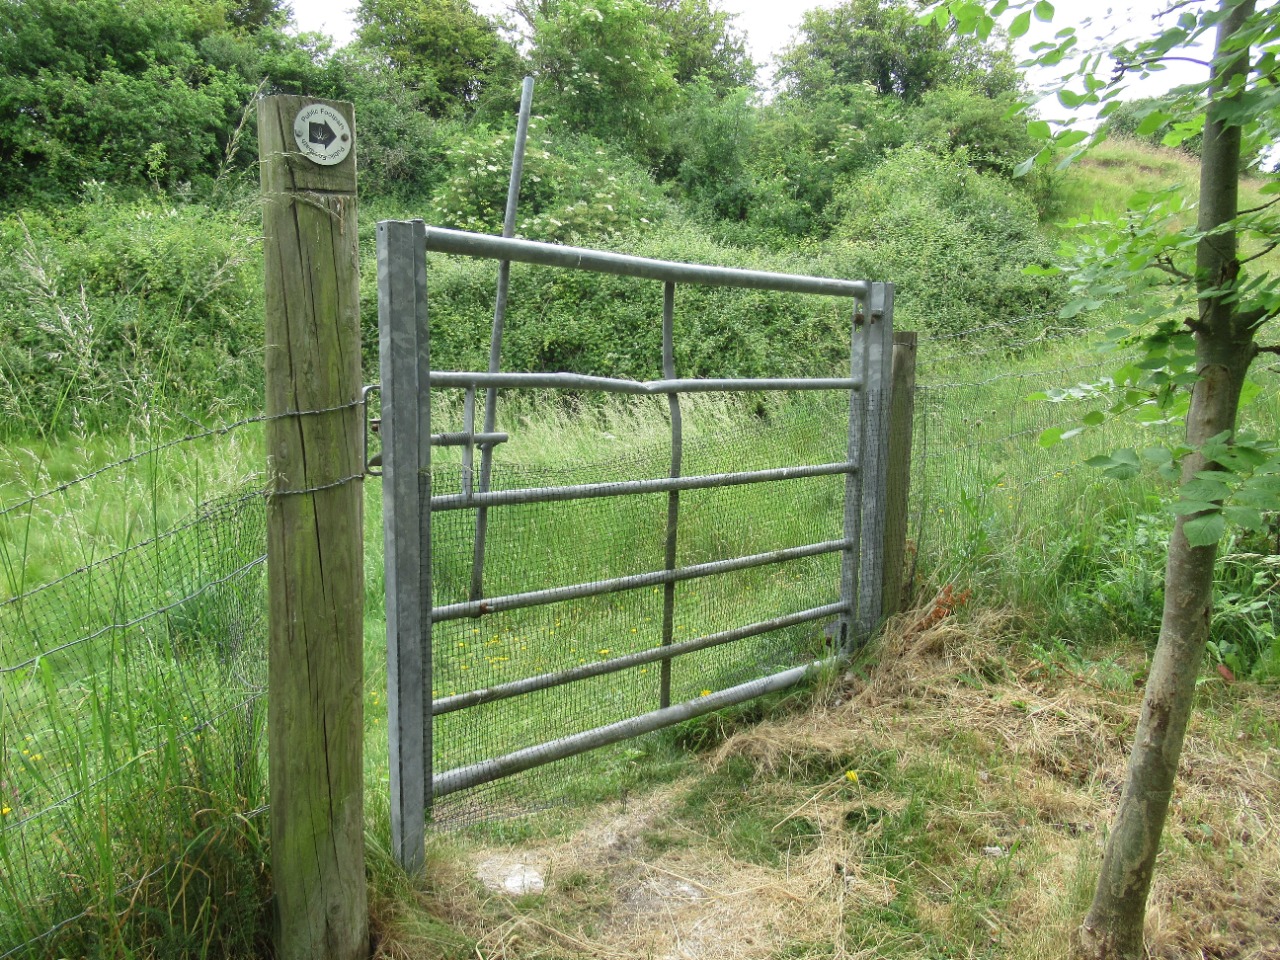
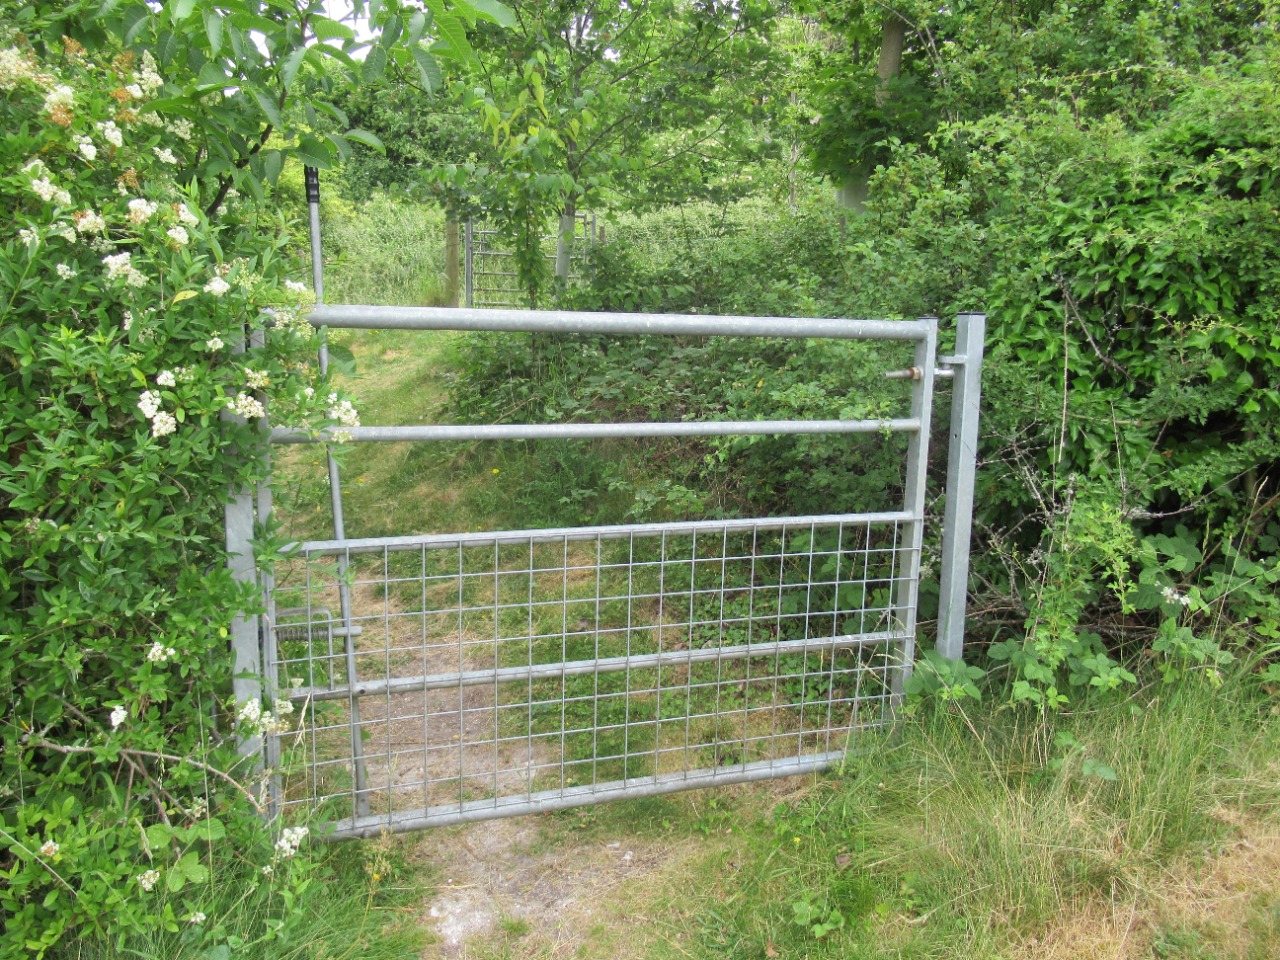
45. [OPTIONAL] Second pedestrian gate. 5 km from start — 02 May 2024
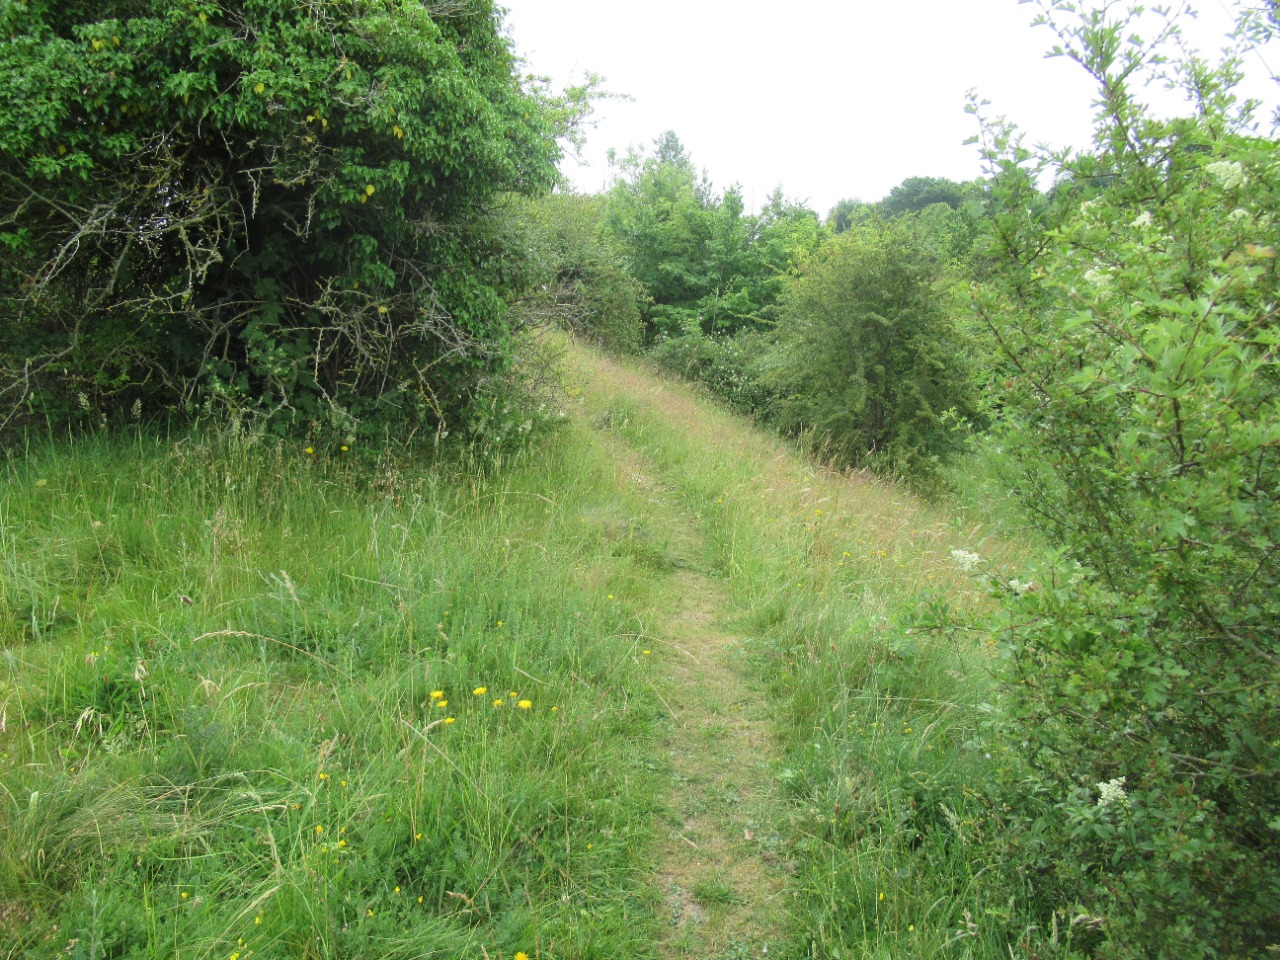
46. [OPTIONAL] First section of footpath. 5 km from start — 02 May 2024
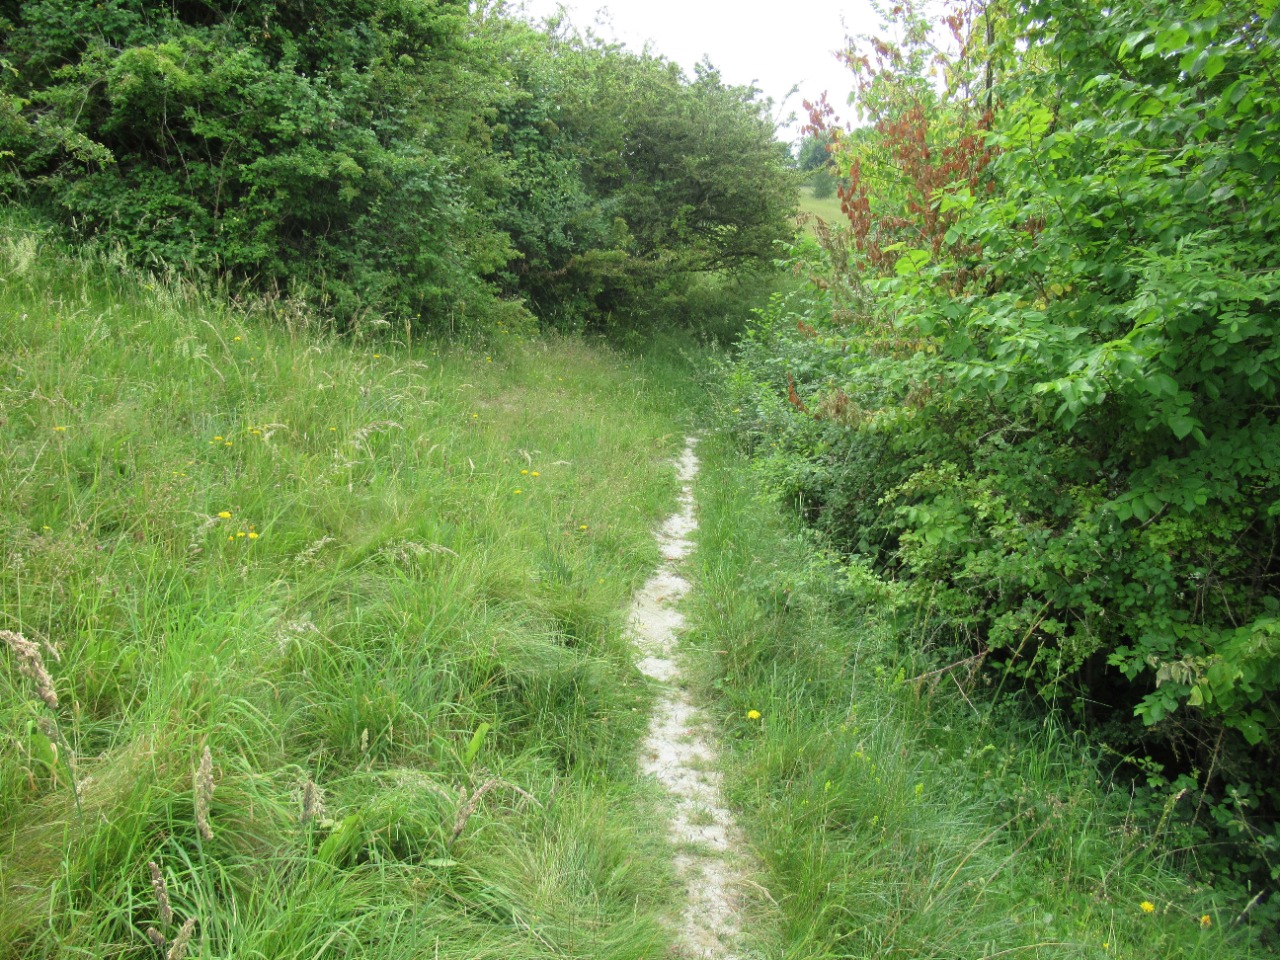
47. [OPTIONAL] Rounding up an incline. 5 km from start — 02 May 2024
48. [OPTIONAL] Footpath narrows. 5.1 km from start — 02 May 2024

49. [OPTIONAL] Near-scramble onto the earthwork. 5.1 km from start — 02 May 2024
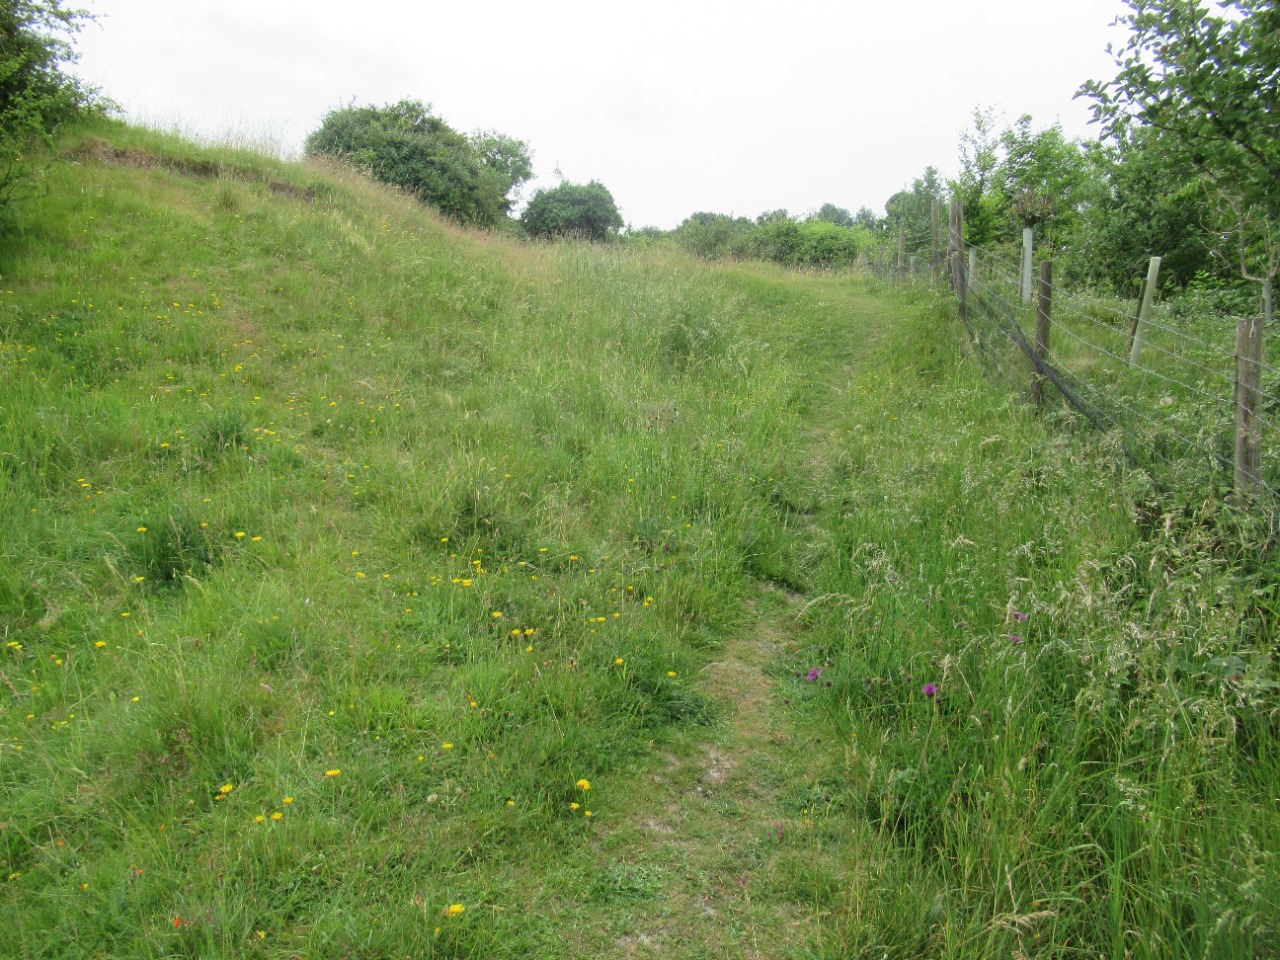
50. [OPTIONAL] Footpath ascending along the earthwork. 5.2 km from start — 02 May 2024
51. [OPTIONAL] Dirt track rejoining the Jubilee Hill road. 5.2 km from start — 02 May 2024
52. Continuing the ascent up Jubilee Hill road. 5.4 km from start — 02 May 2024

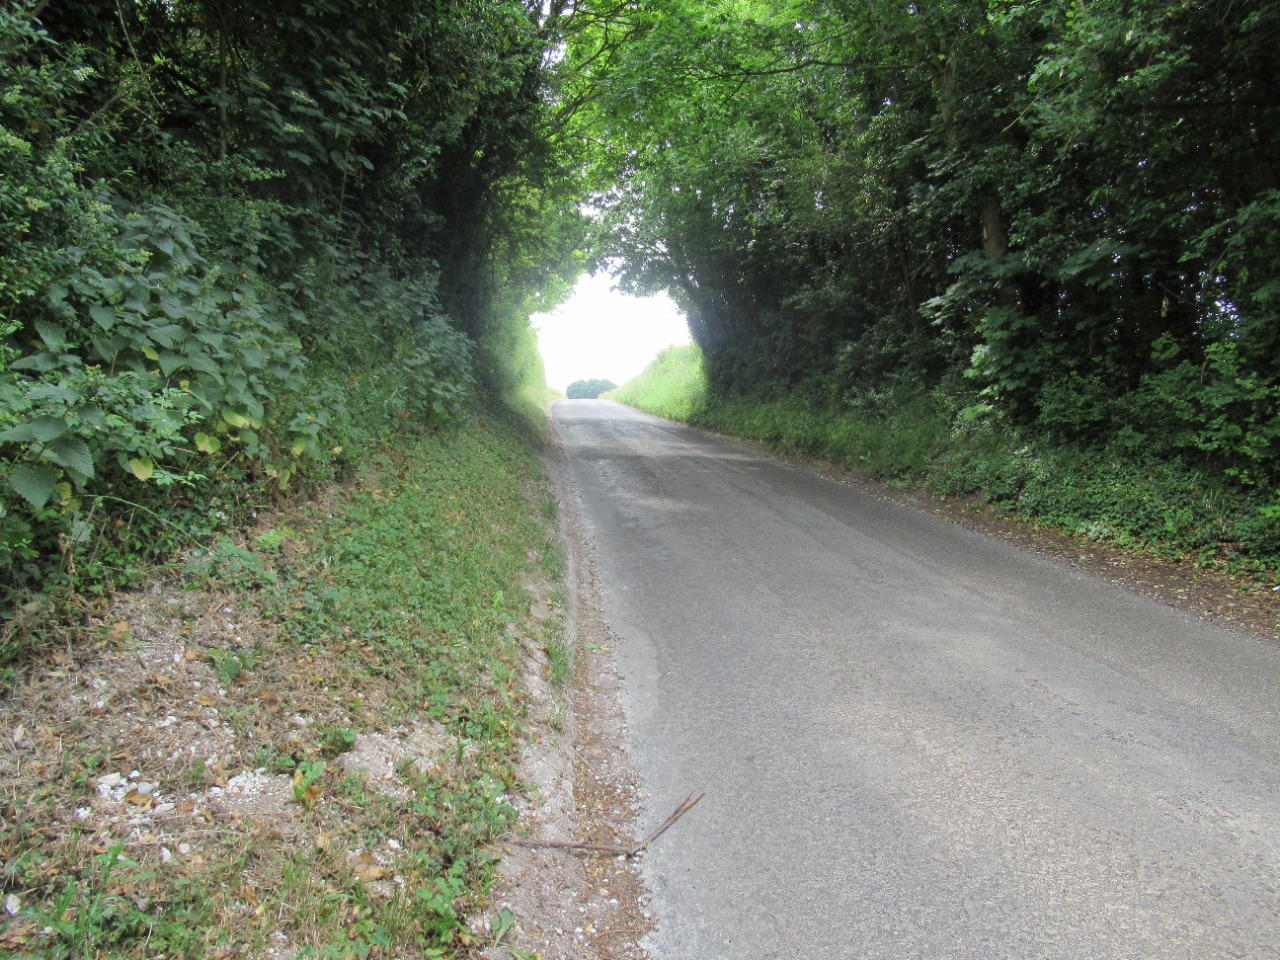
53. Reaching a T-junction, the route turns right for 100m along High Post Road. It is unmarked, has no pavement and has more traffic than the earlier roads through Great Durnford, though it is wide enough with good visibility in both directions. 5.8 km from start — 02 May 2024
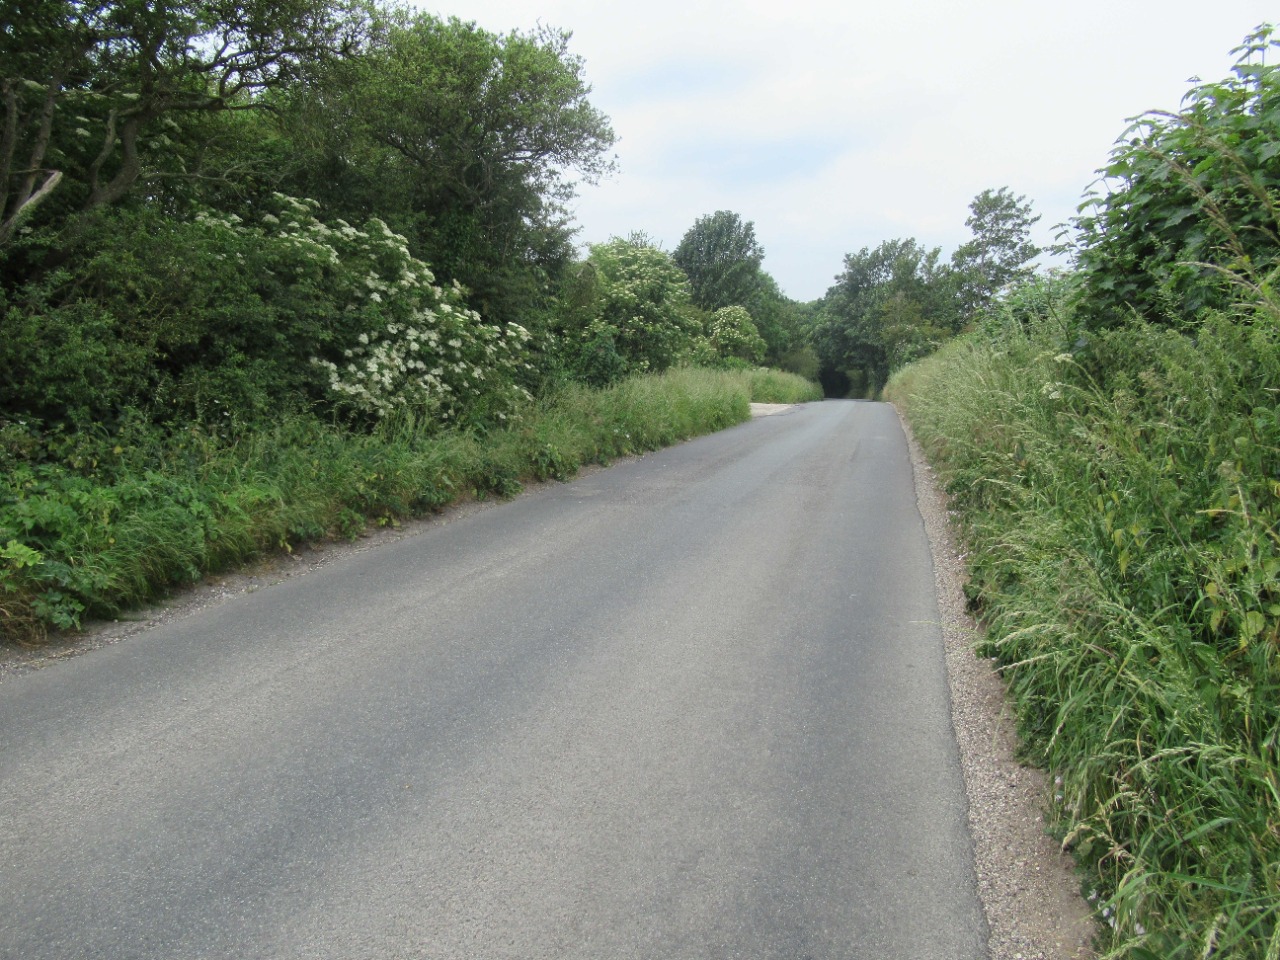
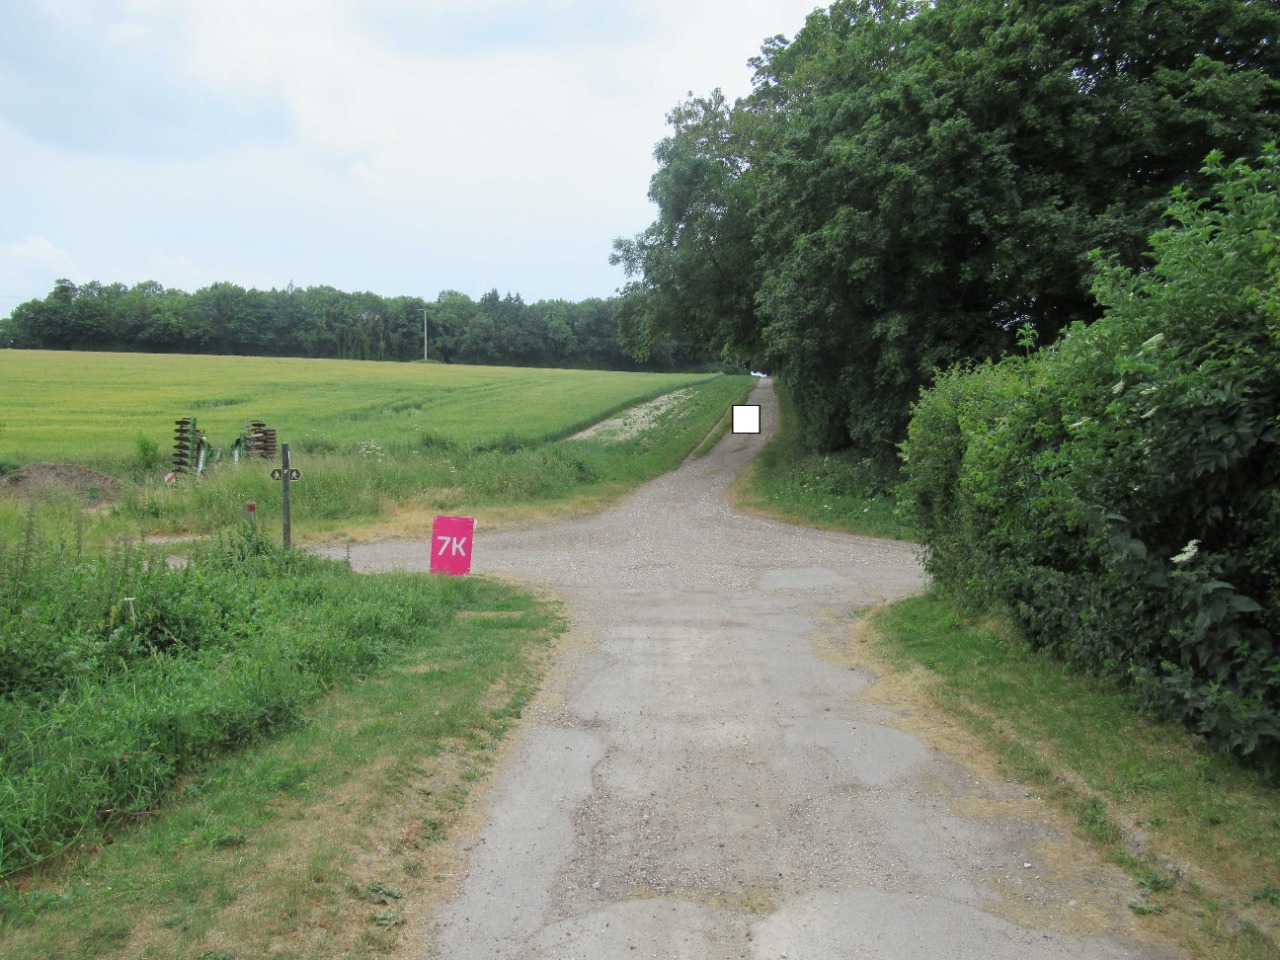
54. Surface along High Post Road. The track to turn onto can be seen on the left. 5.9 km from start — 02 May 2024
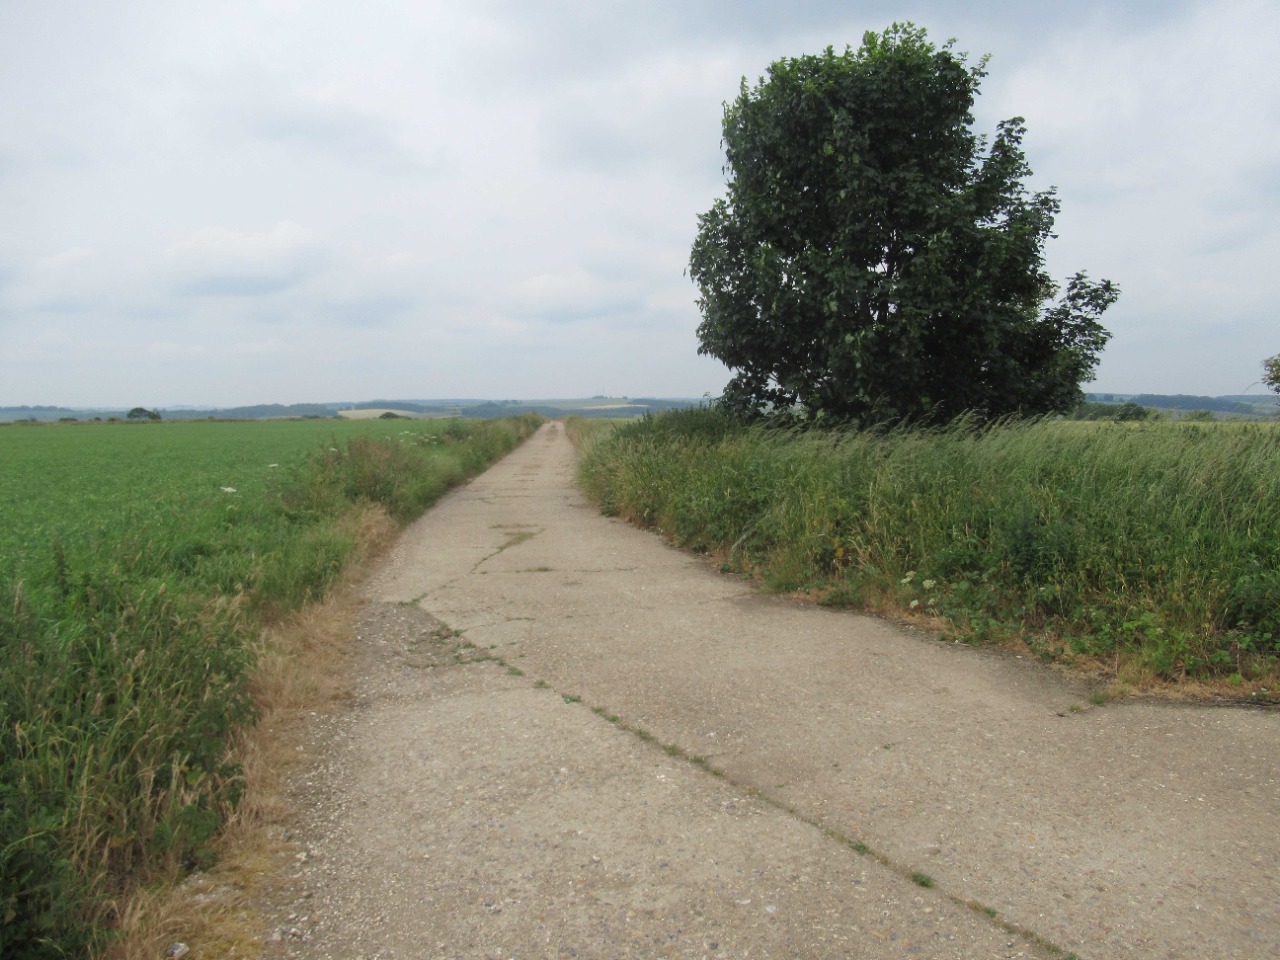
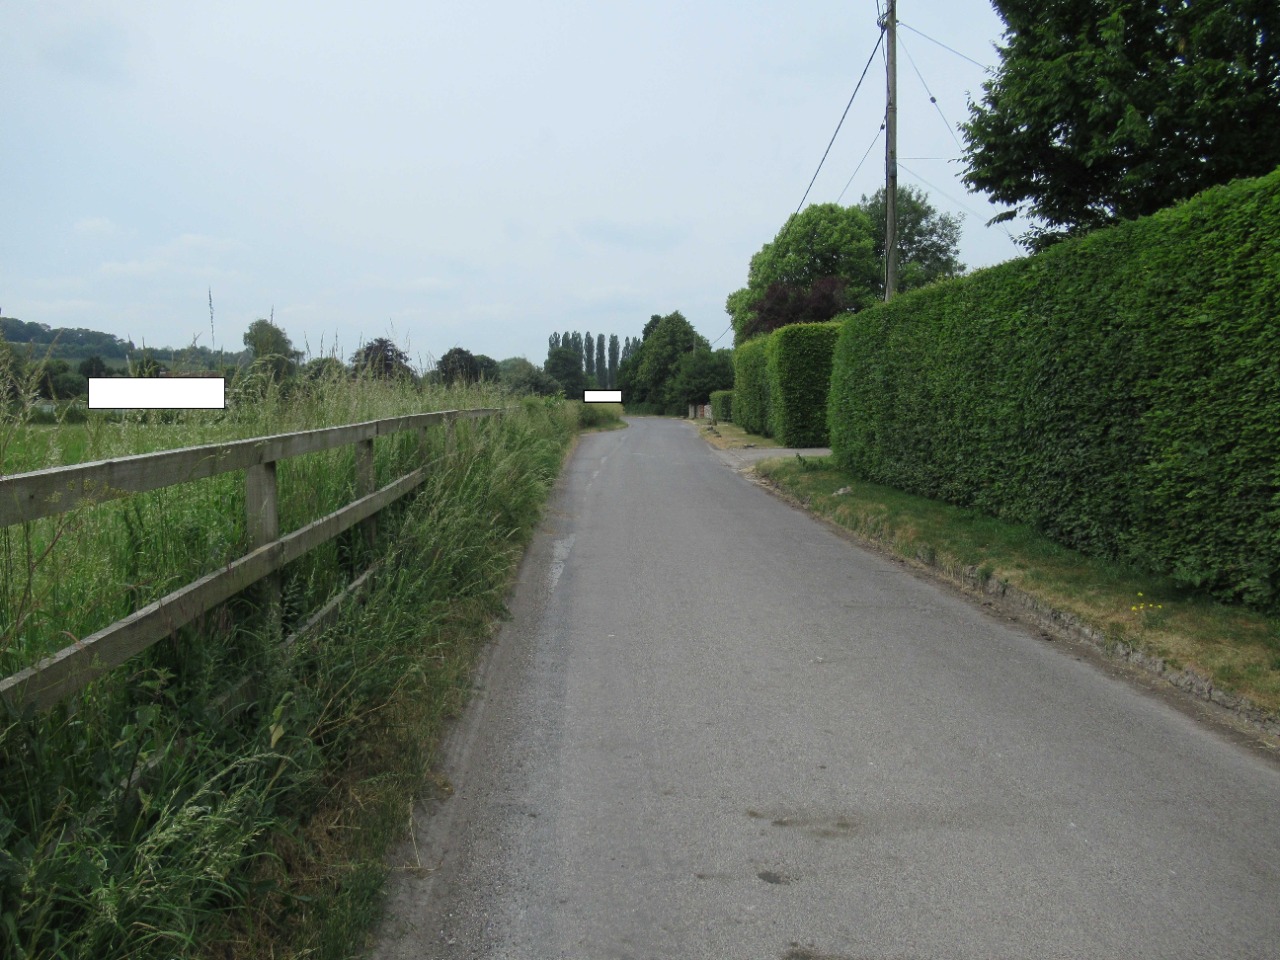
55. Joining a level, wide, traffic-free concrete track on the hills above Netton. 6 km from start — 02 May 2024
56. Surface of the concrete track. 6.5 km from start — 02 May 2024
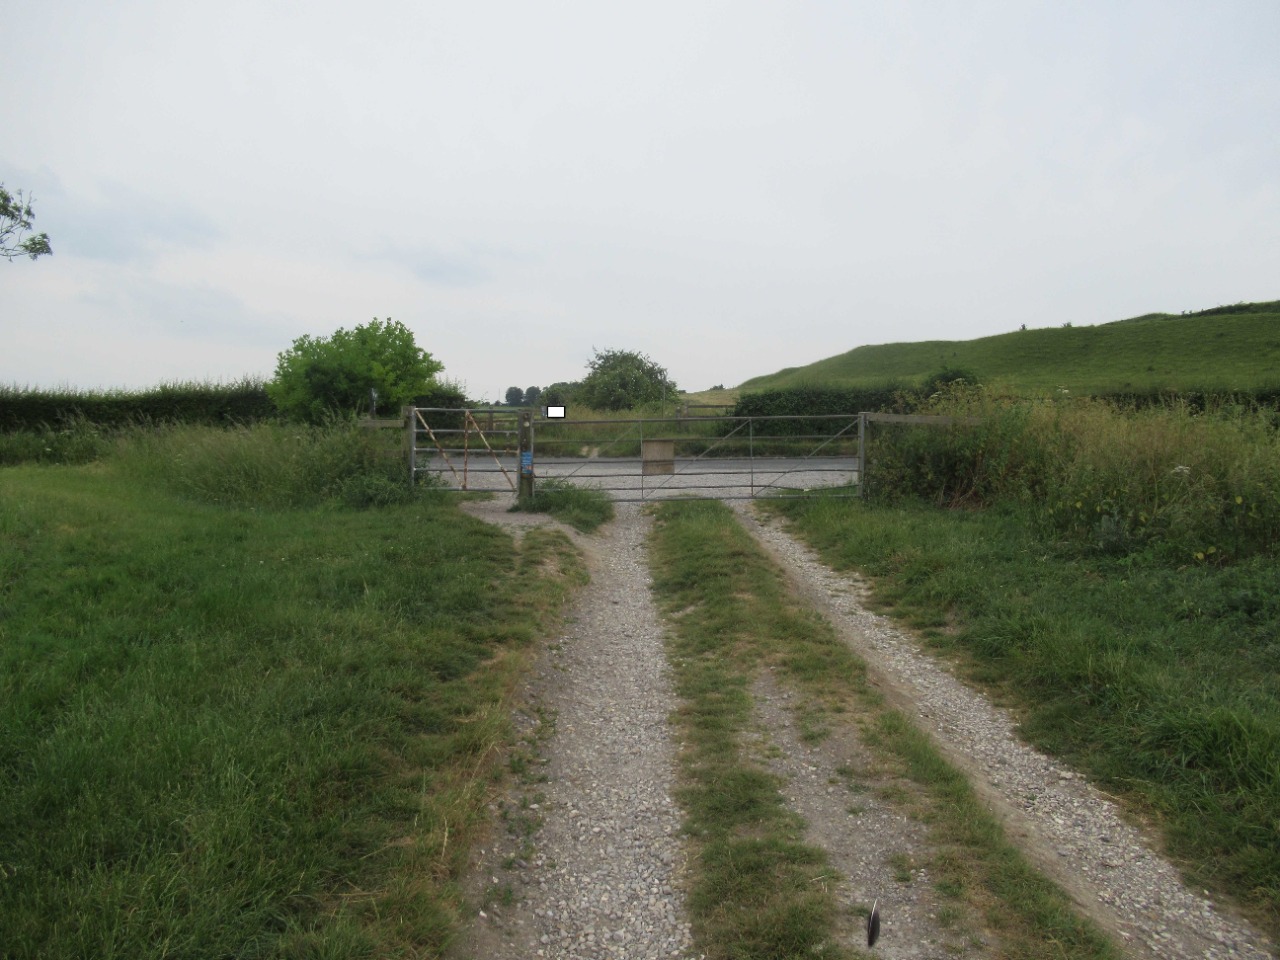
57. [REQUIRED DIVERSION] The small RoW indicated on the Slow Ways route has long been tilled over. Follow the track around instead. 6.6 km from start — 02 May 2024

58. Turning left onto a wide dirt track. 6.7 km from start — 02 May 2024
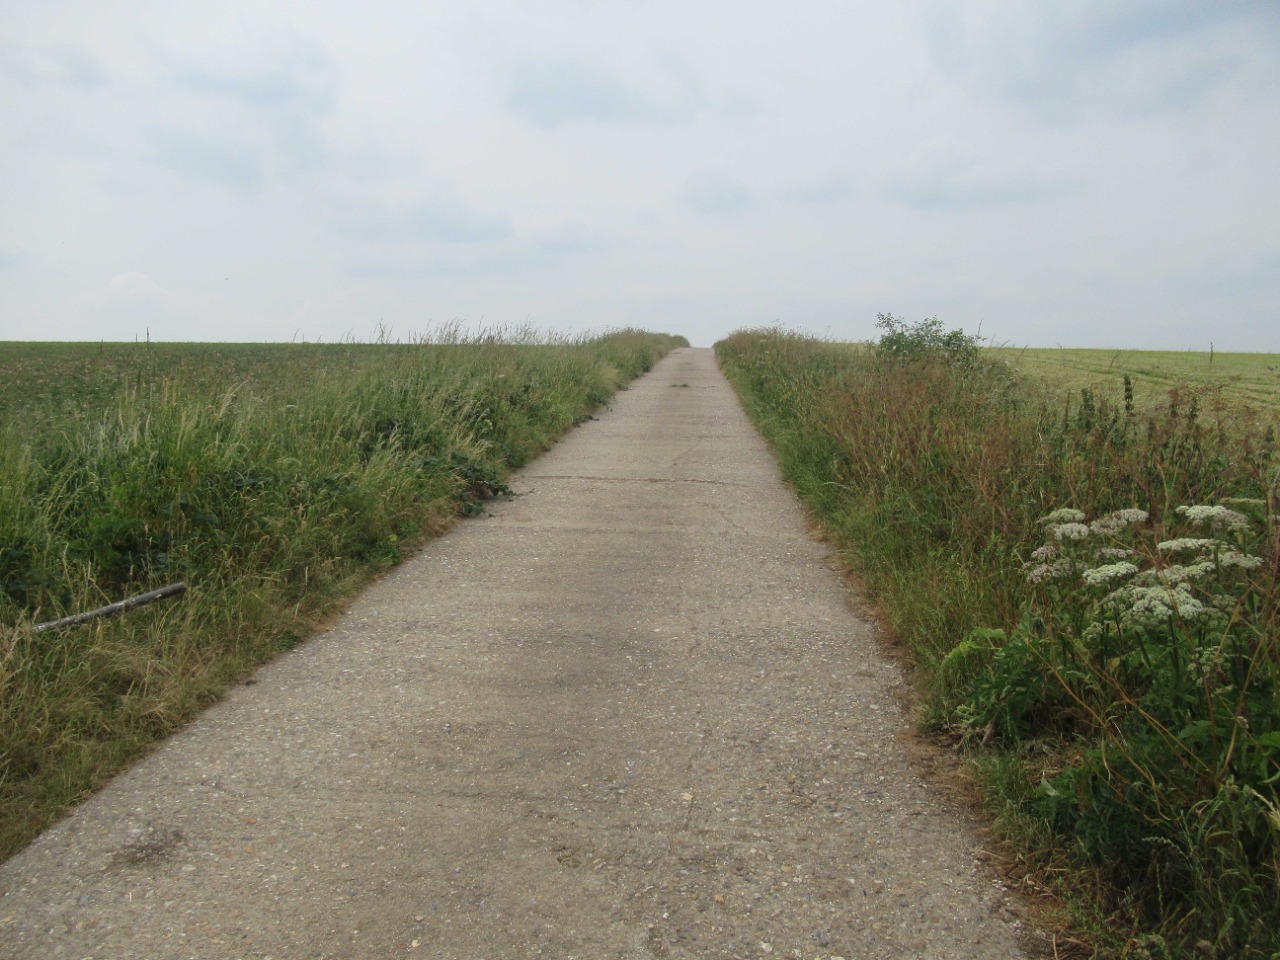
59. Dirt track begins to give way to partial gravel. 7.4 km from start — 02 May 2024
60. Surface after crossing the track junction. 7.4 km from start — 02 May 2024

61. Track meets a junction of footpaths under tree cover. Pedestrian gate no longer in use. 7.9 km from start — 02 May 2024
62. Track through the footpath junction. 7.9 km from start — 02 May 2024

63. Track surface following the footpath junction. 7.9 km from start — 02 May 2024

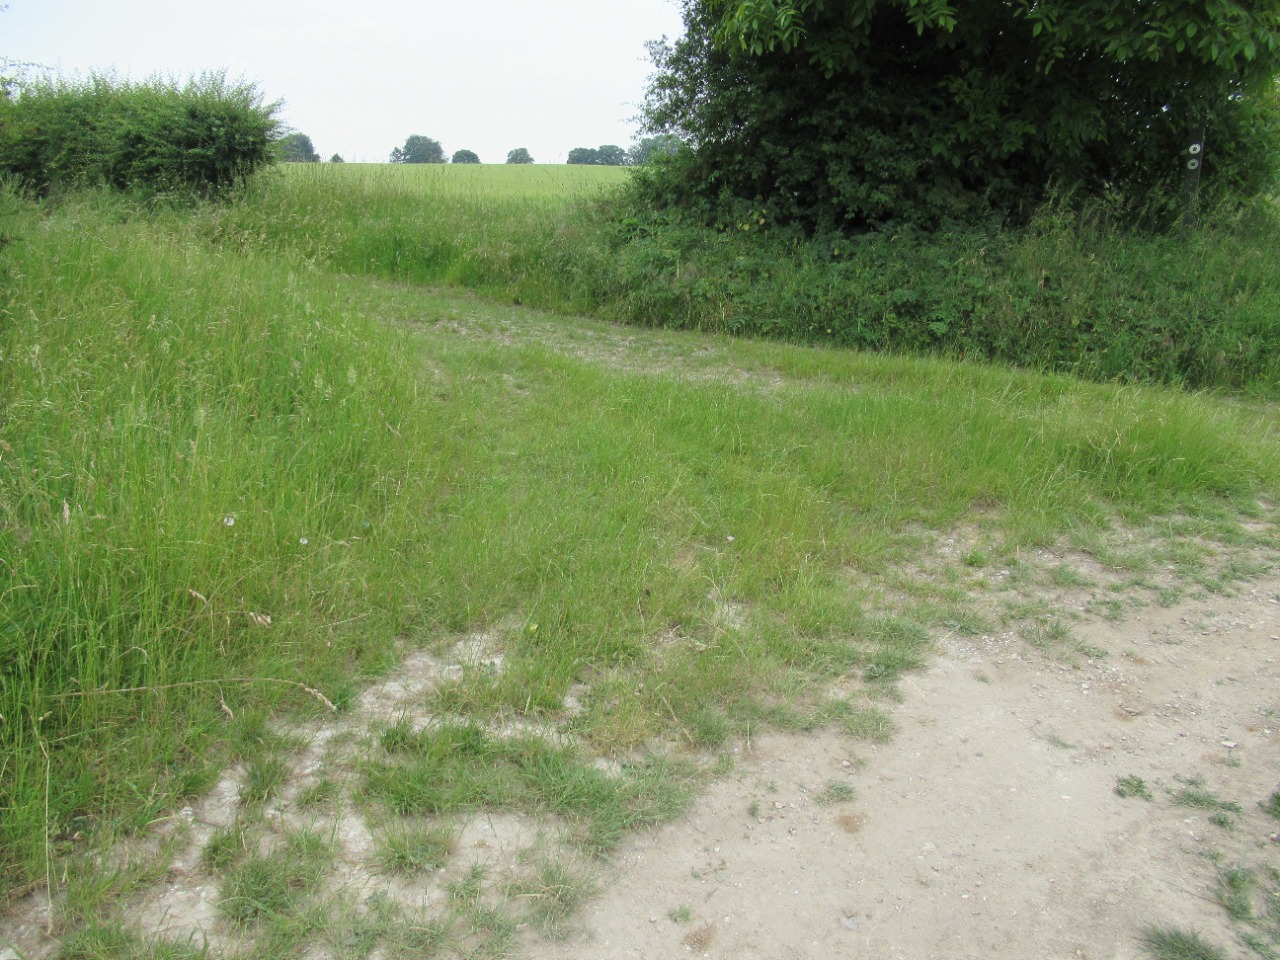
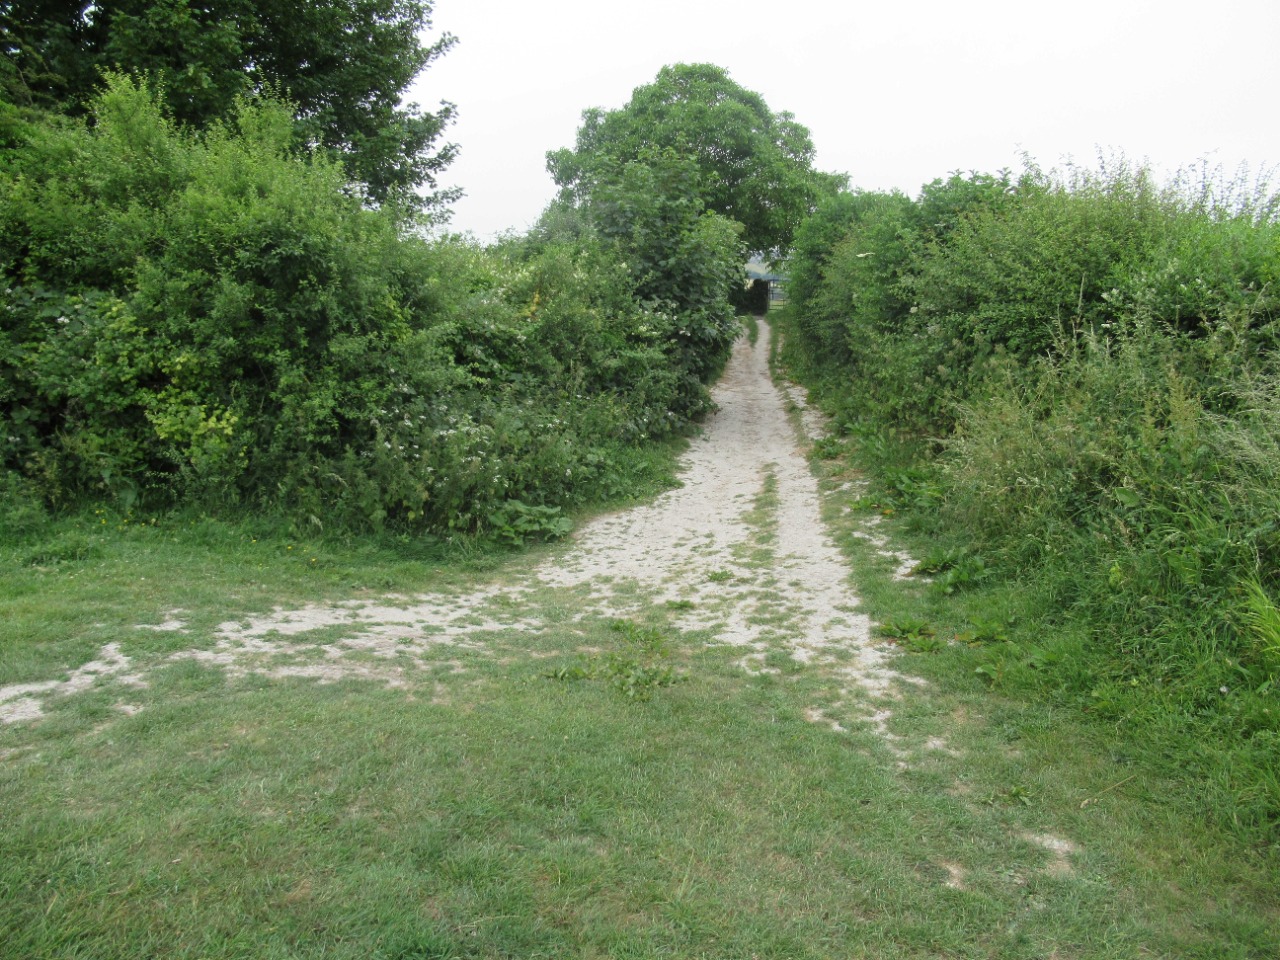
64. Route converges onto a more grassy track. 8 km from start — 02 May 2024
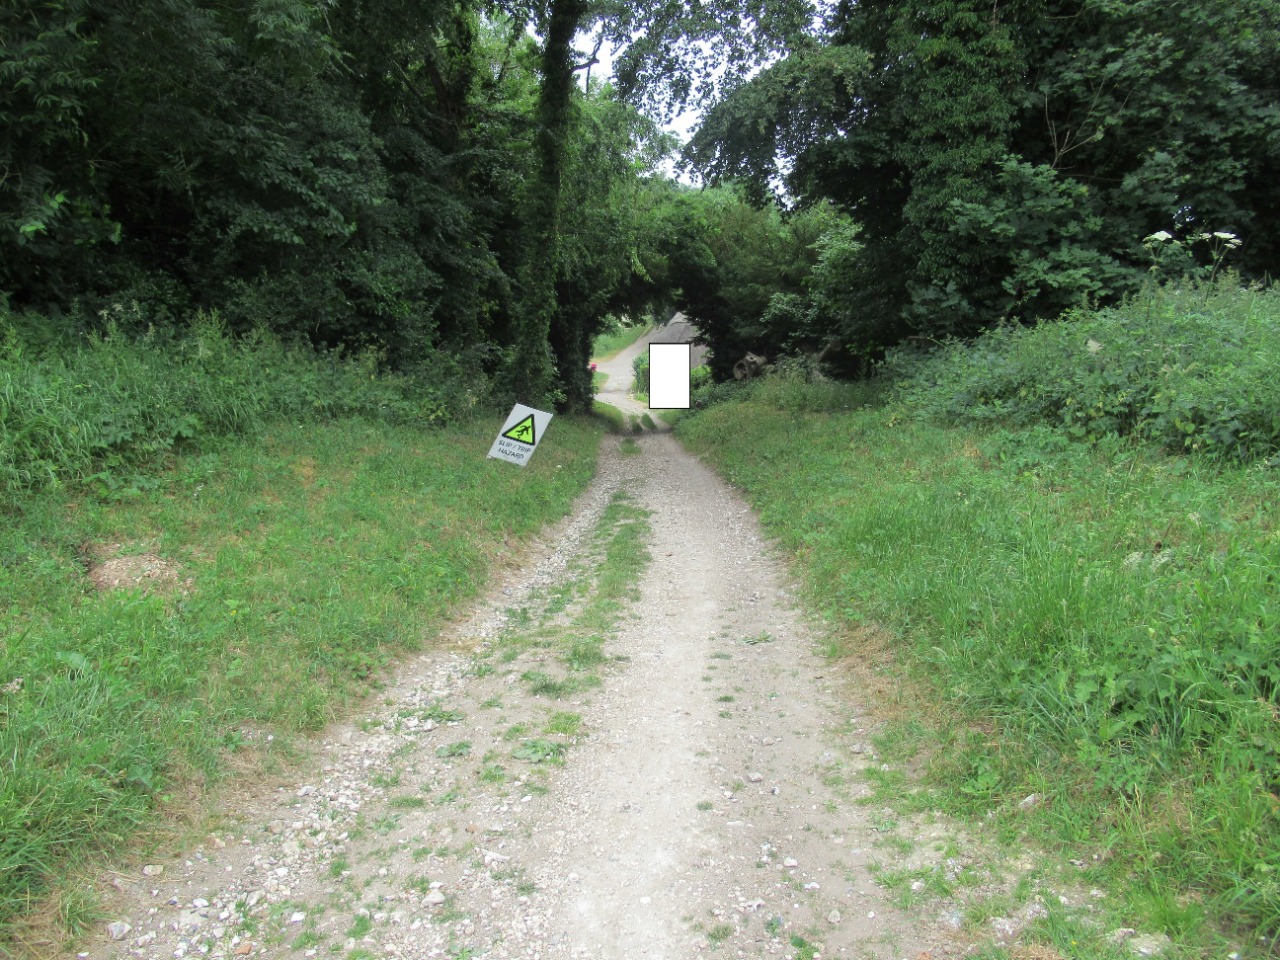
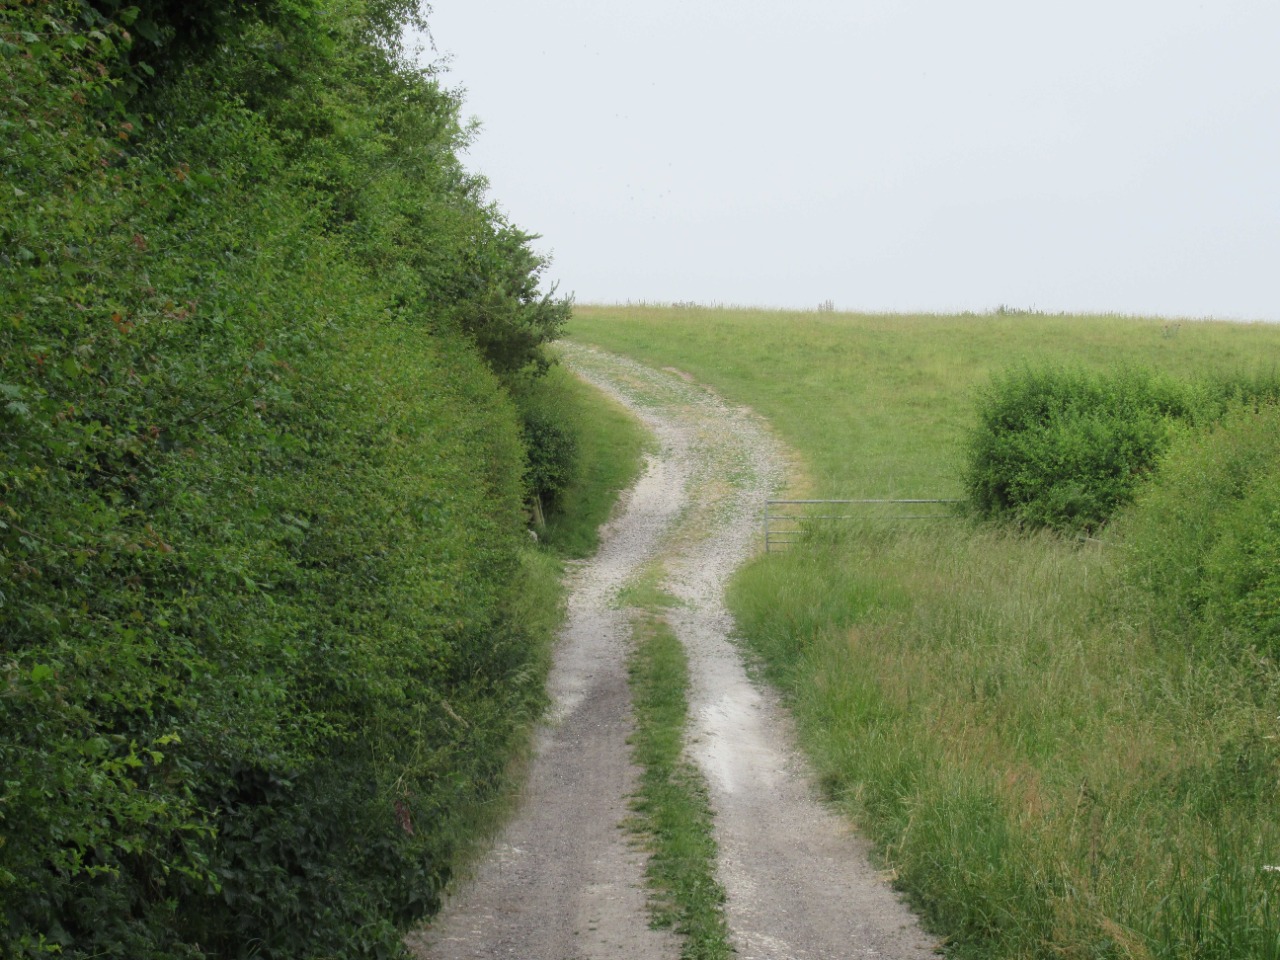
65. Route gives way to gravel track. Just before Keepers Cottage it there is flint build-up at the final approach and quite is steep. Signage warns of slipping. 8.6 km from start — 02 May 2024
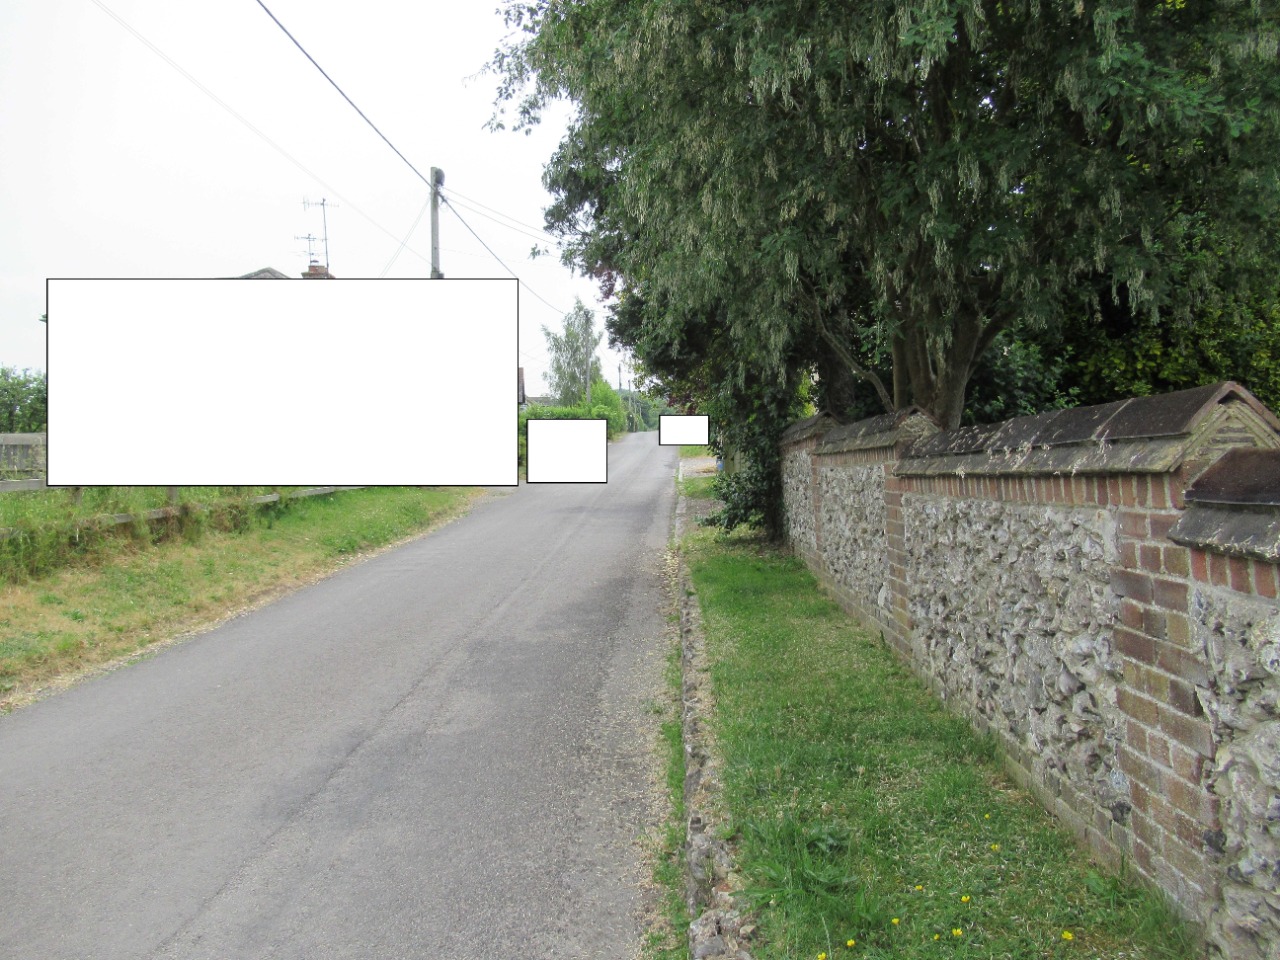
66. Old tarmac surface at the track junction after Keepers Cottage. 8.7 km from start — 02 May 2024
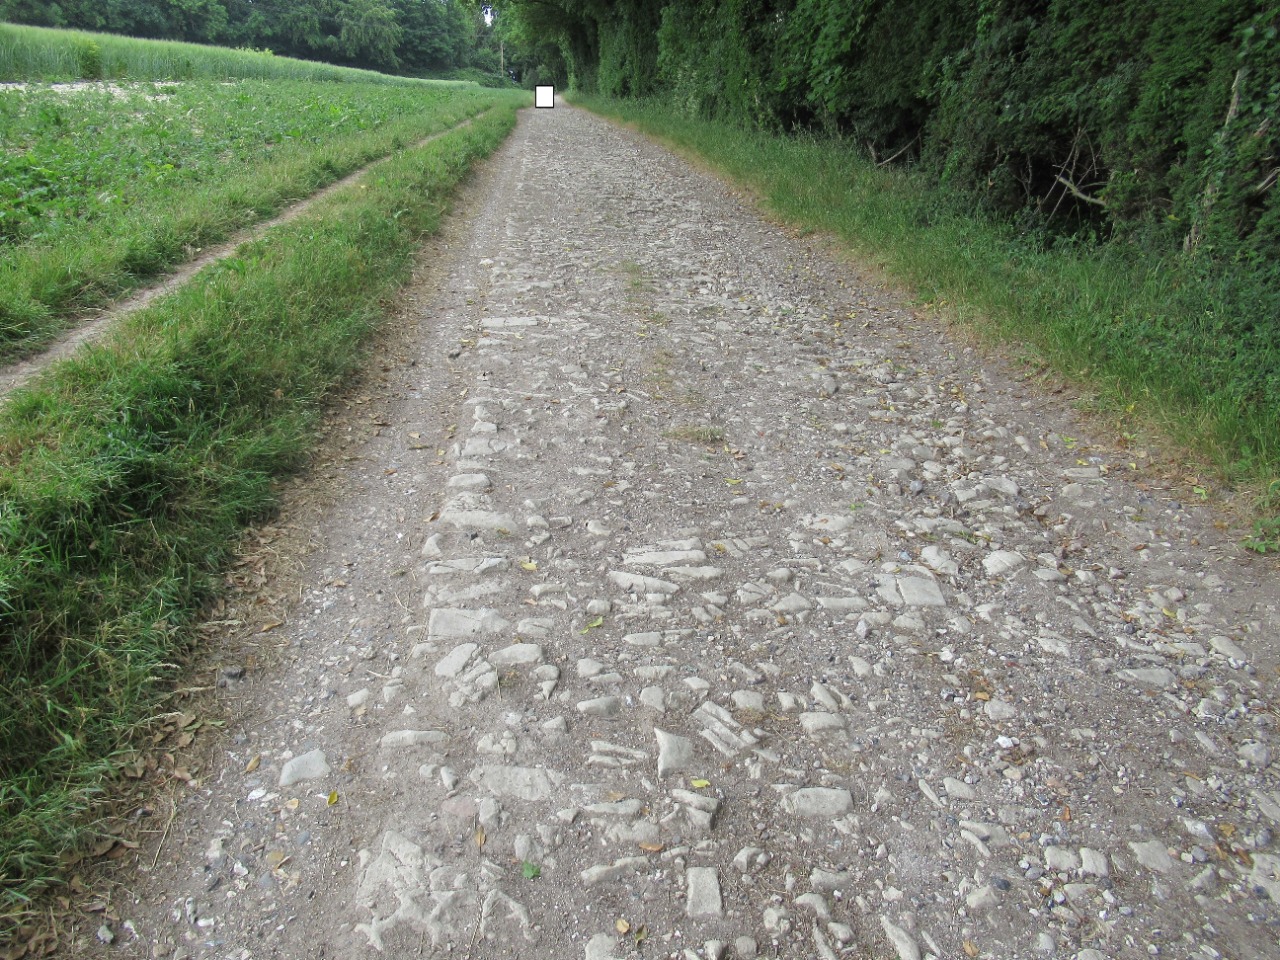
67. Uneven old cobblestone road on an incline. Exercise caution in poor conditions. 8.8 km from start — 02 May 2024
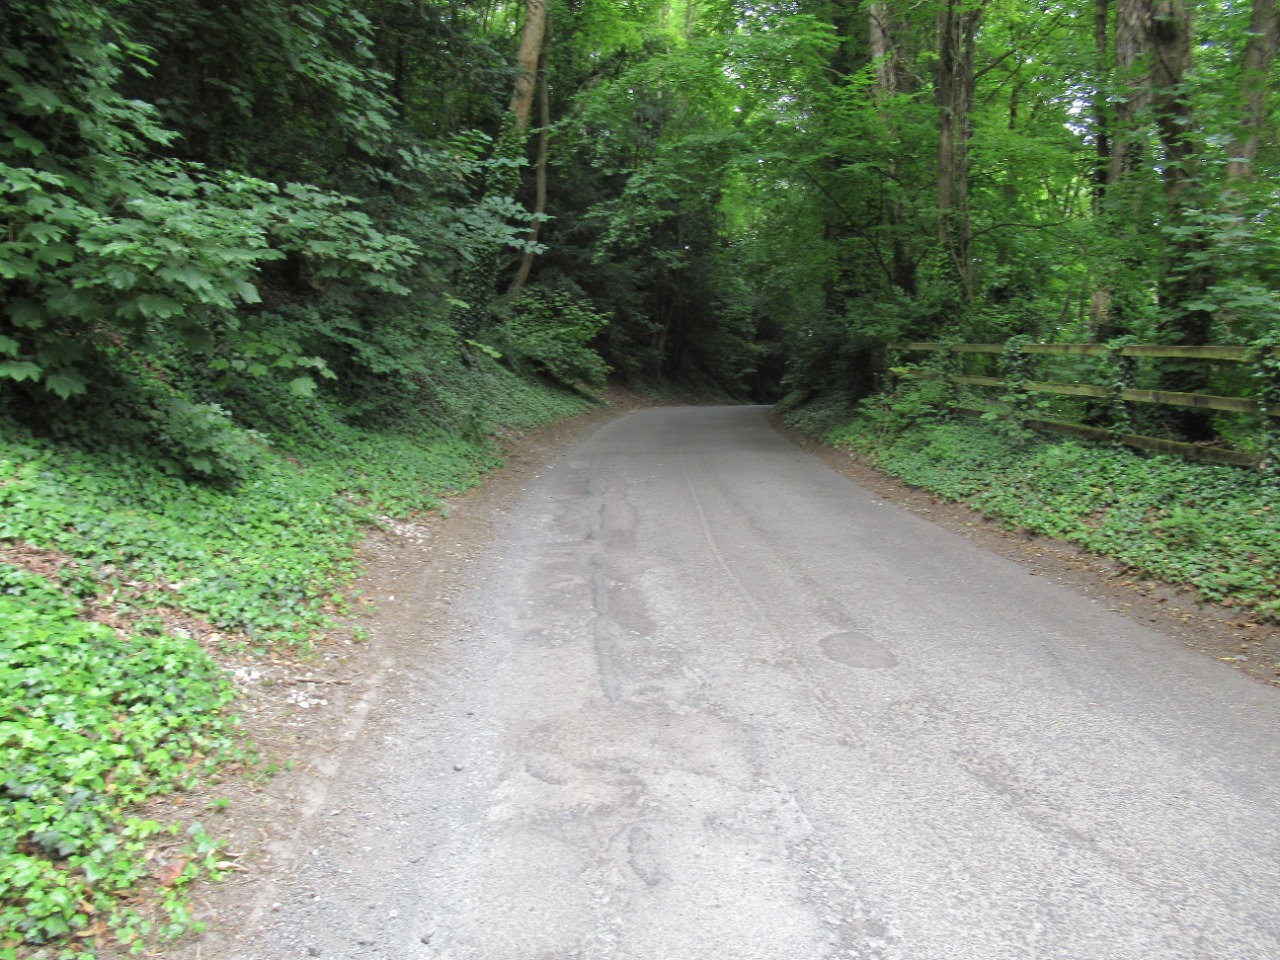
68. Track gives way onto dirt and gravel track toward the summit of the ascent. 9 km from start — 02 May 2024

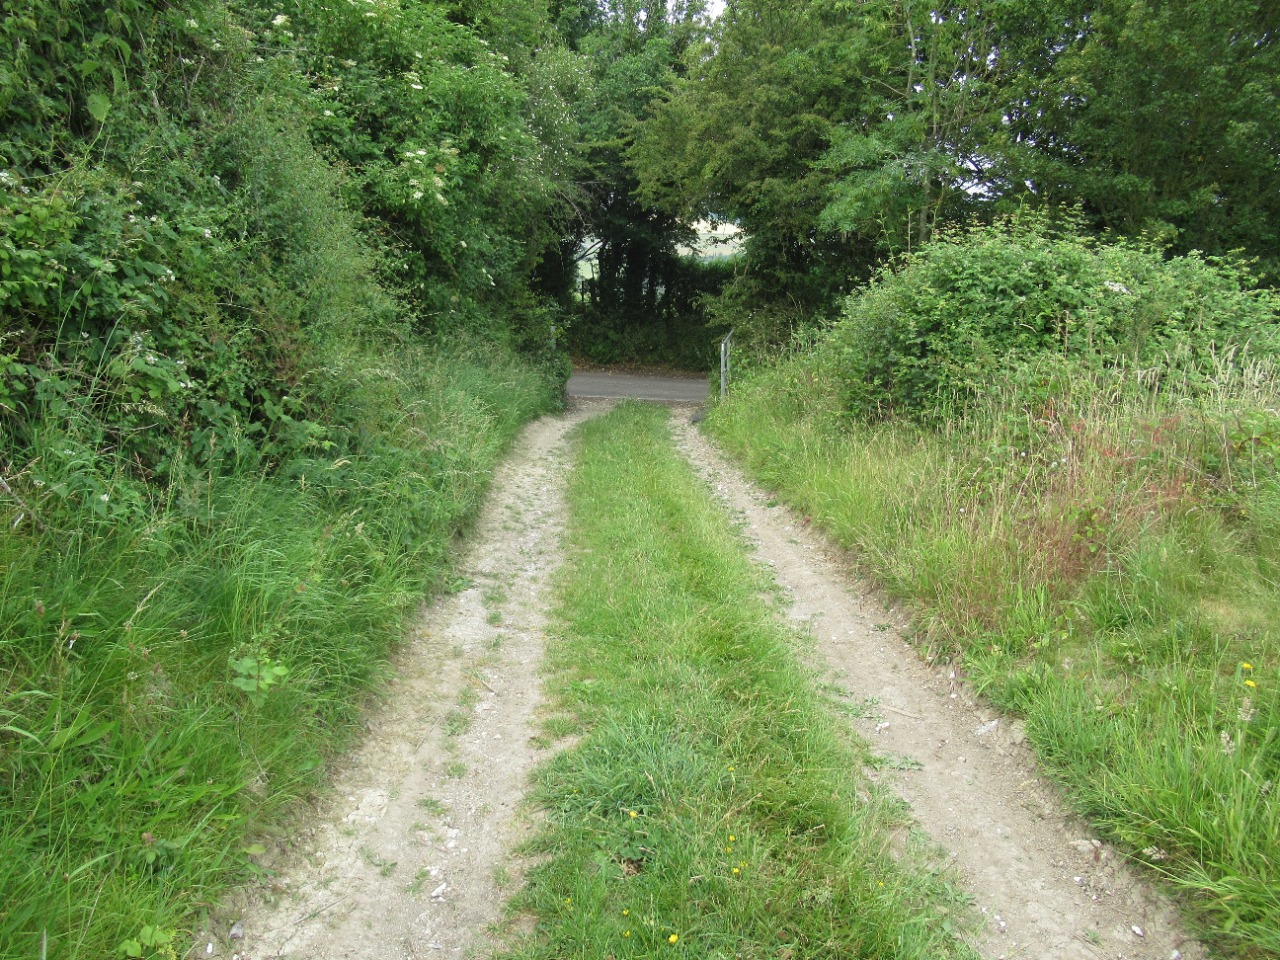
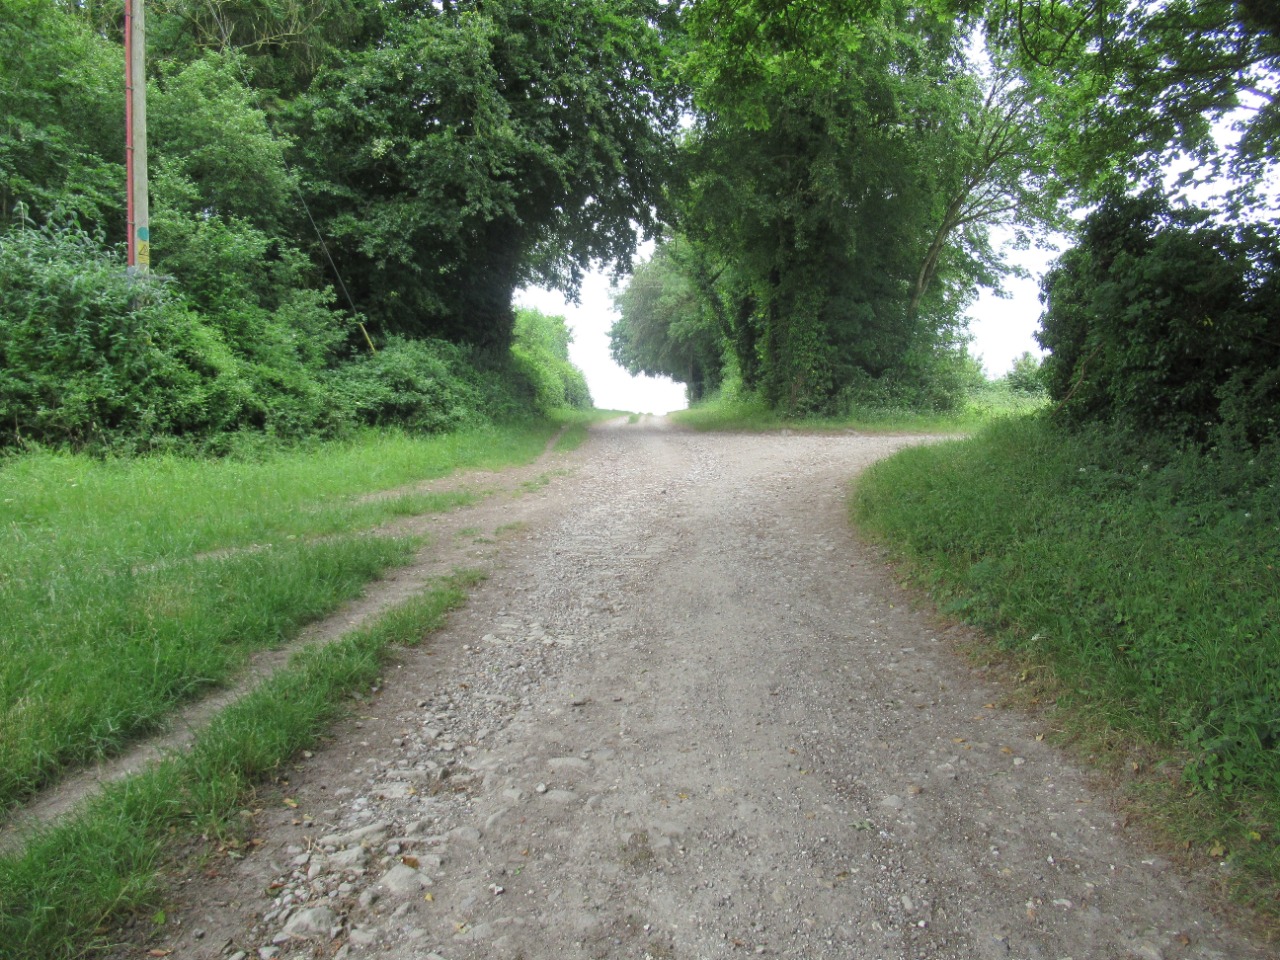
69. On the descent to Old Sarum. Note the middle verge that follows as the track surface changes. 9.1 km from start — 02 May 2024
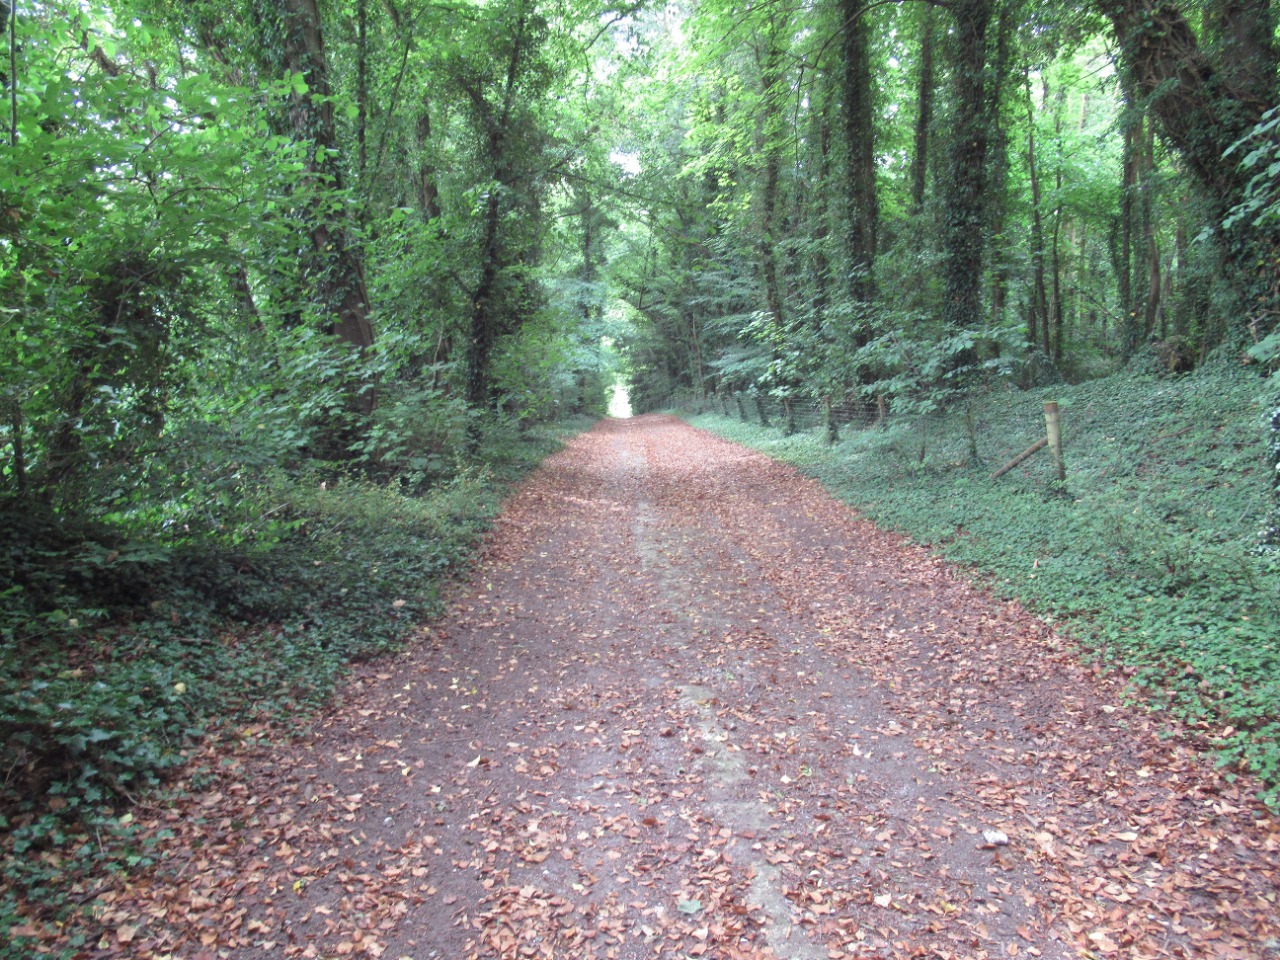
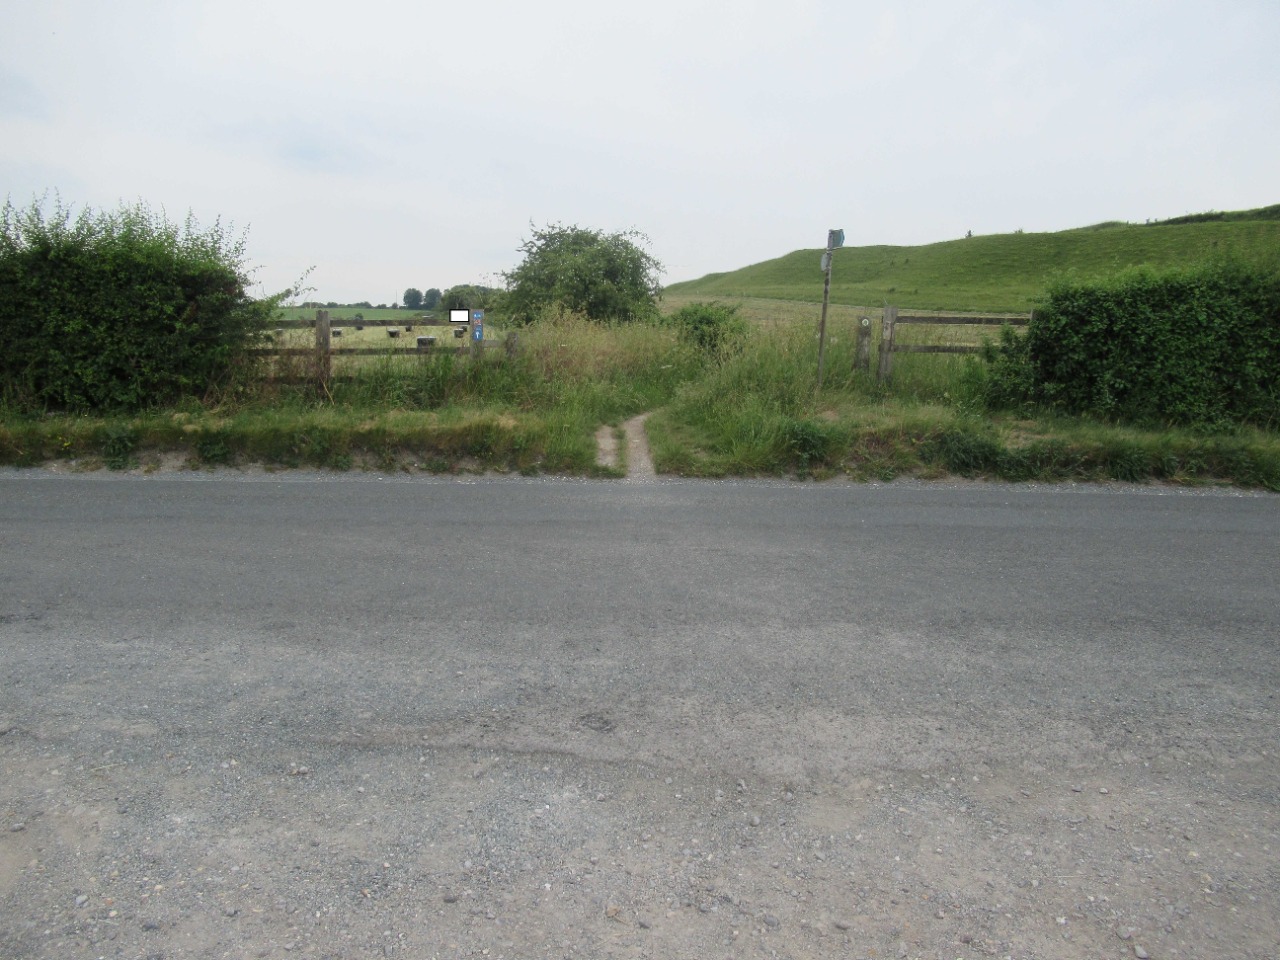
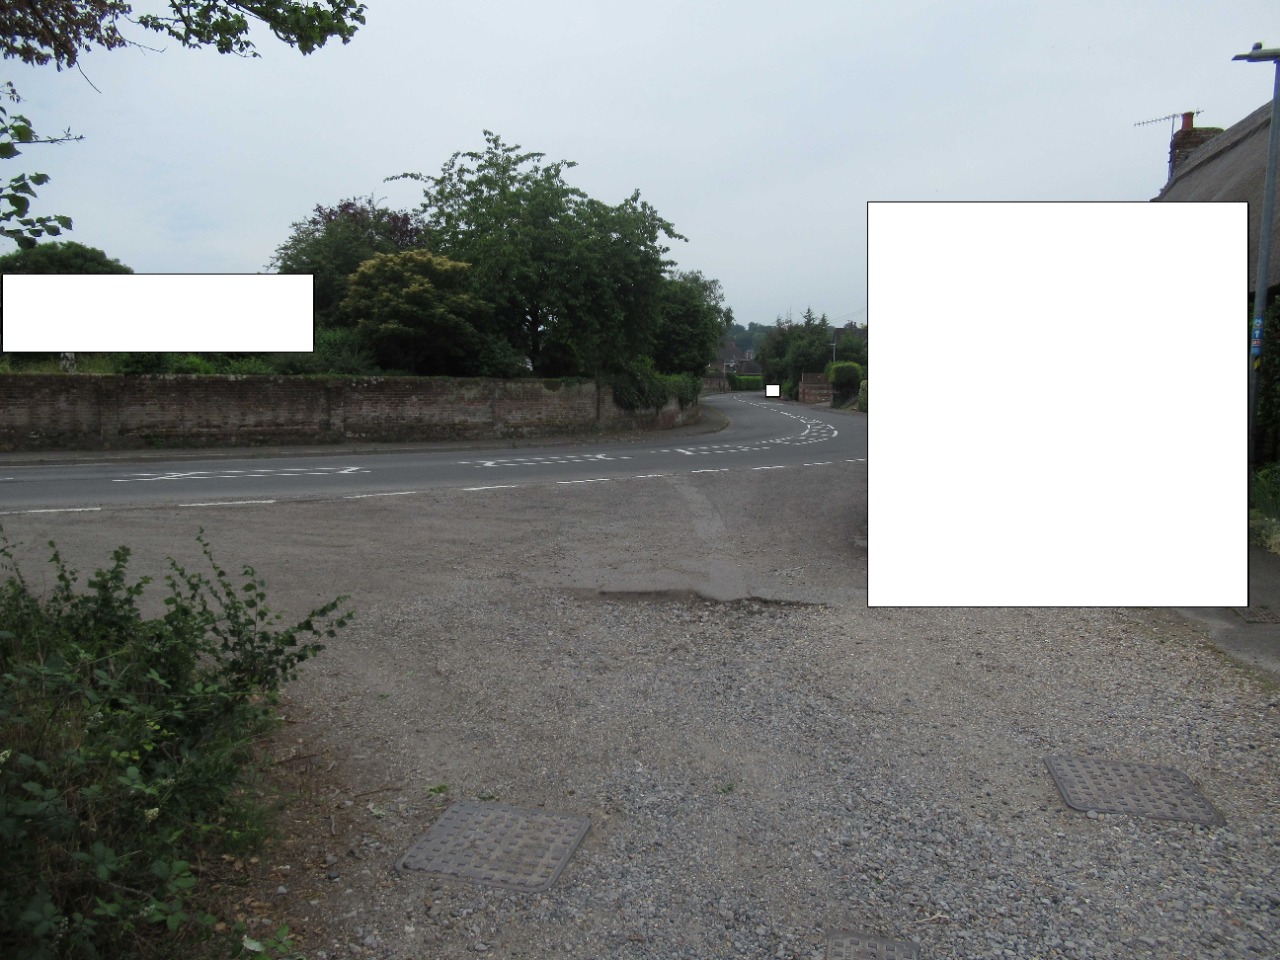
70. Track terminating at Phillips Lane road. This can have a lot of traffic at times so care should be taken, but it is regularly used and has good visibility in both directions. 10.4 km from start — 02 May 2024
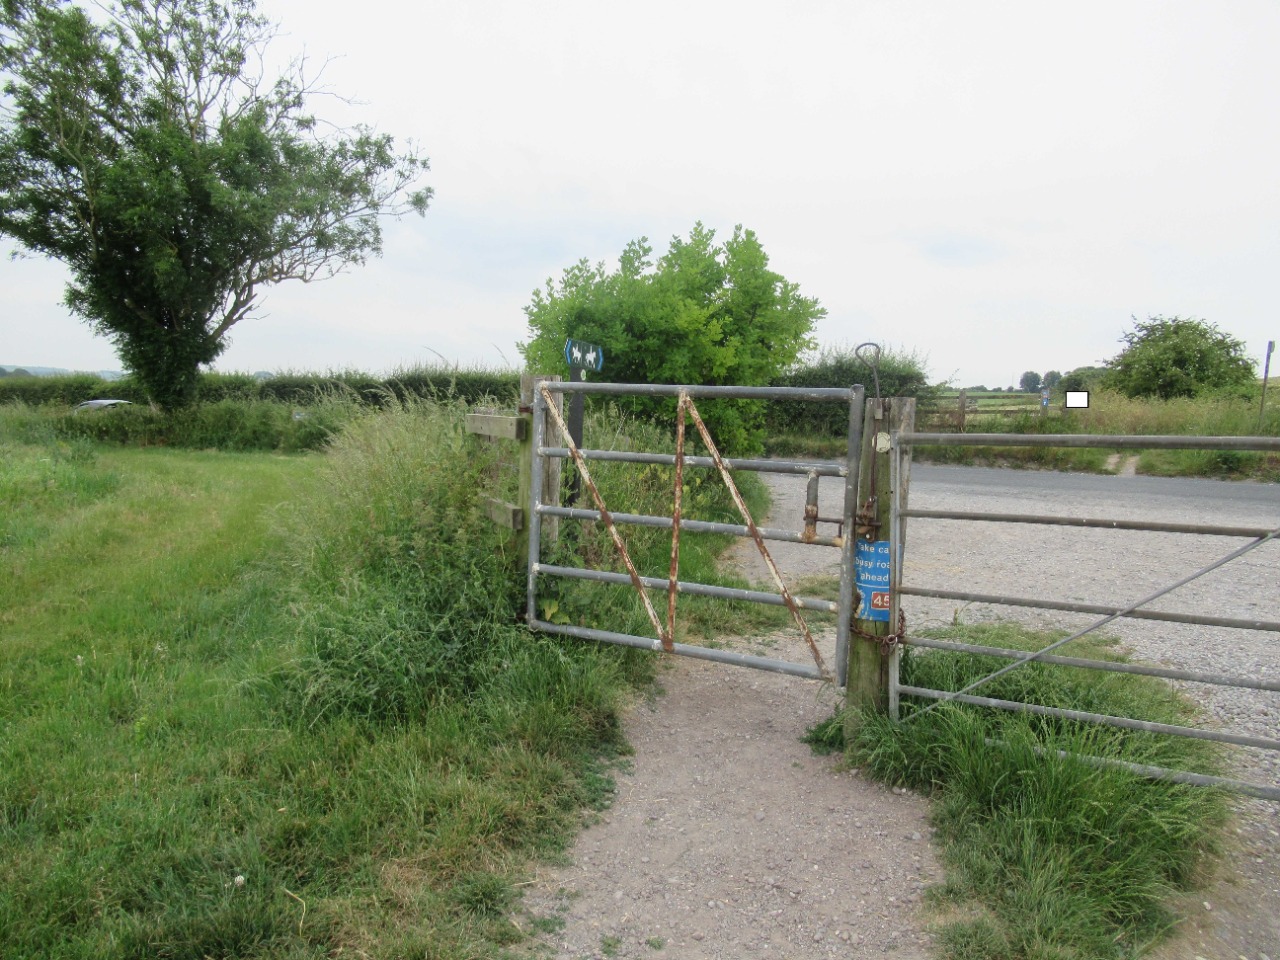
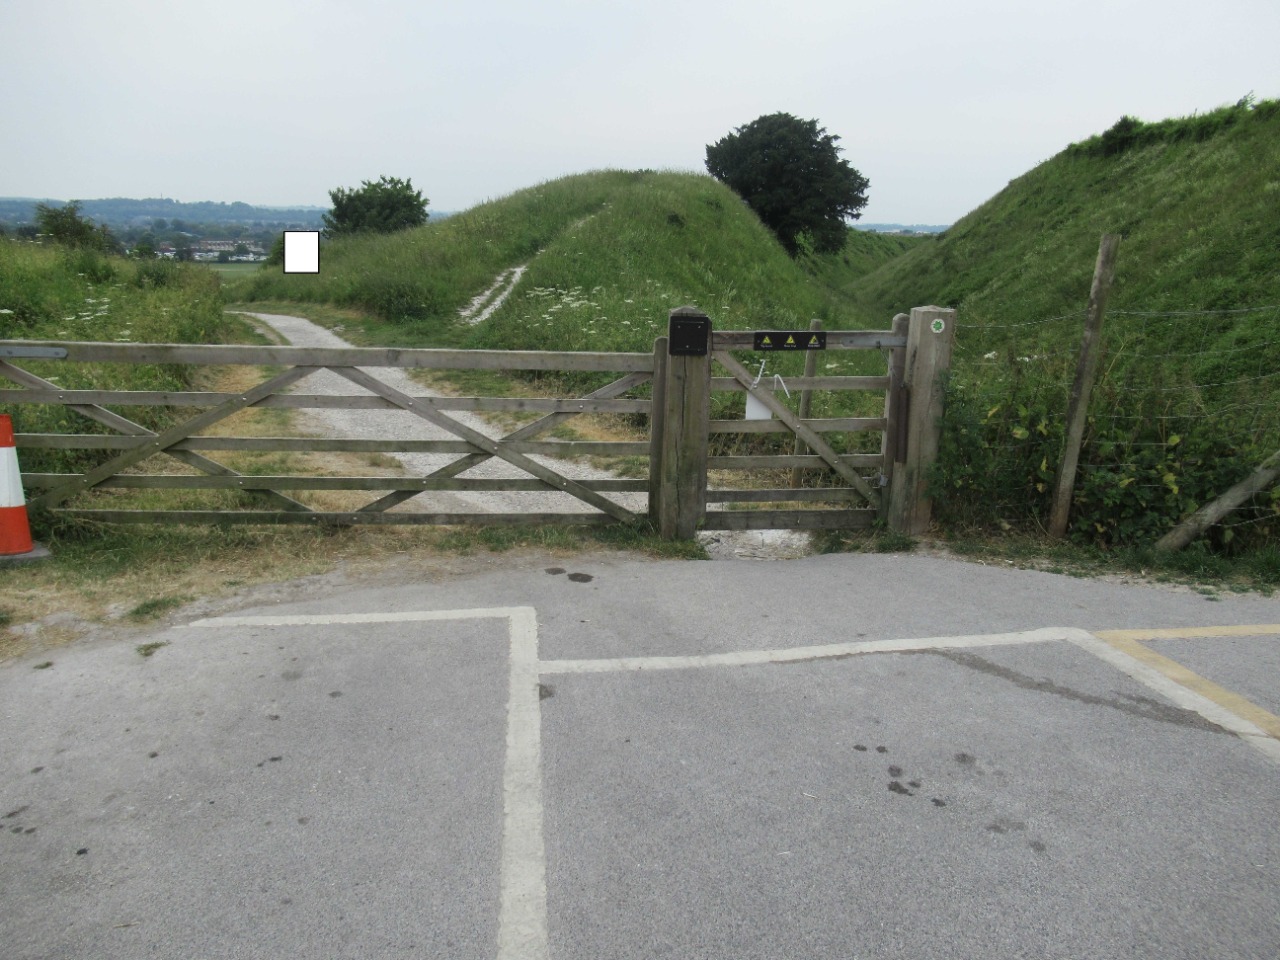
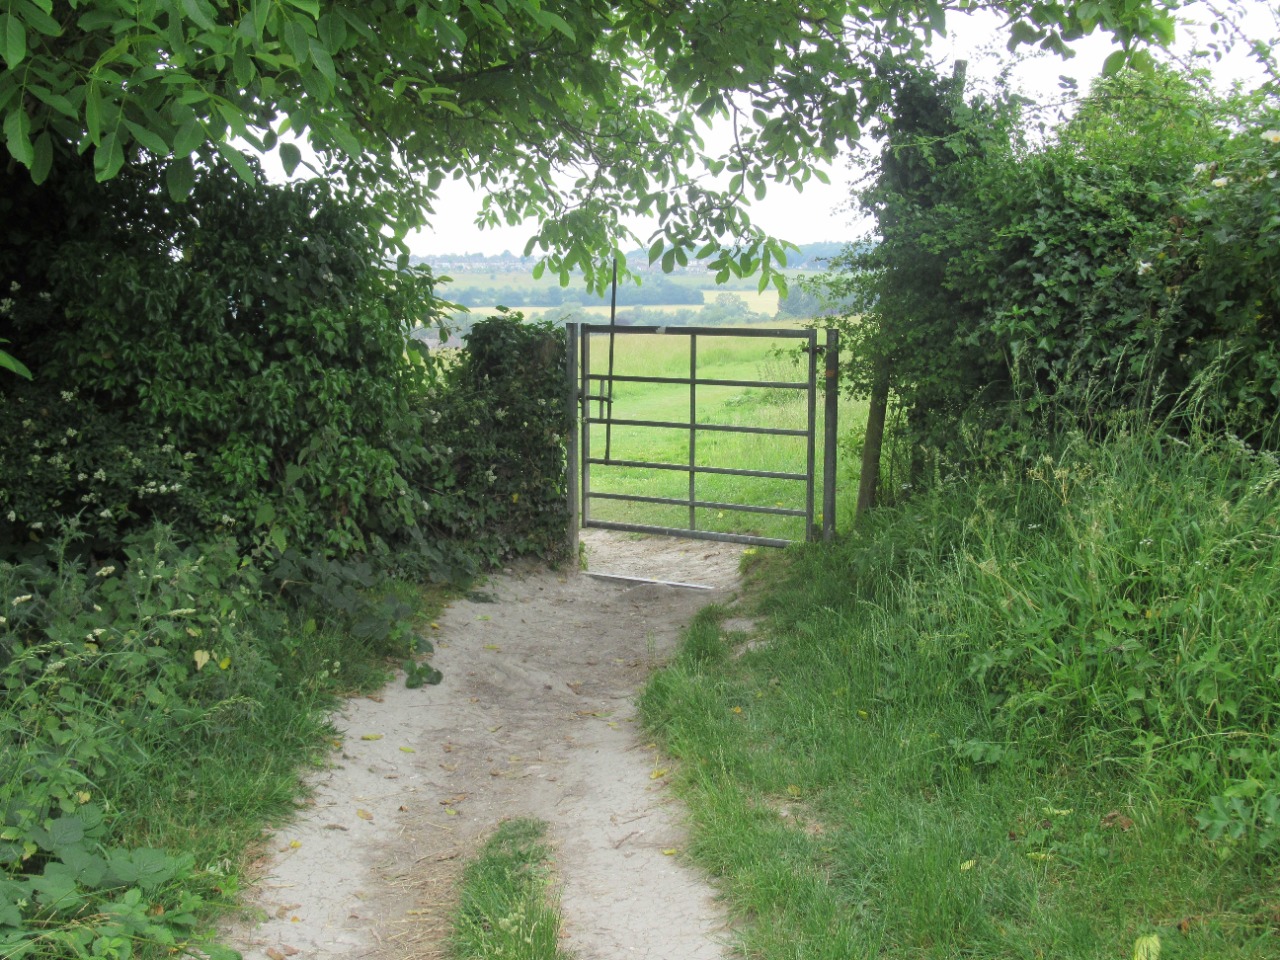
71. Bridle gate onto Phillips Lane road. 10.4 km from start — 02 May 2024
72. Target footpath across the road. Narrow (<50cm) but well-worn. 10.4 km from start — 02 May 2024

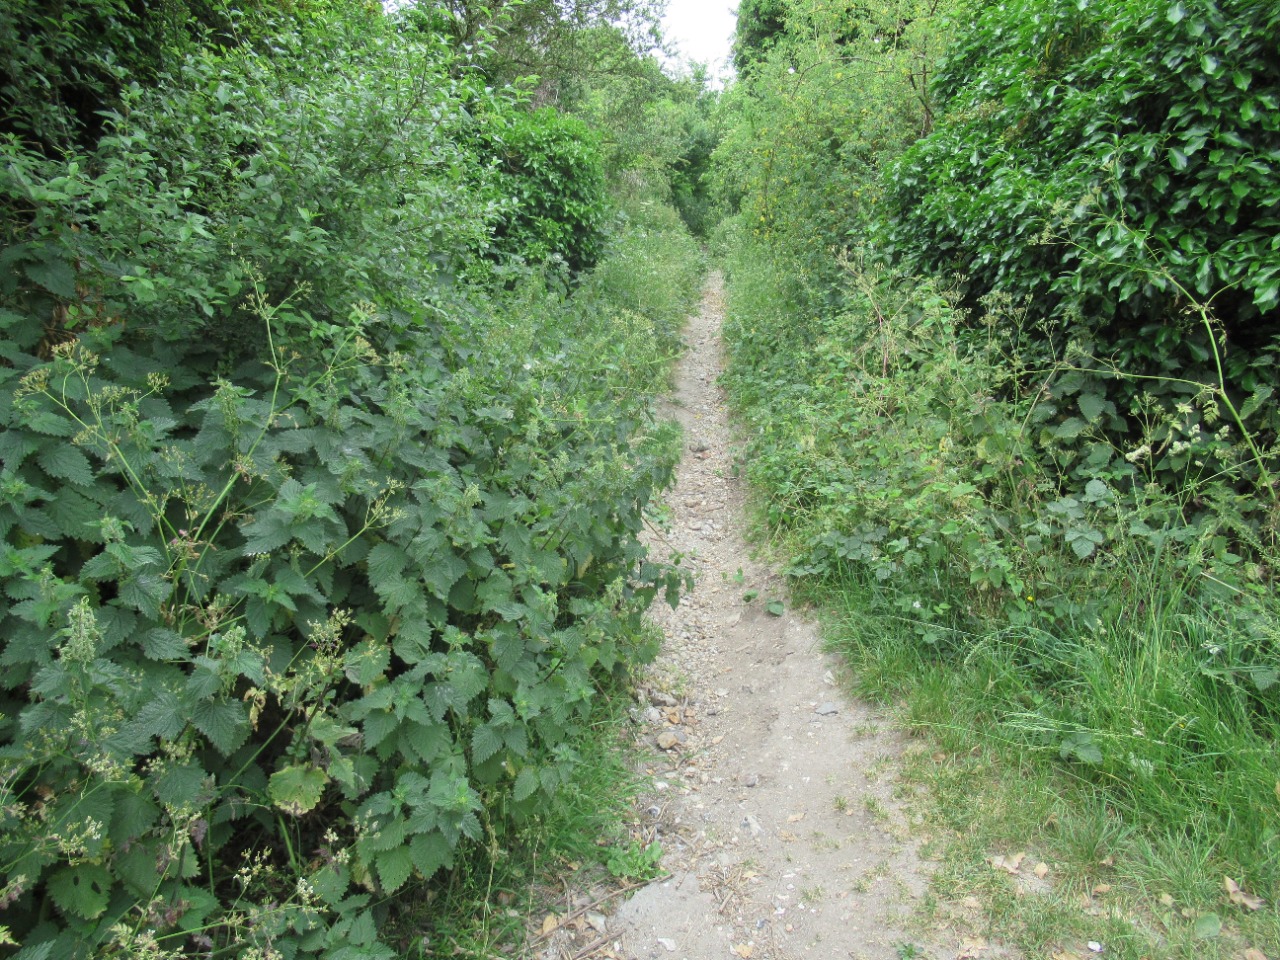
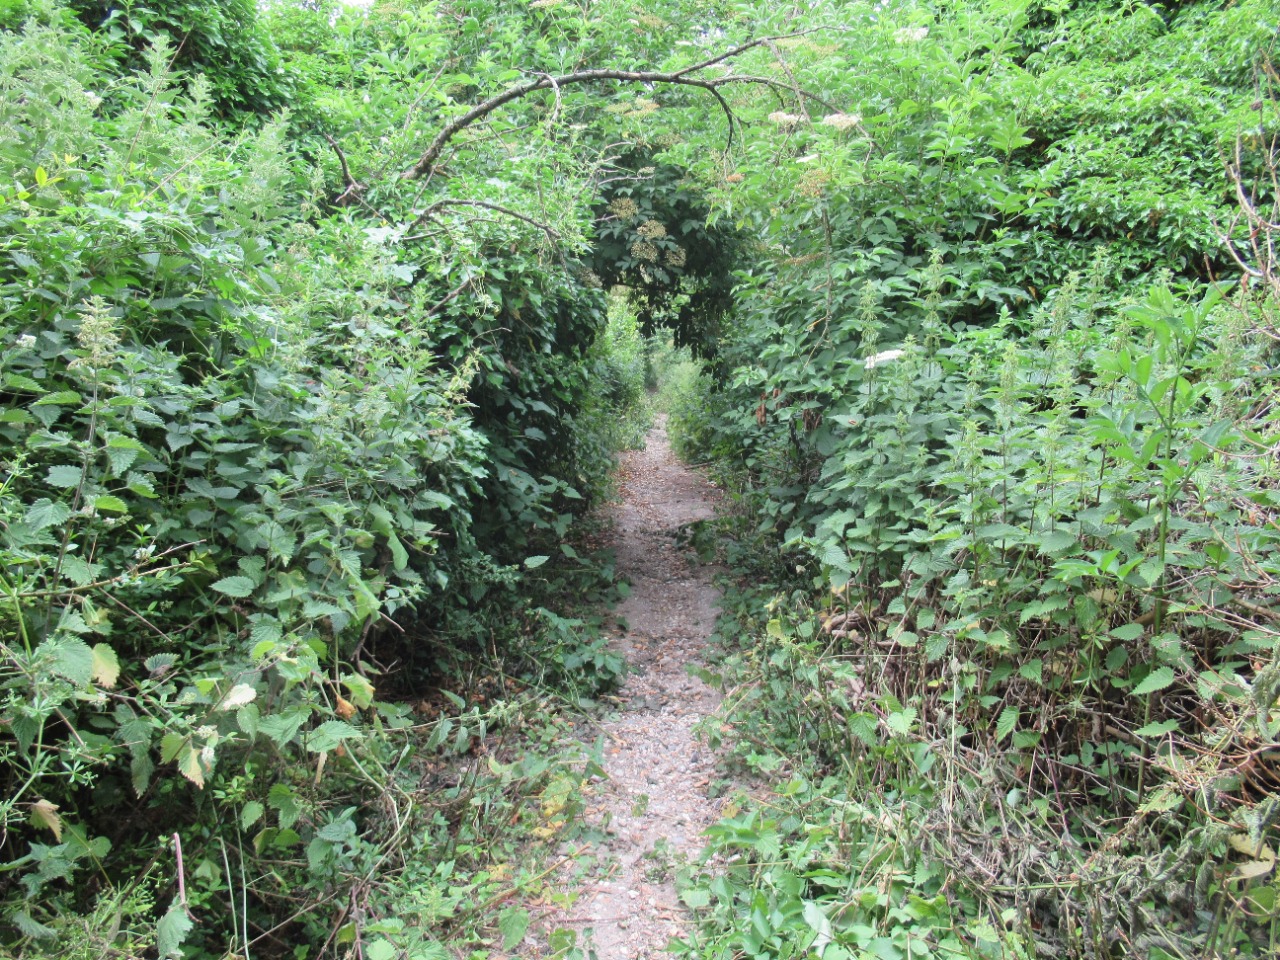
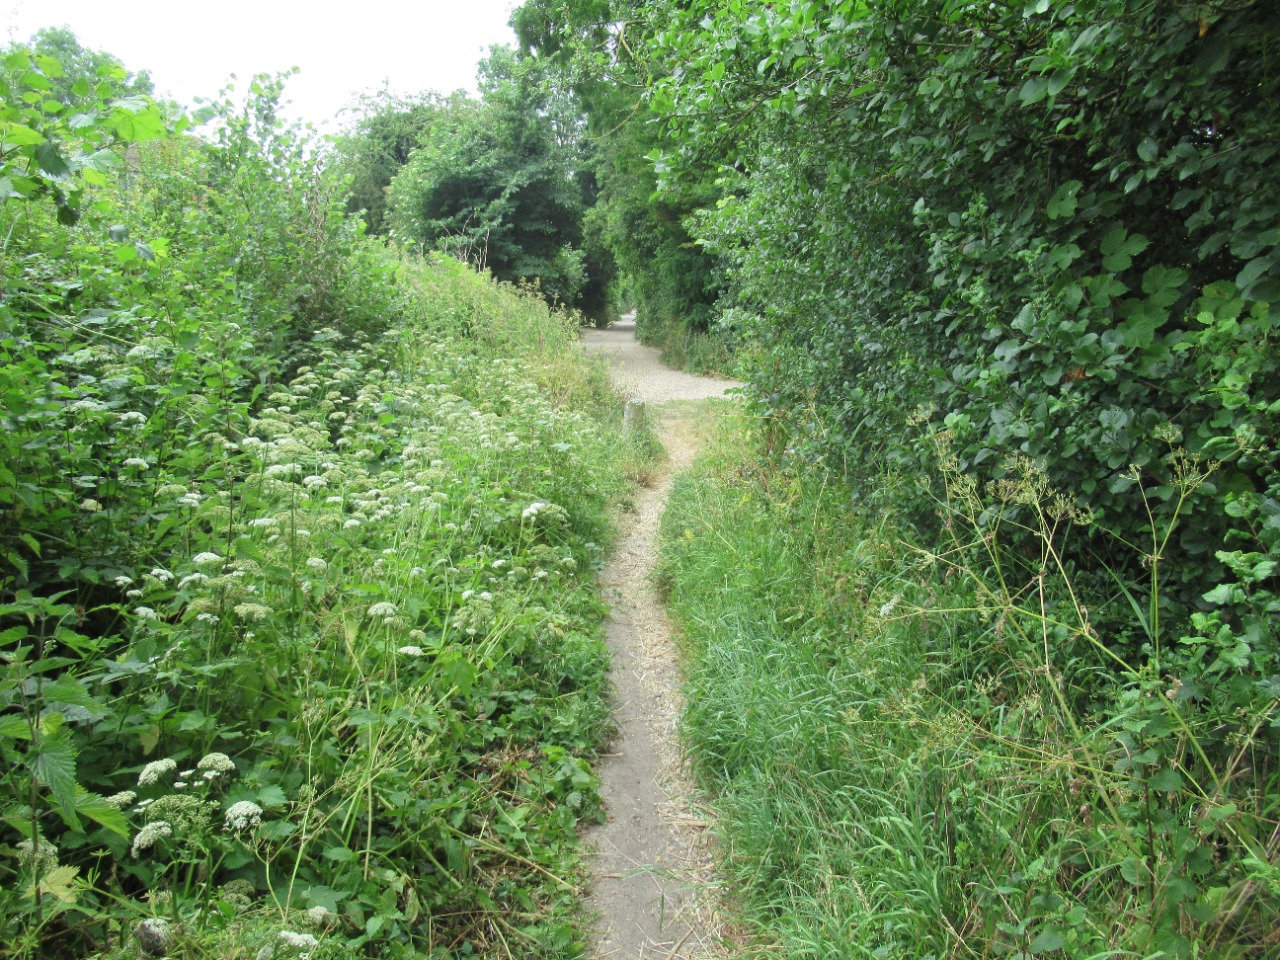
73. Footpath is fairly overgrown with nettles. 10.5 km from start — 02 May 2024
74. Pedestrian-gated exit onto Old Sarum 10.9 km from start — 02 May 2024
75. Rounding the corner following the traffic entrance into Old Sarum. Potential to meet slow-moving vehicles passing through. 10.9 km from start — 02 May 2024
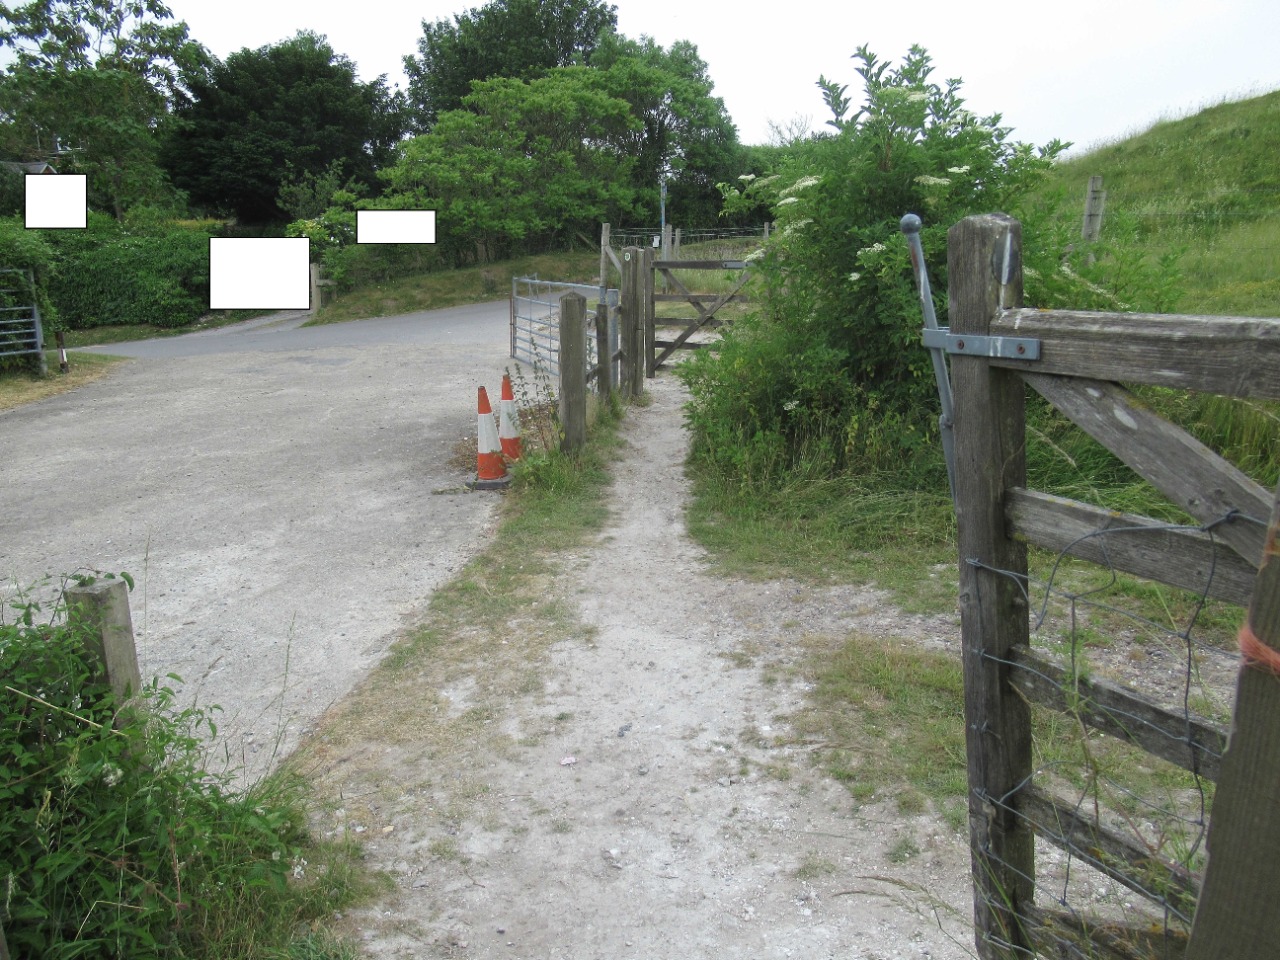
76. Exiting the traffic entrance through a pedestrian gate onto a gravel footpath which can be uneven in places. 10.9 km from start — 02 May 2024
77. Following the gravel footpath is another pedestrian gate. 11 km from start — 02 May 2024

78. Posts on the gravel path exiting onto a green space footpath. 11 km from start — 02 May 2024
79. Footpath along the top of the green space. 11.1 km from start — 02 May 2024
80. [OPTIONAL DIVERSION] Path leading up to a second green space to avoid the first section of the Portway footpath that the Slow Ways route suggests. NOTE: I took this path in error and ended up avoiding the first section of the Portway footpath. Whilst this diversion is altogether a gentler descent it does have a bridle gate and later a kissing gate. To assist I have included these in the photos that follow. 11.2 km from start — 02 May 2024
81. [OPTIONAL DIVERSION] Bridle gate onto the next green space field. 11.3 km from start — 02 May 2024
82. [OPTIONAL DIVERSION] Green space track descent bypassing the first section of the Portway parallel to the left. 11.3 km from start — 02 May 2024
83. [OPTIONAL DIVERSION] Approach to the Portway footpath where the track turns to gravel. 11.5 km from start — 02 May 2024

84. [OPTIONAL DIVERSION] Kissing gate to join the Portway footpath. 11.5 km from start — 02 May 2024
85. Descending the Portway footpath. Narrow with loose stones and a little overgrown. 11.5 km from start — 02 May 2024
86. Overhanging branches on the Portway footpath. 11.6 km from start — 02 May 2024
87. Footpath meetings gravel driveway on the approach to Stratford Road. 11.8 km from start — 02 May 2024
88. Driveway surface onto Stratford Road. 11.8 km from start — 02 May 2024
89. Arriving at the semi-residential Stratford Road. Look to cross the road when safe to do so. 11.8 km from start — 02 May 2024

90. Pavement after crossing Stratford Road. The Salisbury City Trail will be found further on the left. 12 km from start — 02 May 2024
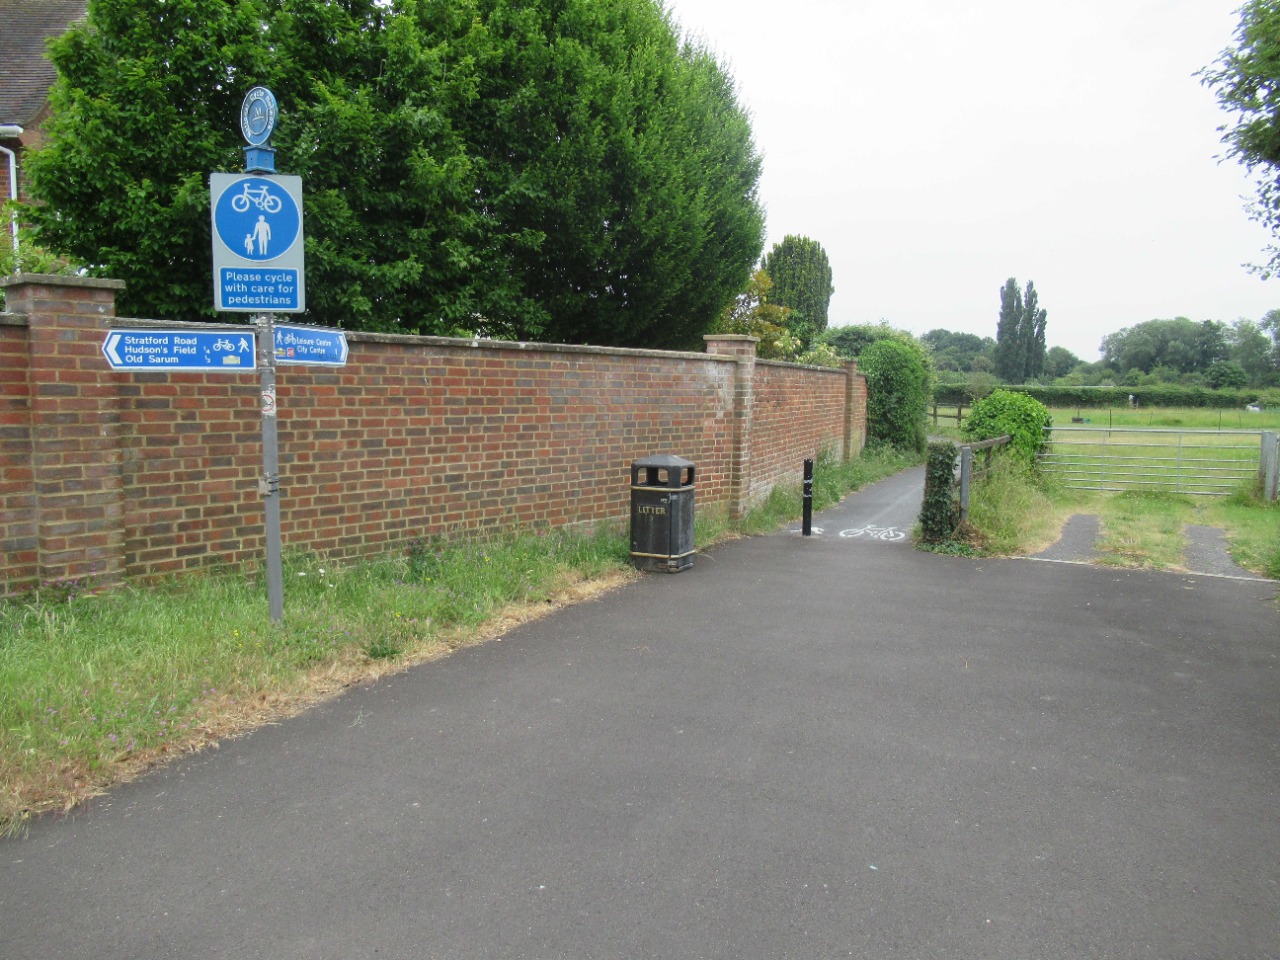
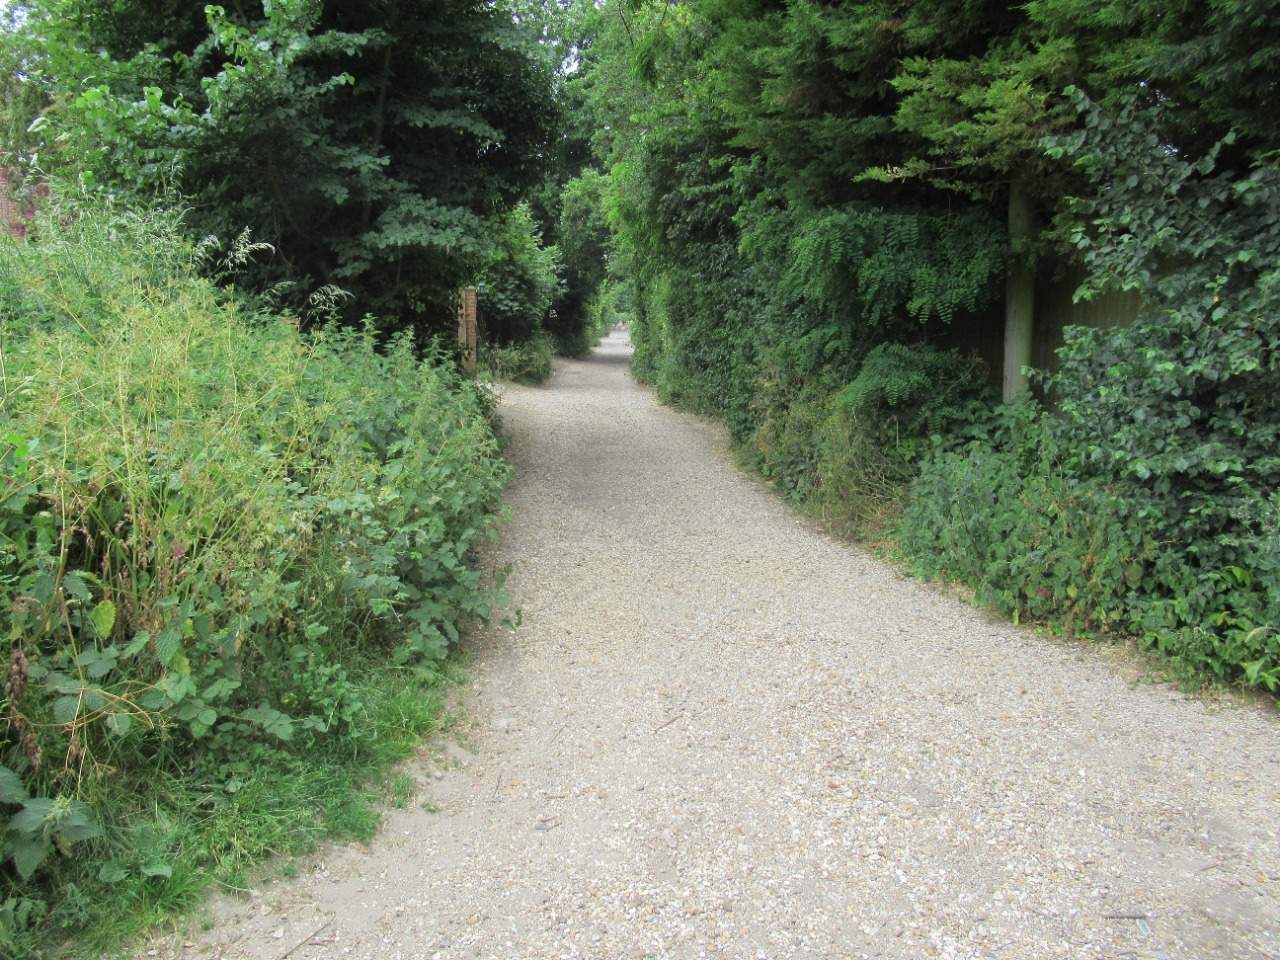
91. Shared pedestrian and bicycle trail toward City Centre and the meeting point. 12 km from start — 02 May 2024

92. Unmarked section of the Salisbury City Trail. 12.3 km from start — 02 May 2024
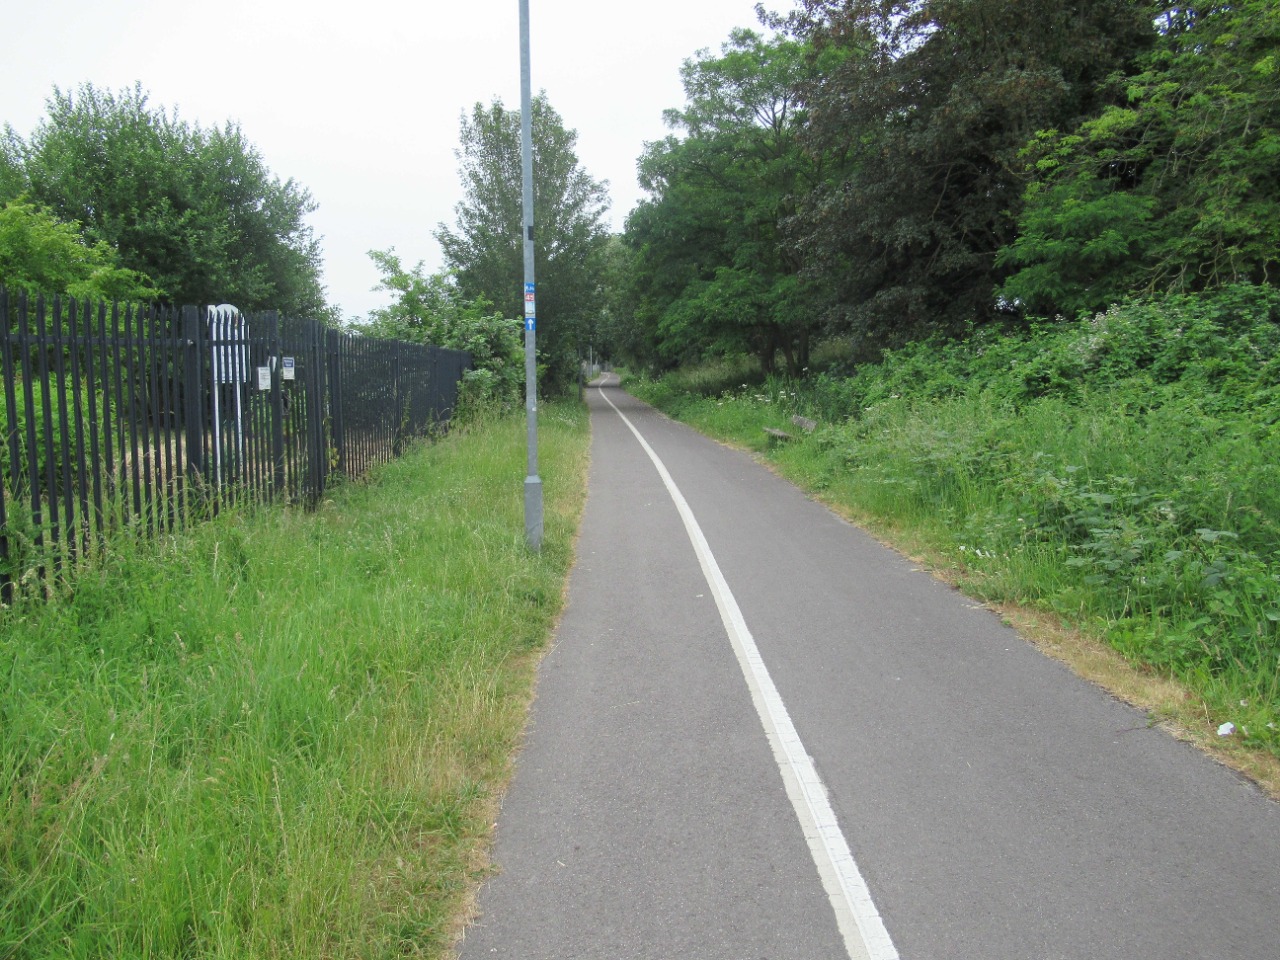
93. Marked section of the Salisbury City Trail. 12.7 km from start — 02 May 2024
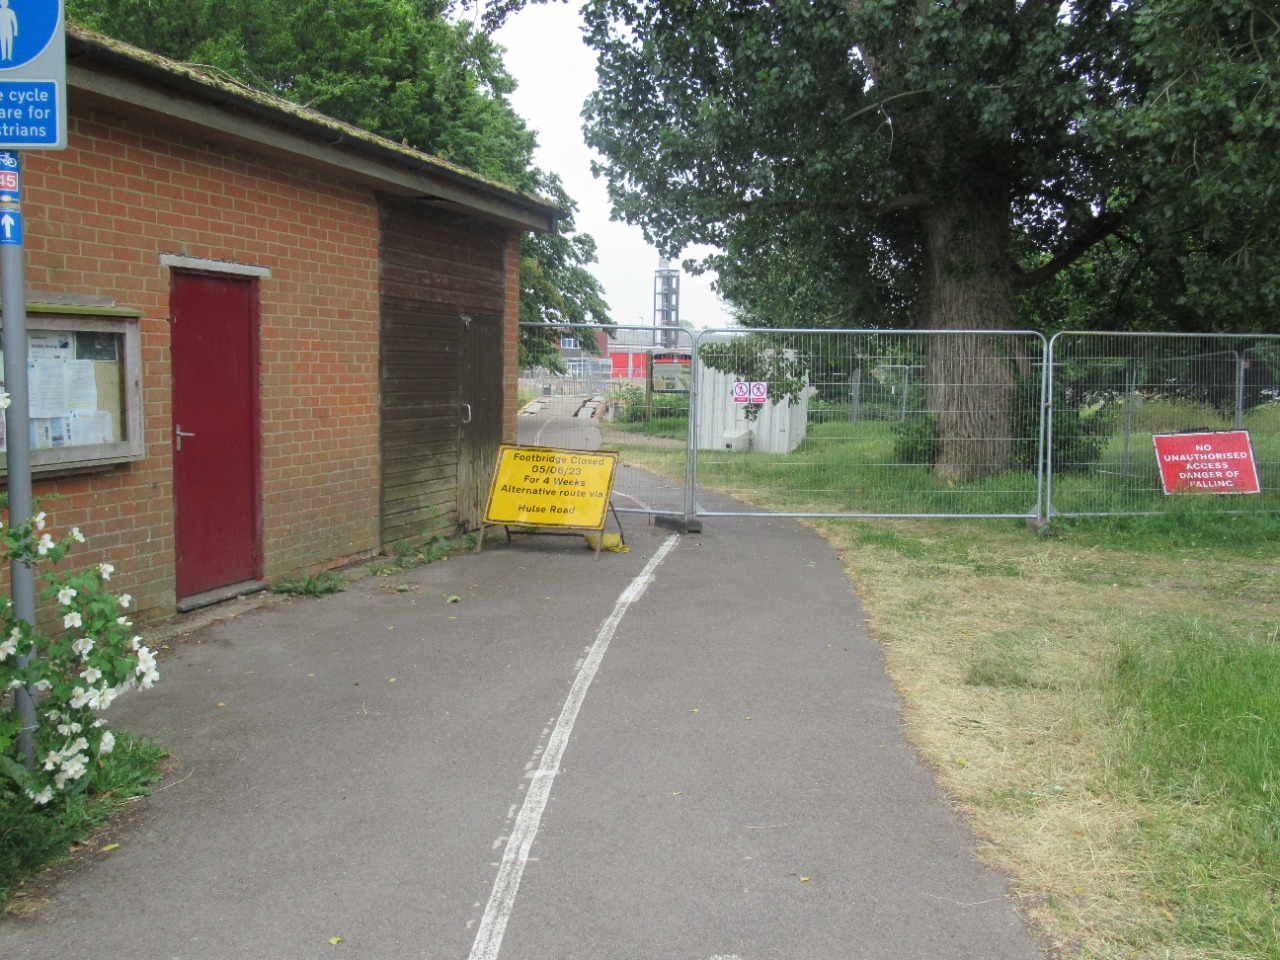
94. [REQUIRED DIVERSION] Short-term diversion from the City Trail owing to the wider Salisbury River Park project. This section is due to be restored in Jul 23. As the signage suggested I turned left the trail, walked along the pavement on Hulse Road then turned right onto Ashley Road to rejoin. 12.9 km from start — 02 May 2024

95. Zebra crossing at Ashley Road to rejoin the City Trail and the Slow Ways route. 13.1 km from start — 02 May 2024

96. [REQUIRED DIVERSION] Second and longer-term diversion owing to the Salisbury River Park project (Phase 1 due to be completed Spring 2024). Instead turn left onto Castle Street, thereon making a beeline toward the Salisbury meeting point Both of the short- and long-term diversions here were well-signposted and fully serviced by pavement and zebra crossings where crossing a road was required. 13.4 km from start — 02 May 2024